Building the Side Boards
The first step was to build the side boards, each of which is divided into four quadrants, of which each consists of Popsicle sticks with their faces glued to one another and arranged so that edges of the Popsicle sticks form a new face, creating a fake quarter-sawn wood grain pattern. The pattern of Popsicle sticks were then glued (or “veneered”) onto a thin sheet of plywood, with the lines (fake “wood grain”) arranged so that the sticks in each quadrant point towards the center at 45 degrees, sanded to even thickness, and a rectangular opening was cut out of the center.
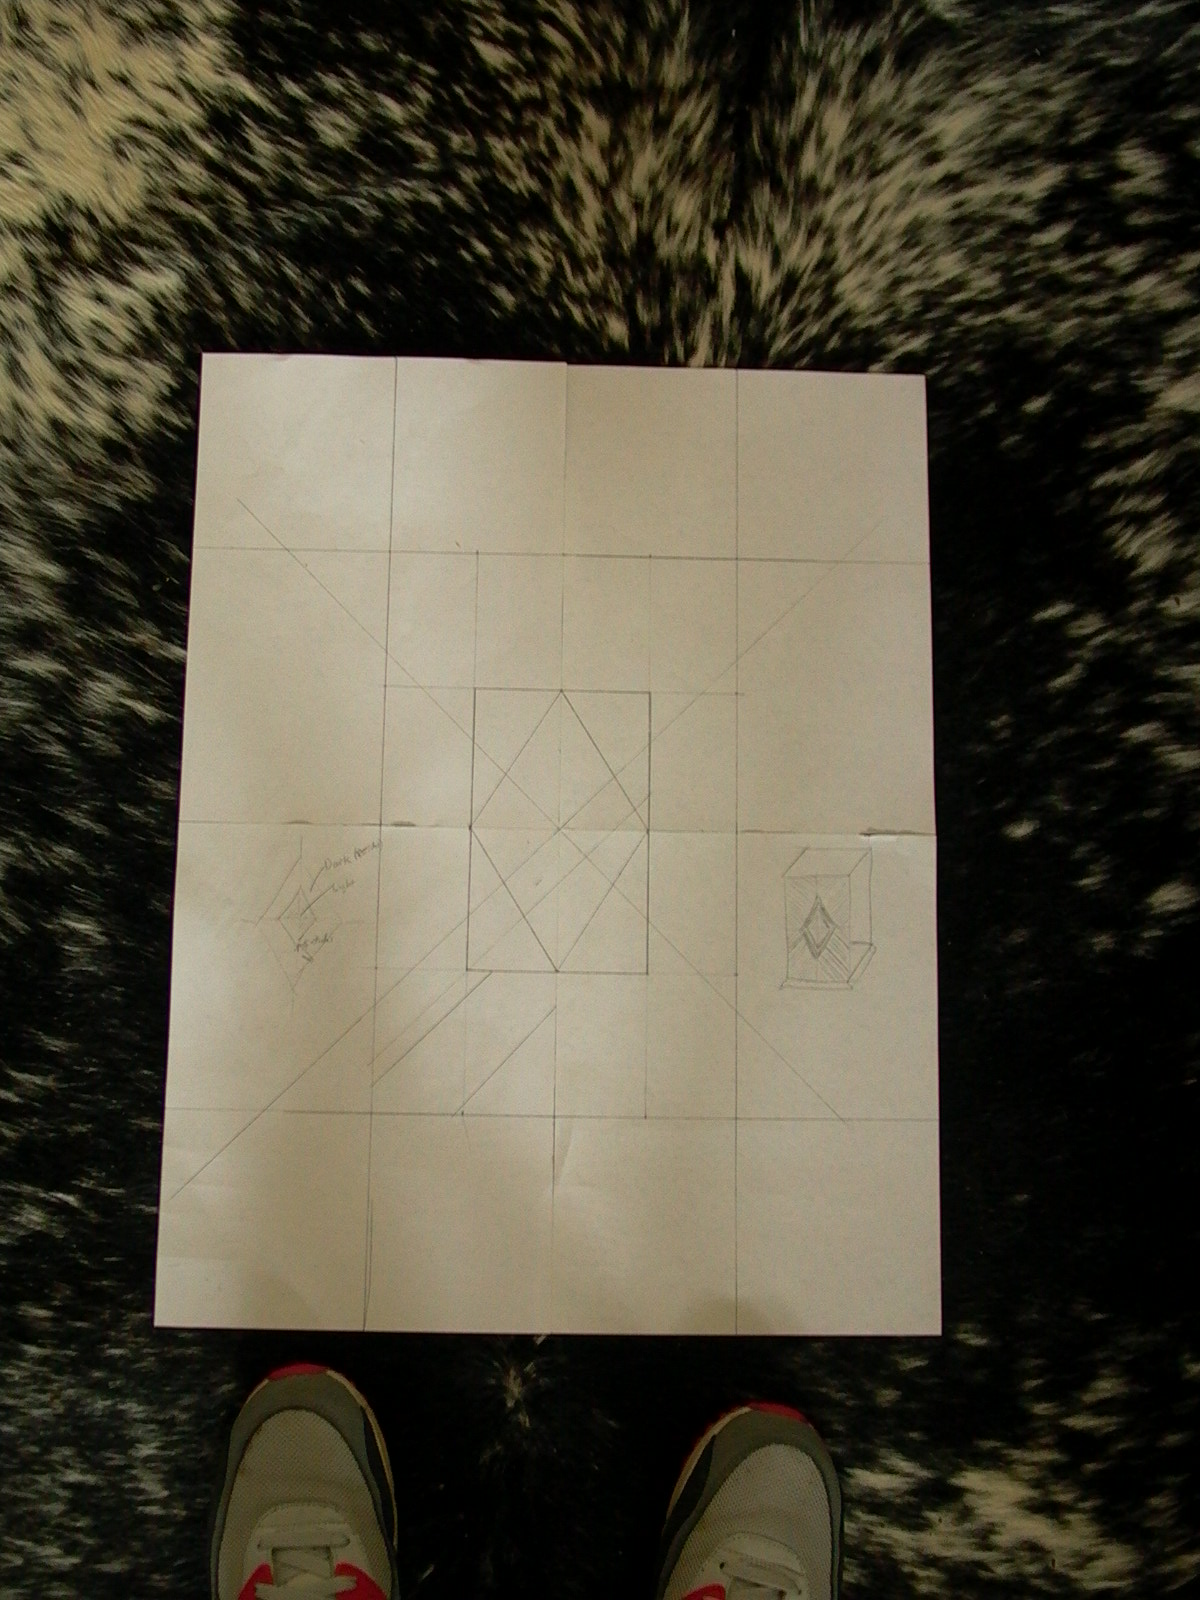
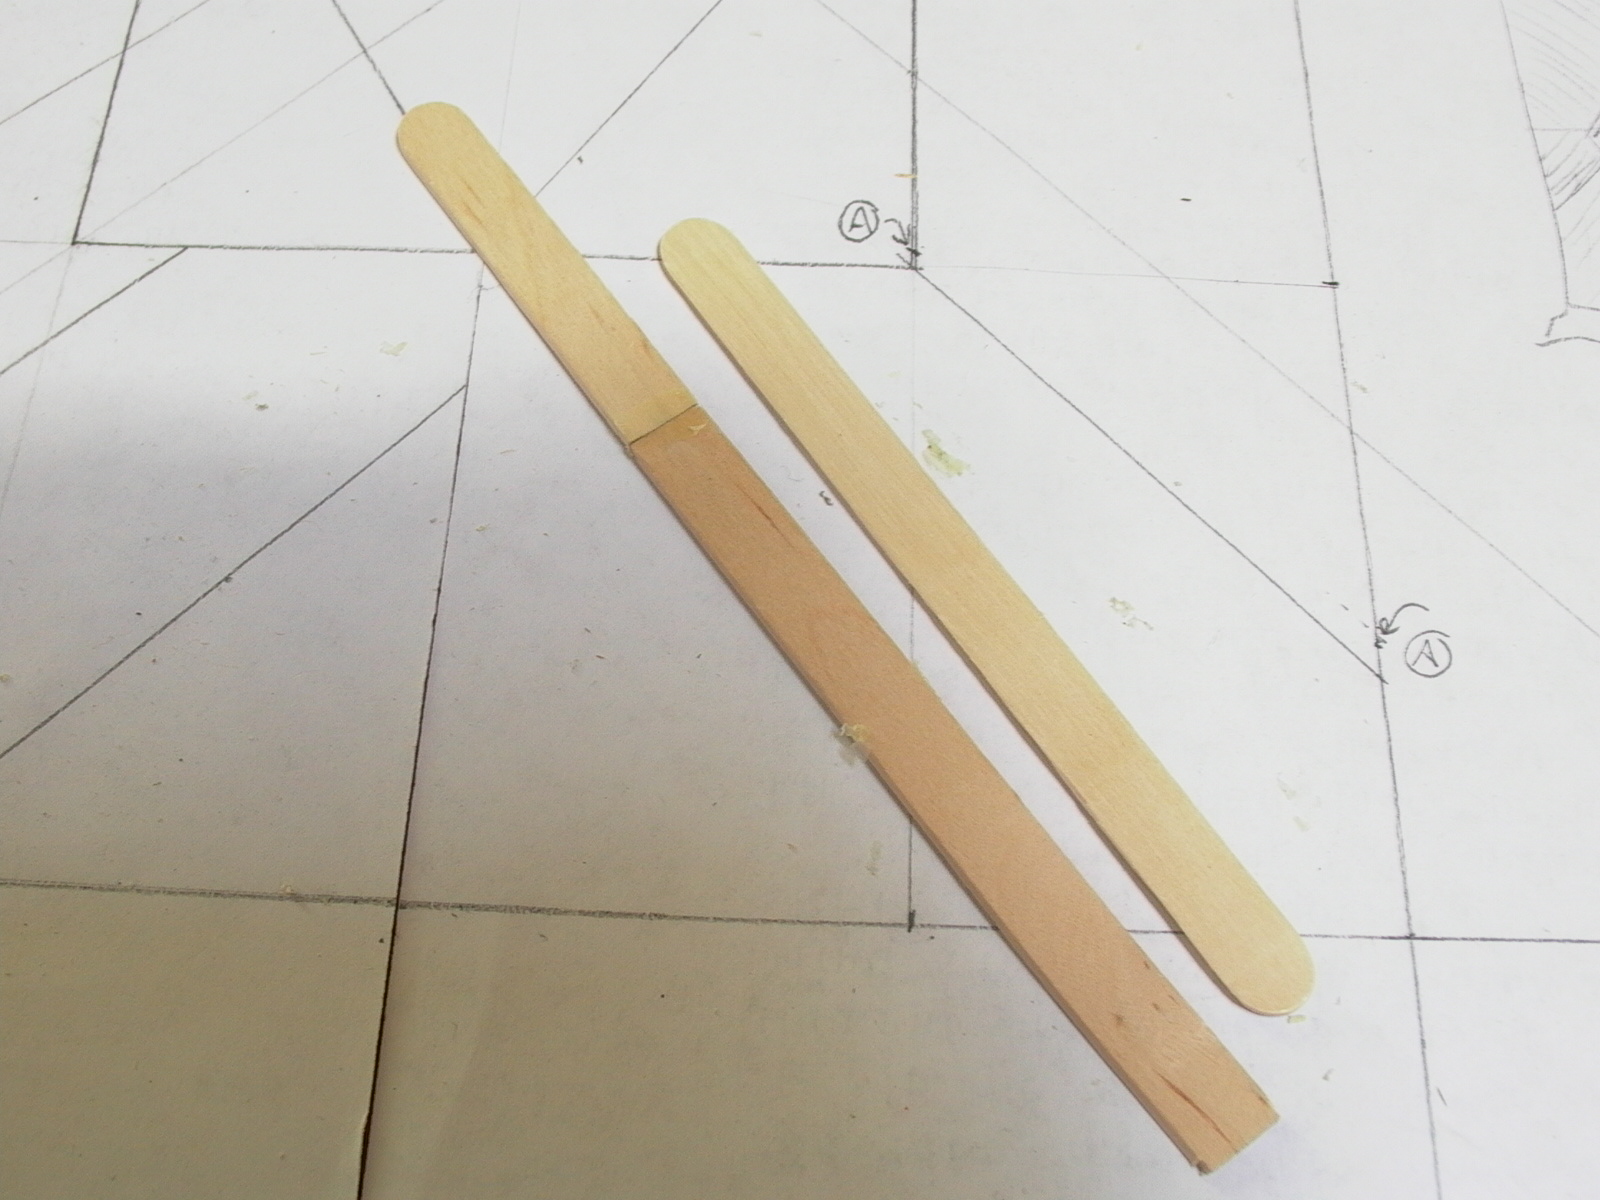
Before starting, an actual sized drawing of the side board was made (fig. 1). Originally, I planned to have a diamond shaped cut-out in the center but I eventually opted for a rectangular window instead.
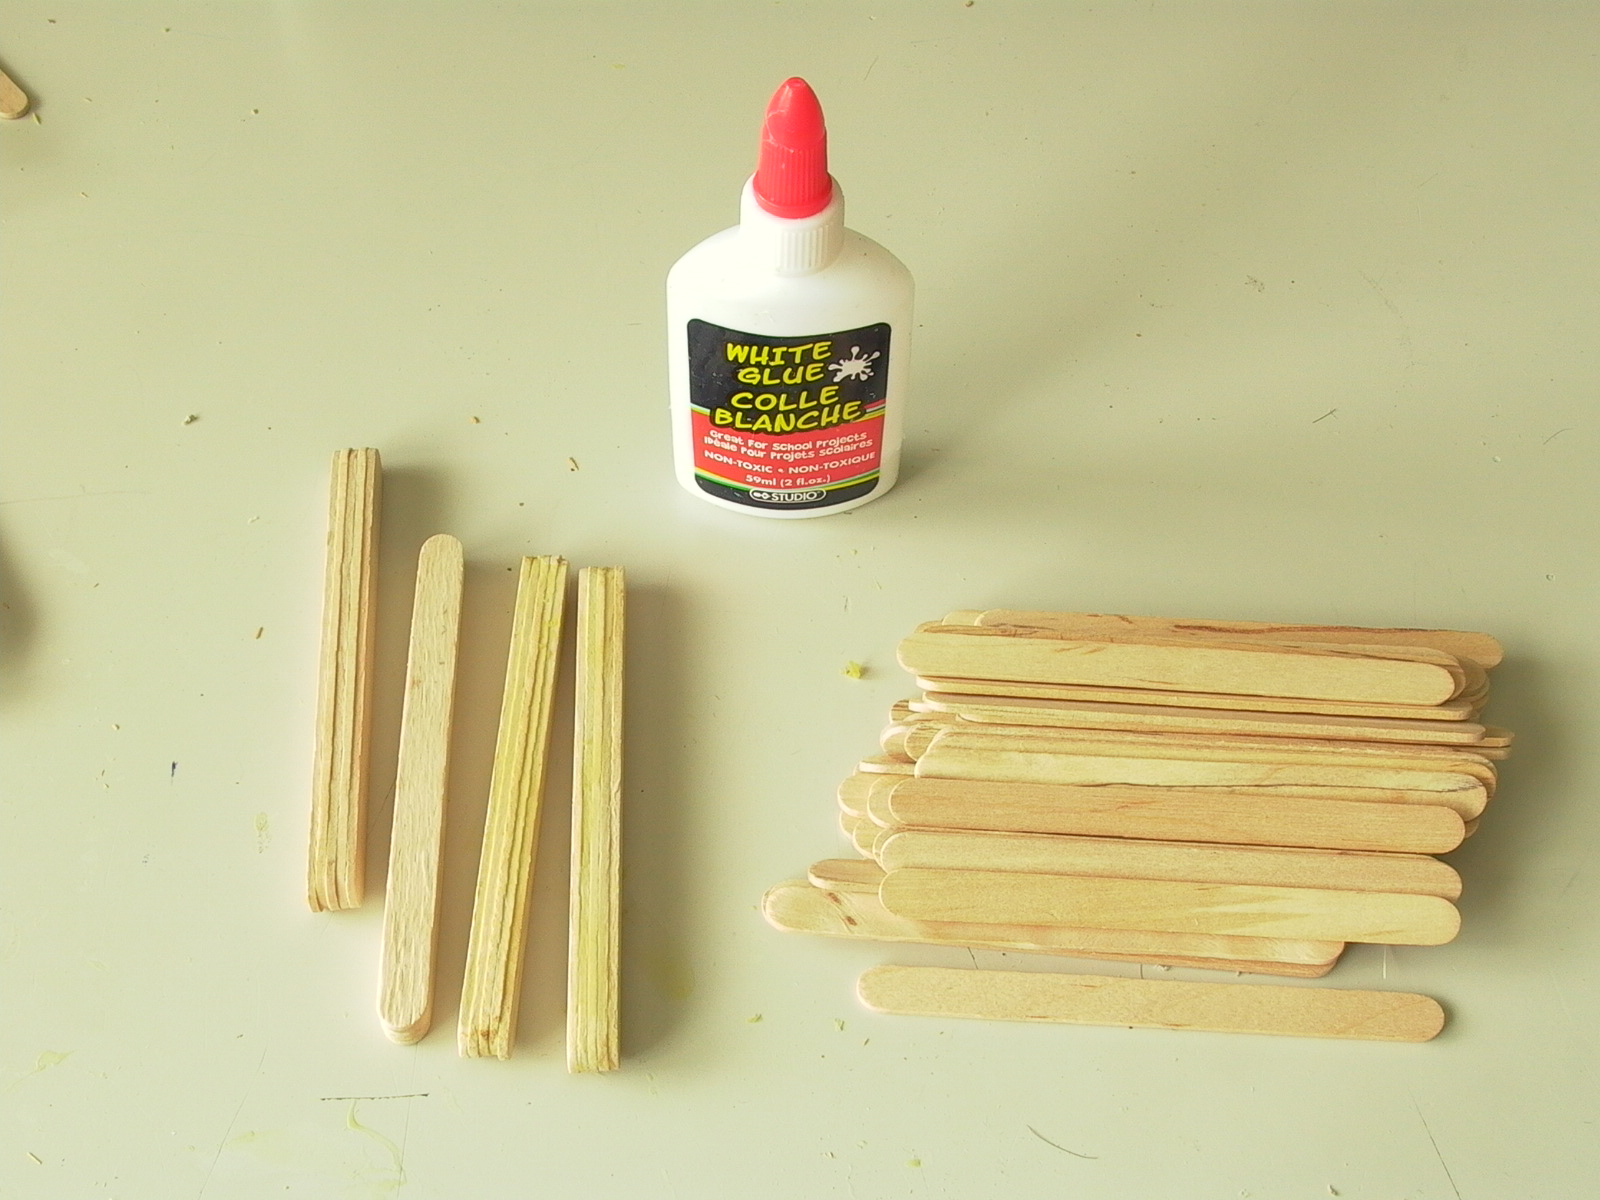
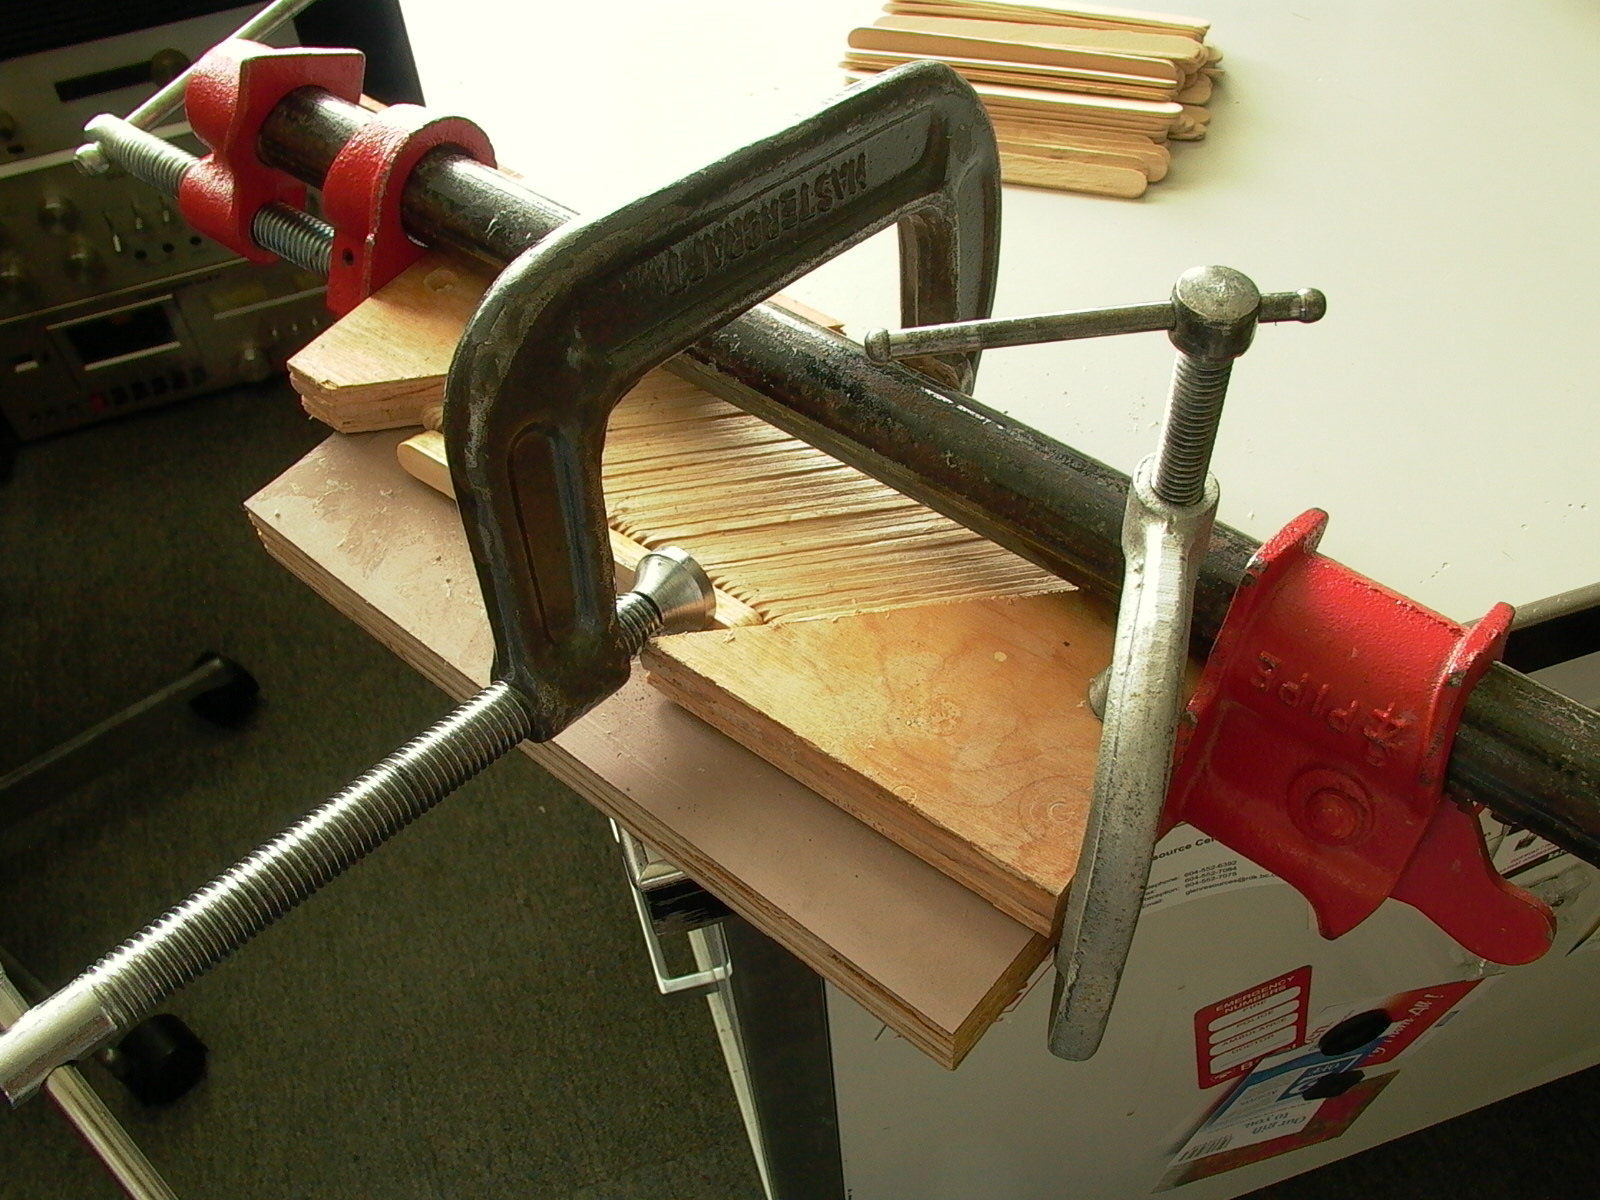
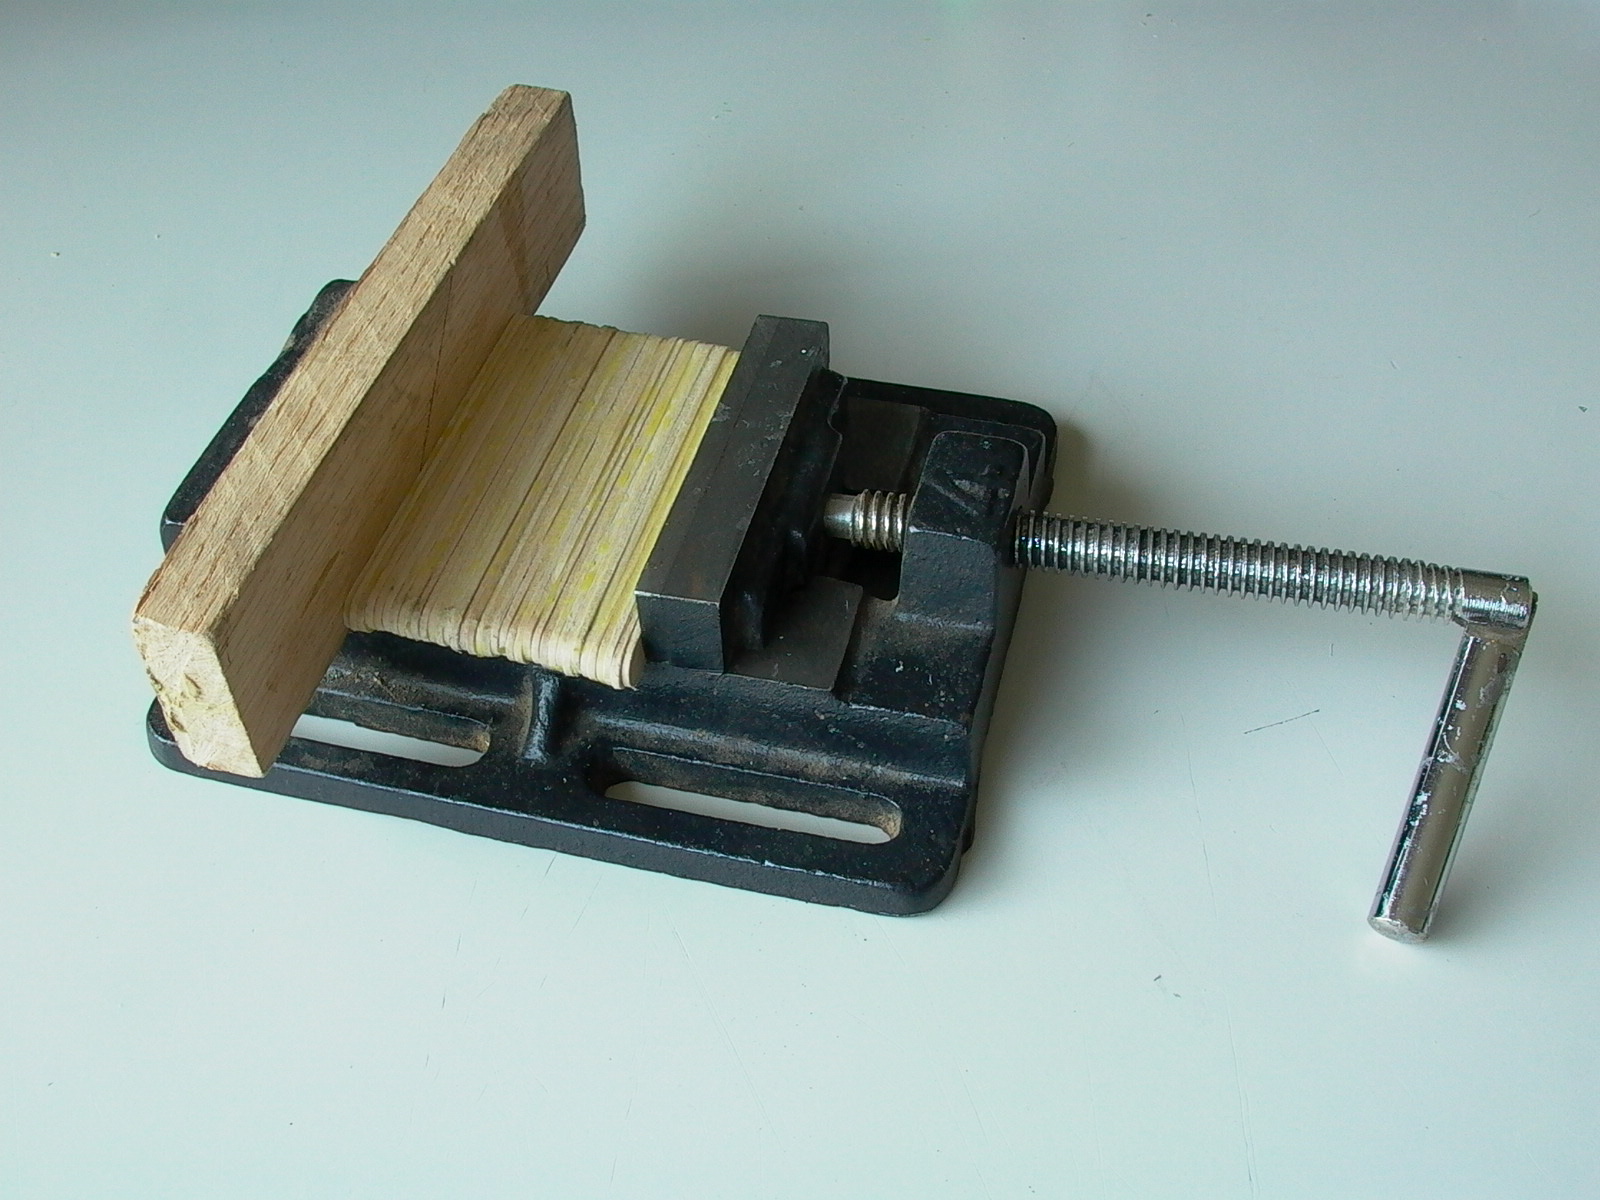
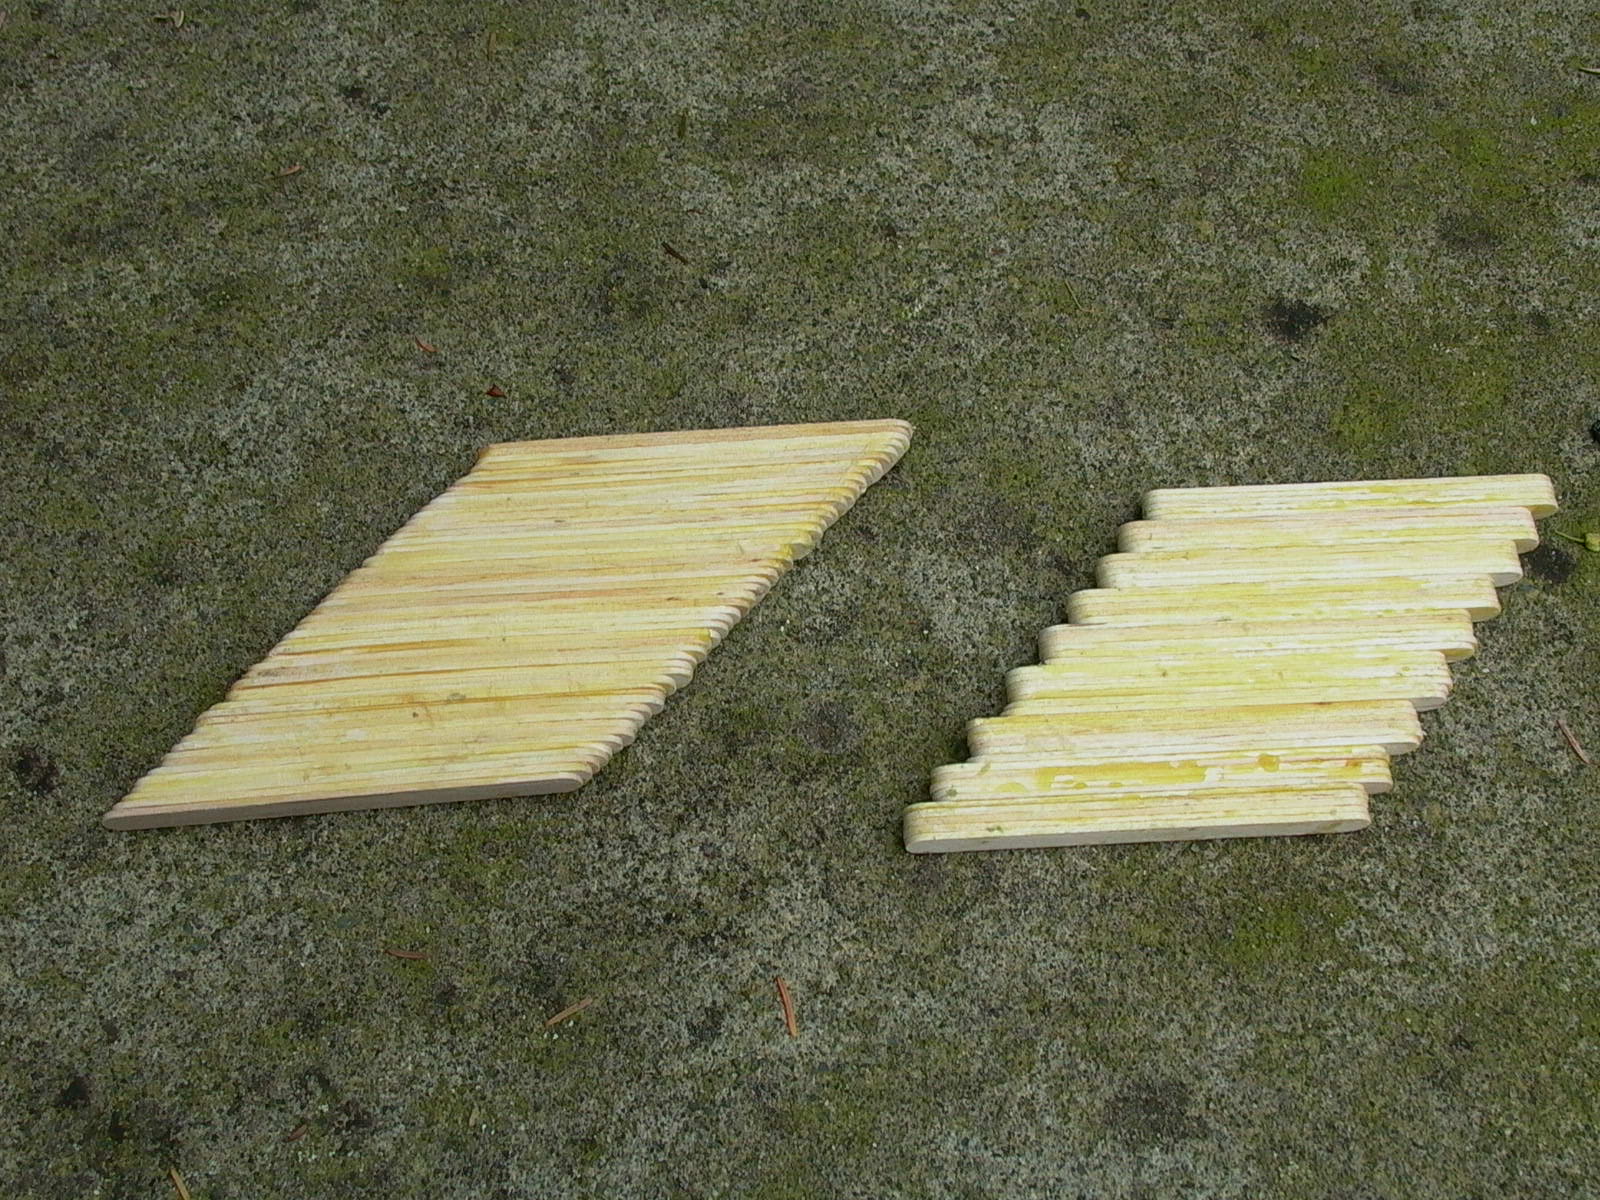
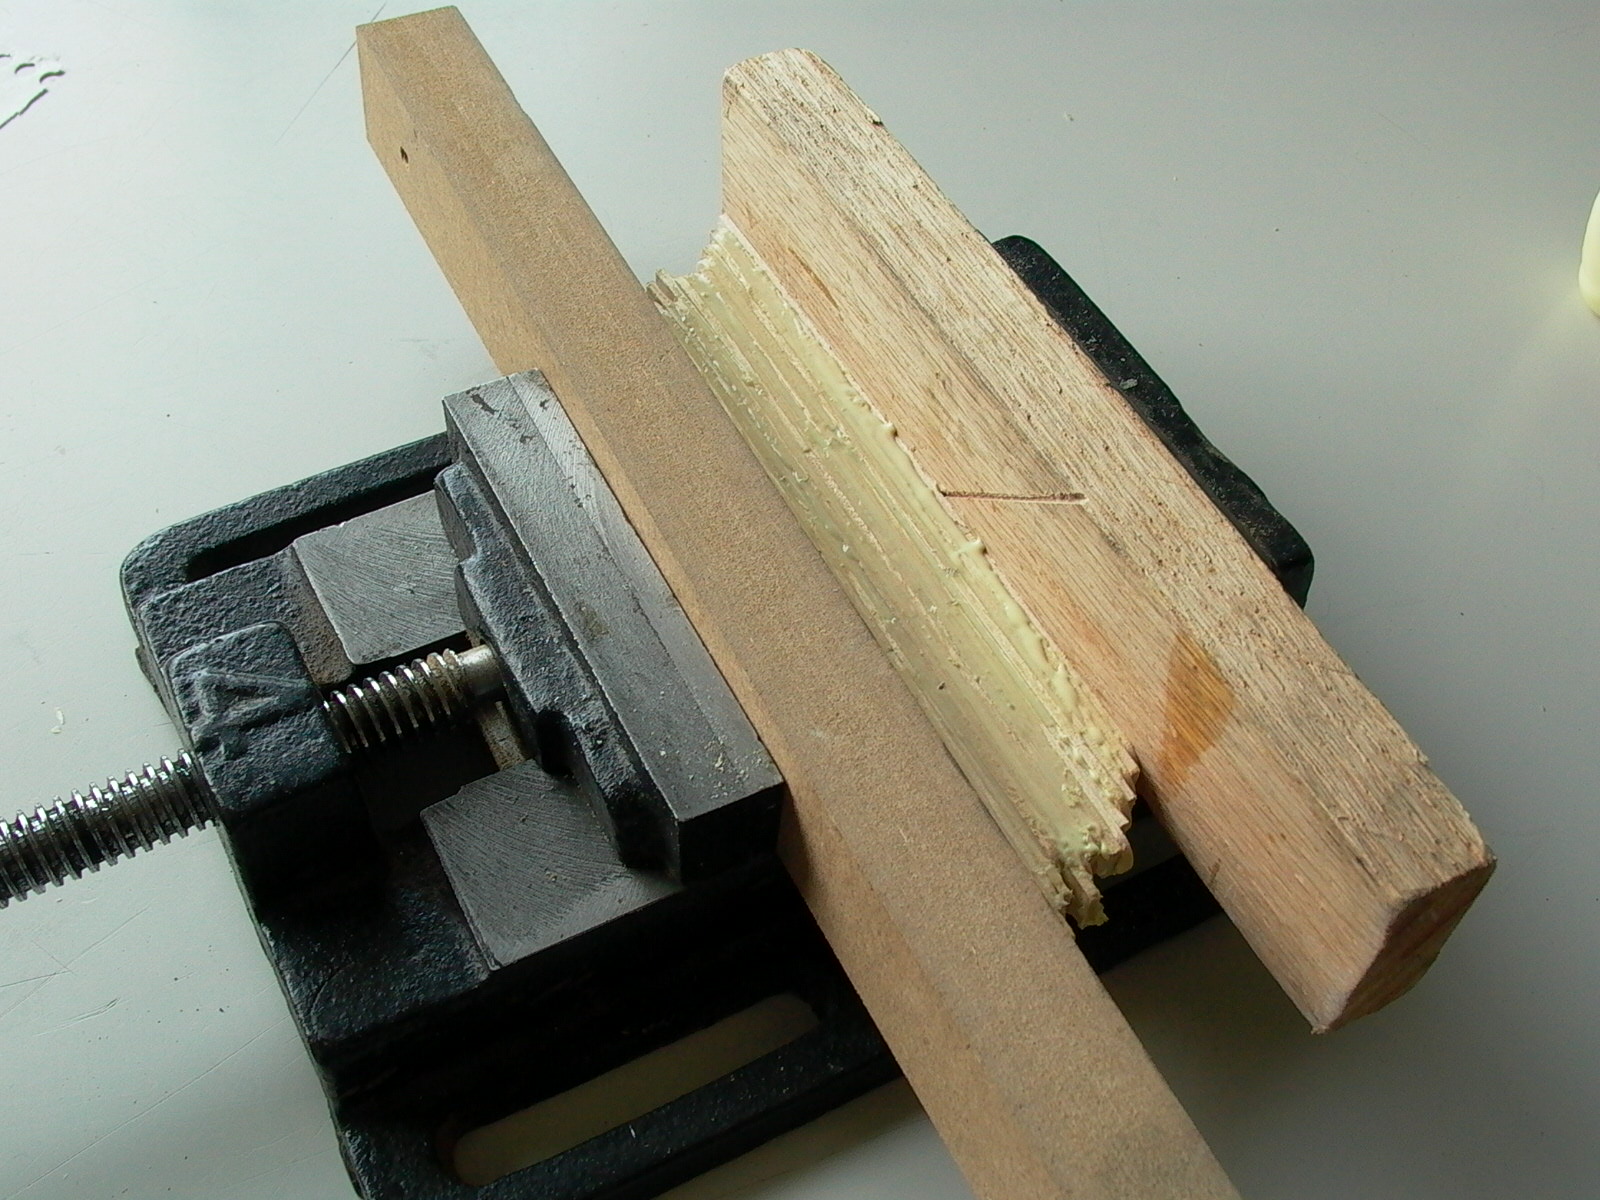
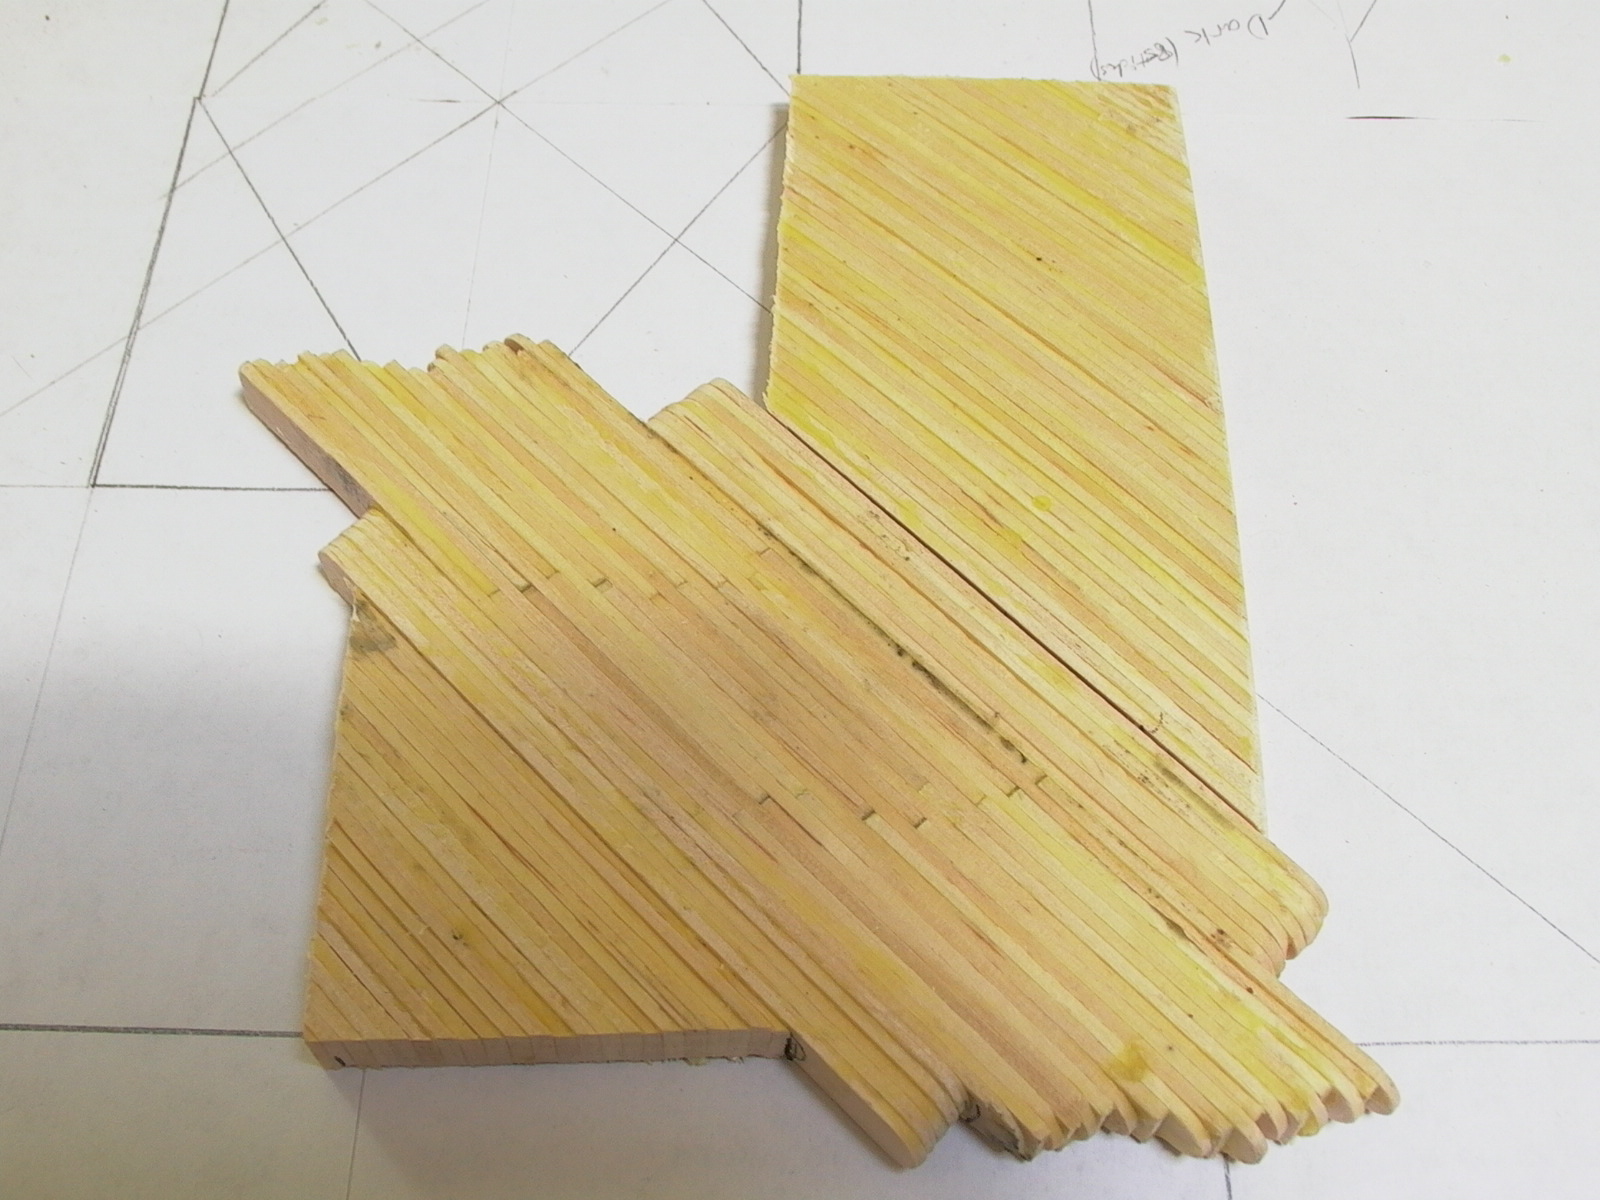
The pattern was built in small sections at a time and there are two ways to go about – I tried both ways. You could start by either (1) gluing stacks of 5 sticks at a time (fig. 2) or (2) as many as needed (fig. 3). Either way, be sure to cover the surface completely with white PVA glue (i.e. Elmer’s School Glue, Elmer’s Glue All, or even dollar store white glue) or yellow carpenter’s glue and give a tight squeeze in vise or clamp for an hour or two. Built in small groups of five sticks, I used a drill vise (fig. 4) to clamp several groups simultaneously. When built as a whole unit, wedges were used to make it angled and clamps were used on the side to prevent the pressure from the ends from imploding the piece apart (fig. 3). The groups of five were then glued together and the result of either method will be quite similar except for the edges (fig. 5). Eight pieces were made in total.
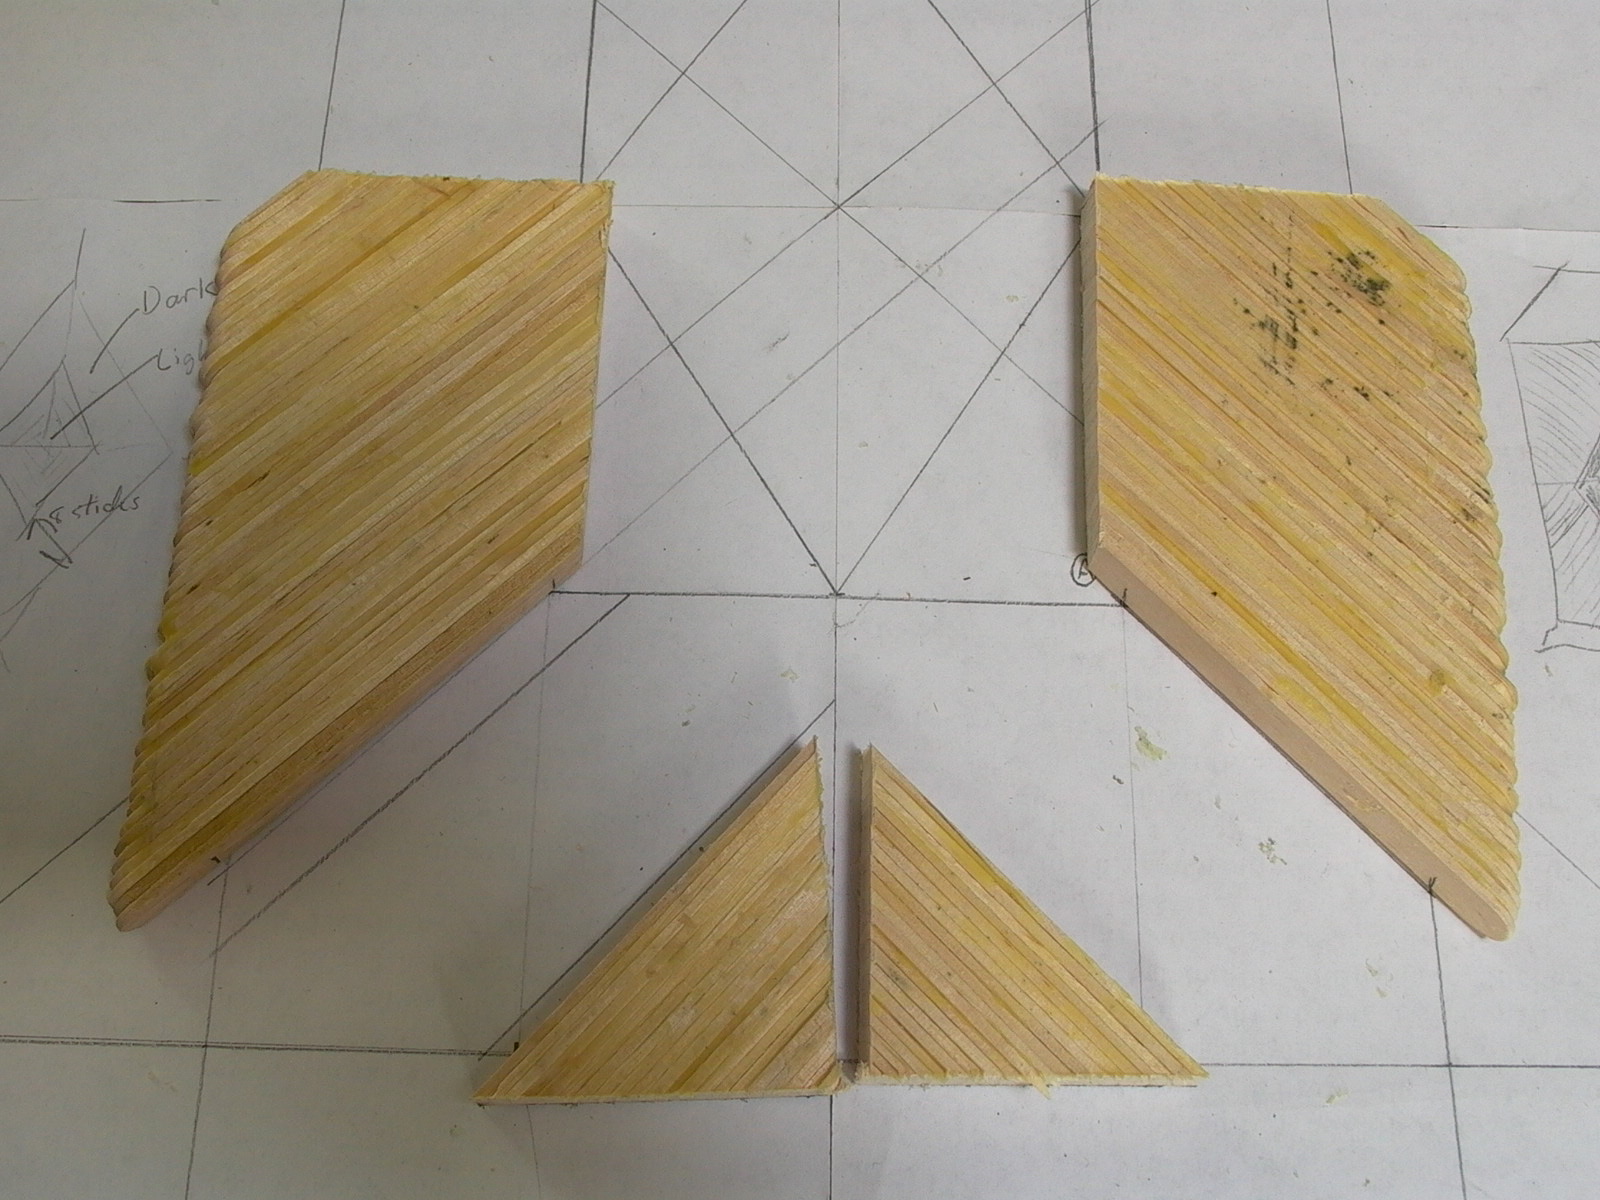
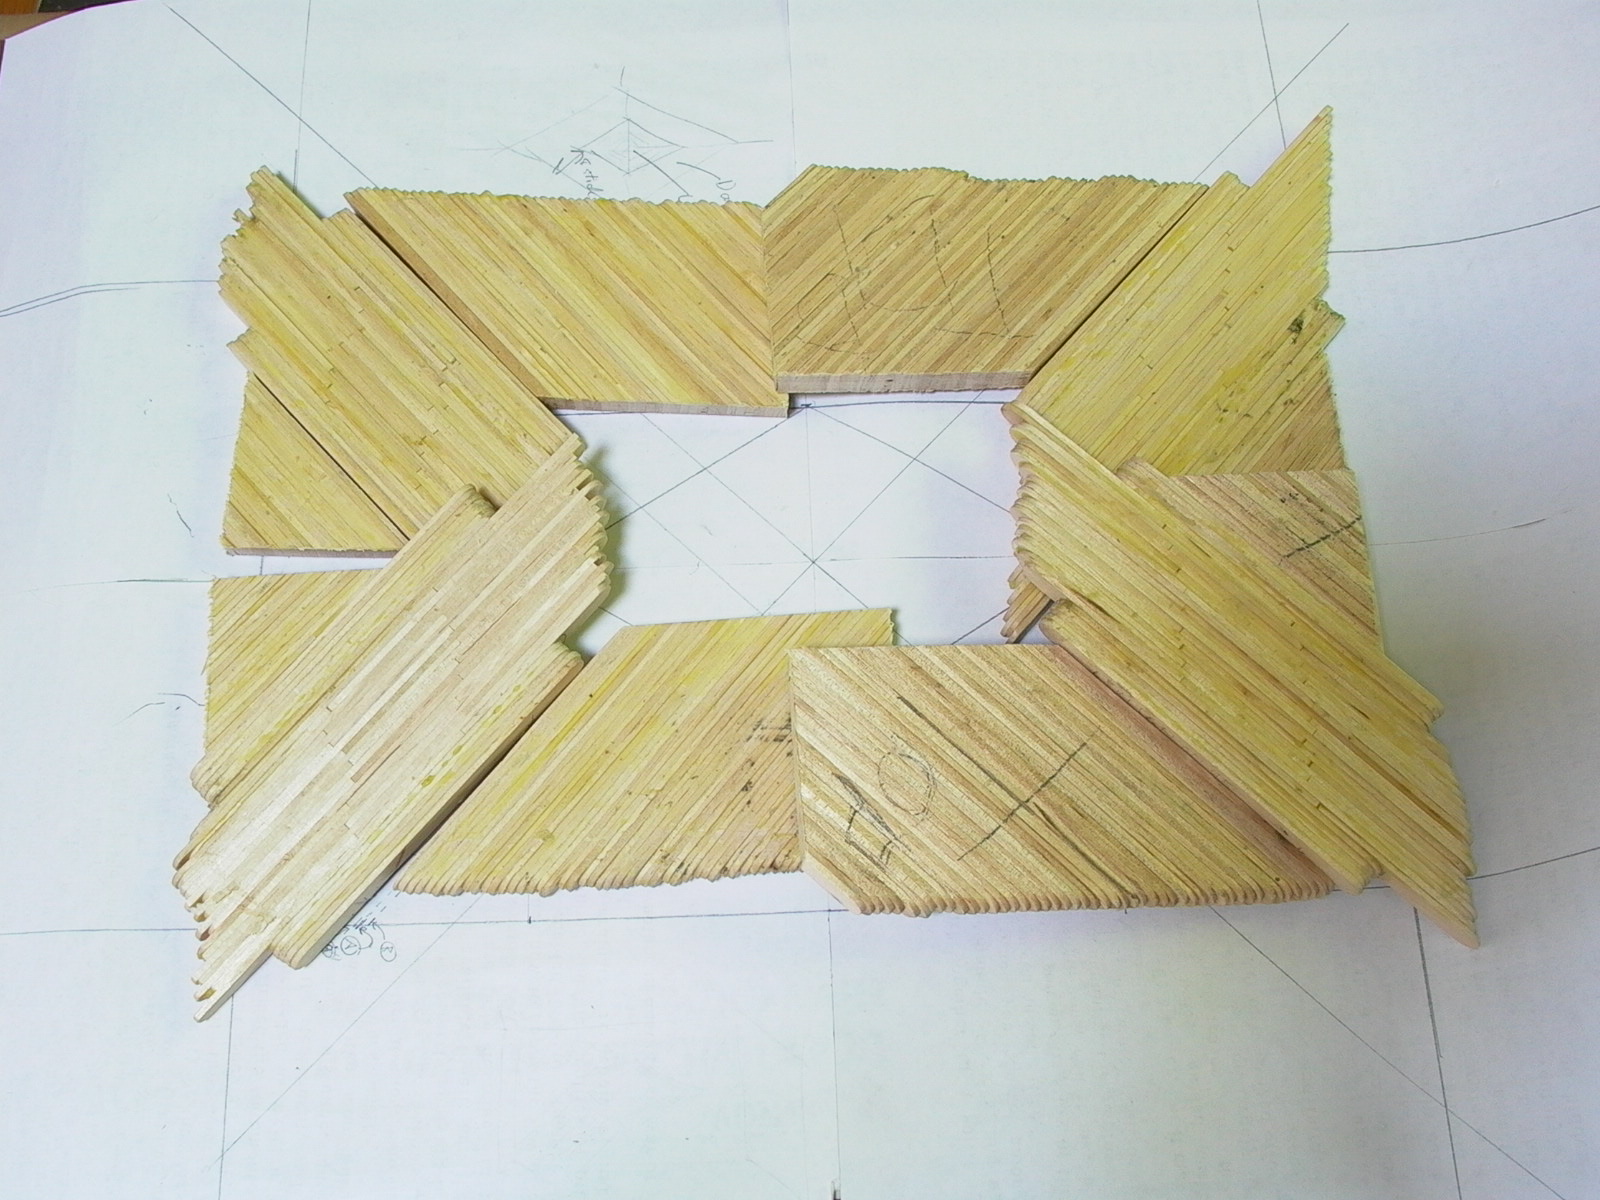
The pieces were then placed on the drawing and cut to shape as necessary (figures 6 and 7). Around the corners, length of a single Popsicle stick was not of sufficient length. Thus, several sticks were extended by cutting their rounded ends off and gluing them end to end. Stacks were then glued together in a similar manner but in this case, they were sandwiched between sticks of scrap wood to help distribute the force evenly along its length. It was important to make sure that end joints are NOT glued on top of end joints (figures 8, 9 and 10).
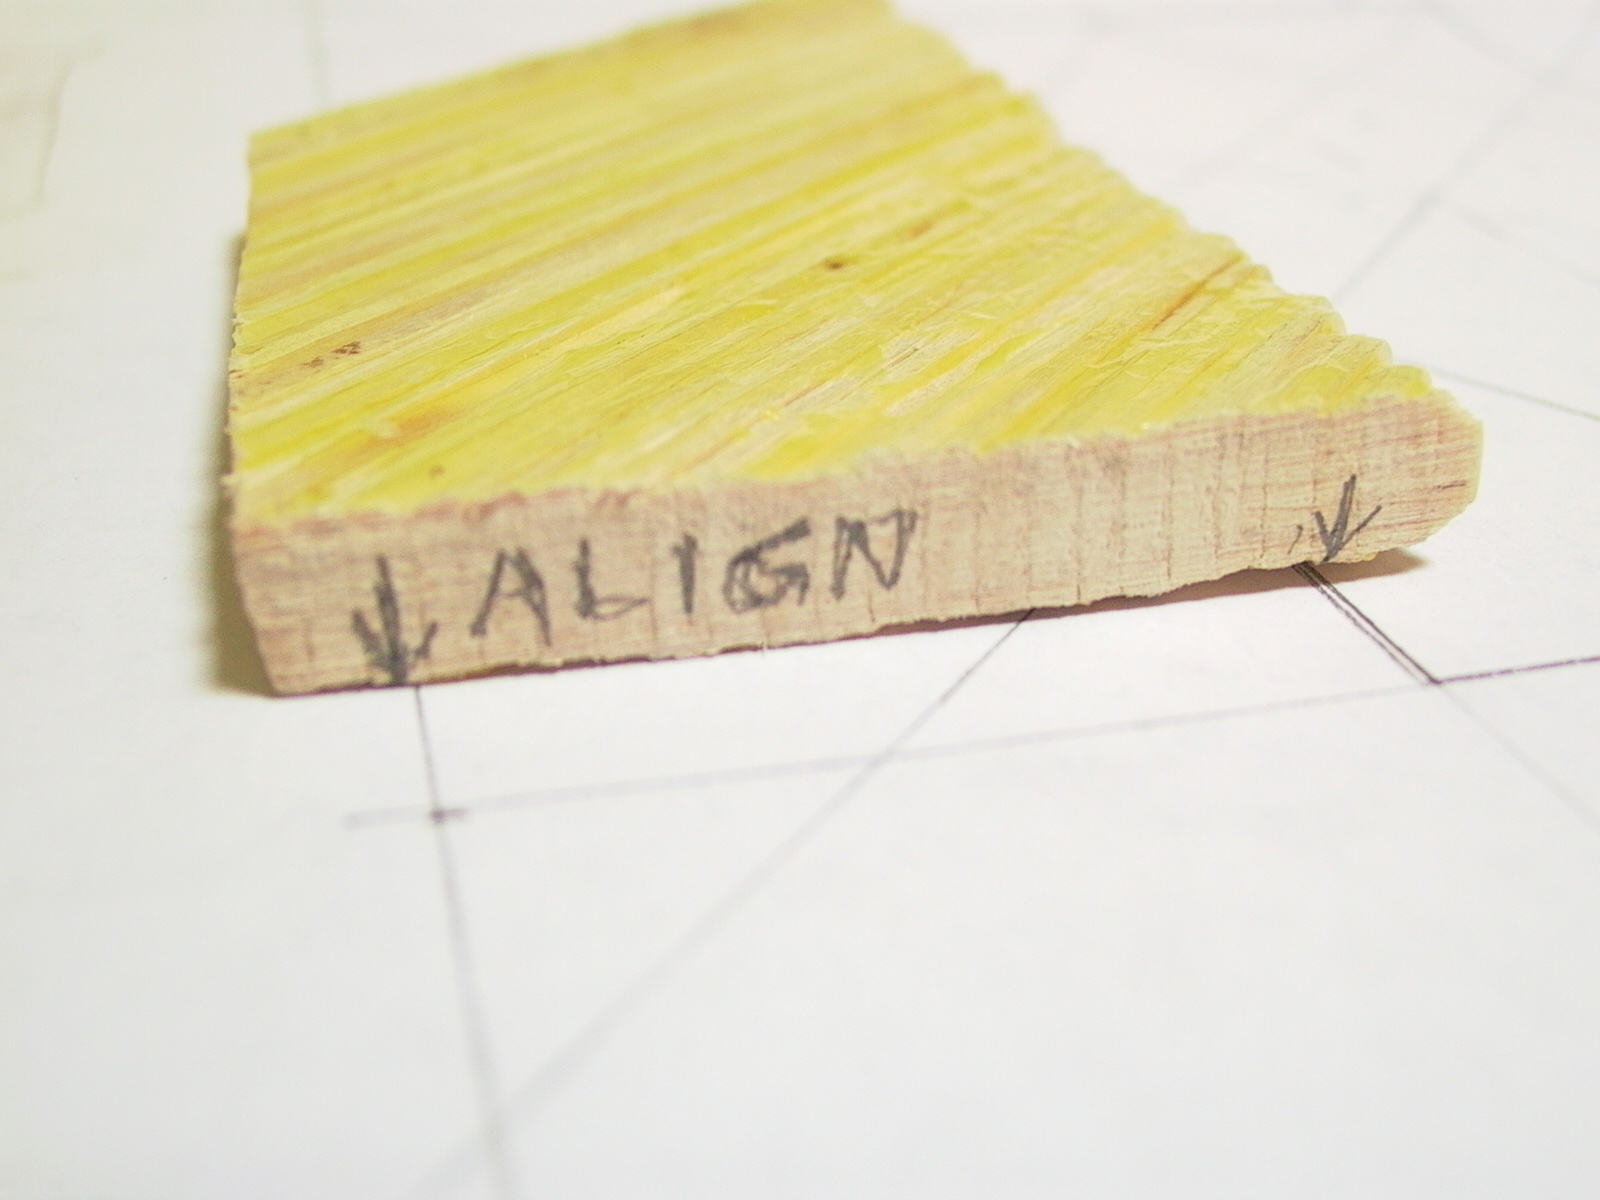
Once the glue had dried, pieces were arranged, cut to size (not the actual finish size but just short enough to fit) and marked using the drawing as a guide (figure 11 and 12).
Bottoms were then flattened (fig. 13). At first, I tried using a hand plane but a professional woodworker told me that planing does not work well with Popsicle sticks arranged and glued in this manner; because the wood grains are not perfectly parallel, the blade may dig into the wood, depending on the direction of the blade vs the grain. A better method I came up with is to place (or clamp down) a sheet of P20 or P36 sandpaper on a flat surface, then place the surface (of the project piece) to be flattened face down on the sandpaper and run it back and forth, cutting across the grain to grind quickly, then along the grain as you get close to desired thickness. Later on, I employed this technique frequently throughout the project. As can be see in the photo (fig. 13), the plane had dug into the surfaces but fortunately, in this case, smoothness was not important as long as the pieces were perfectly flat as the bottoms will soon be out of sight forever once glued to a backboard. CAUTION: Be careful not to scrape your skin and mind your fingernails too!

Boards for the back were then cut (rough cuts will suffice at this time) from a thin piece of plywood (fig. 14), marked using the drawing as a guide (fig. 15), and patterned pieces of glued Popsicle sticks were glued on (fig. 16). A total of two side board were made (fig. 17). At this point, I have yet to come up with the aforementioned idea using course (P20 or P36) sandpaper on a flat surface; thus, boards were taken to a professional cabinet maker’s shop for power sanding to even thickness for a small fee.
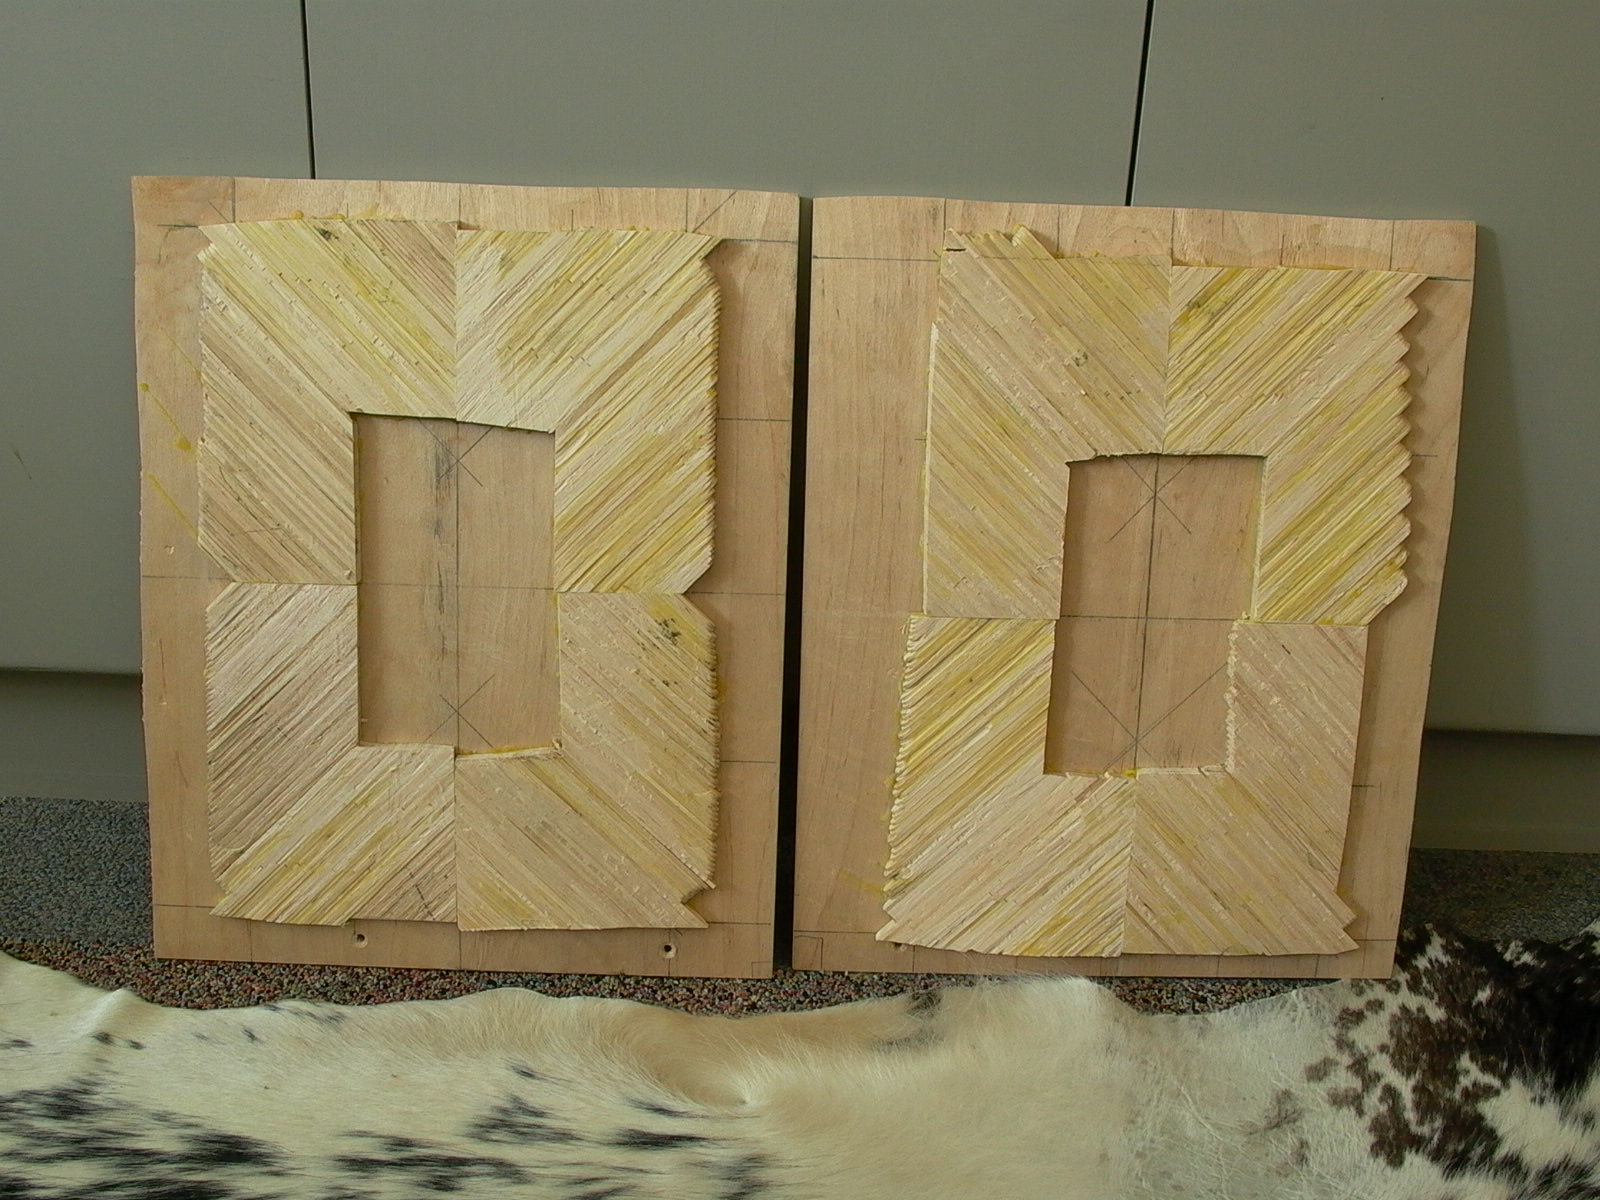
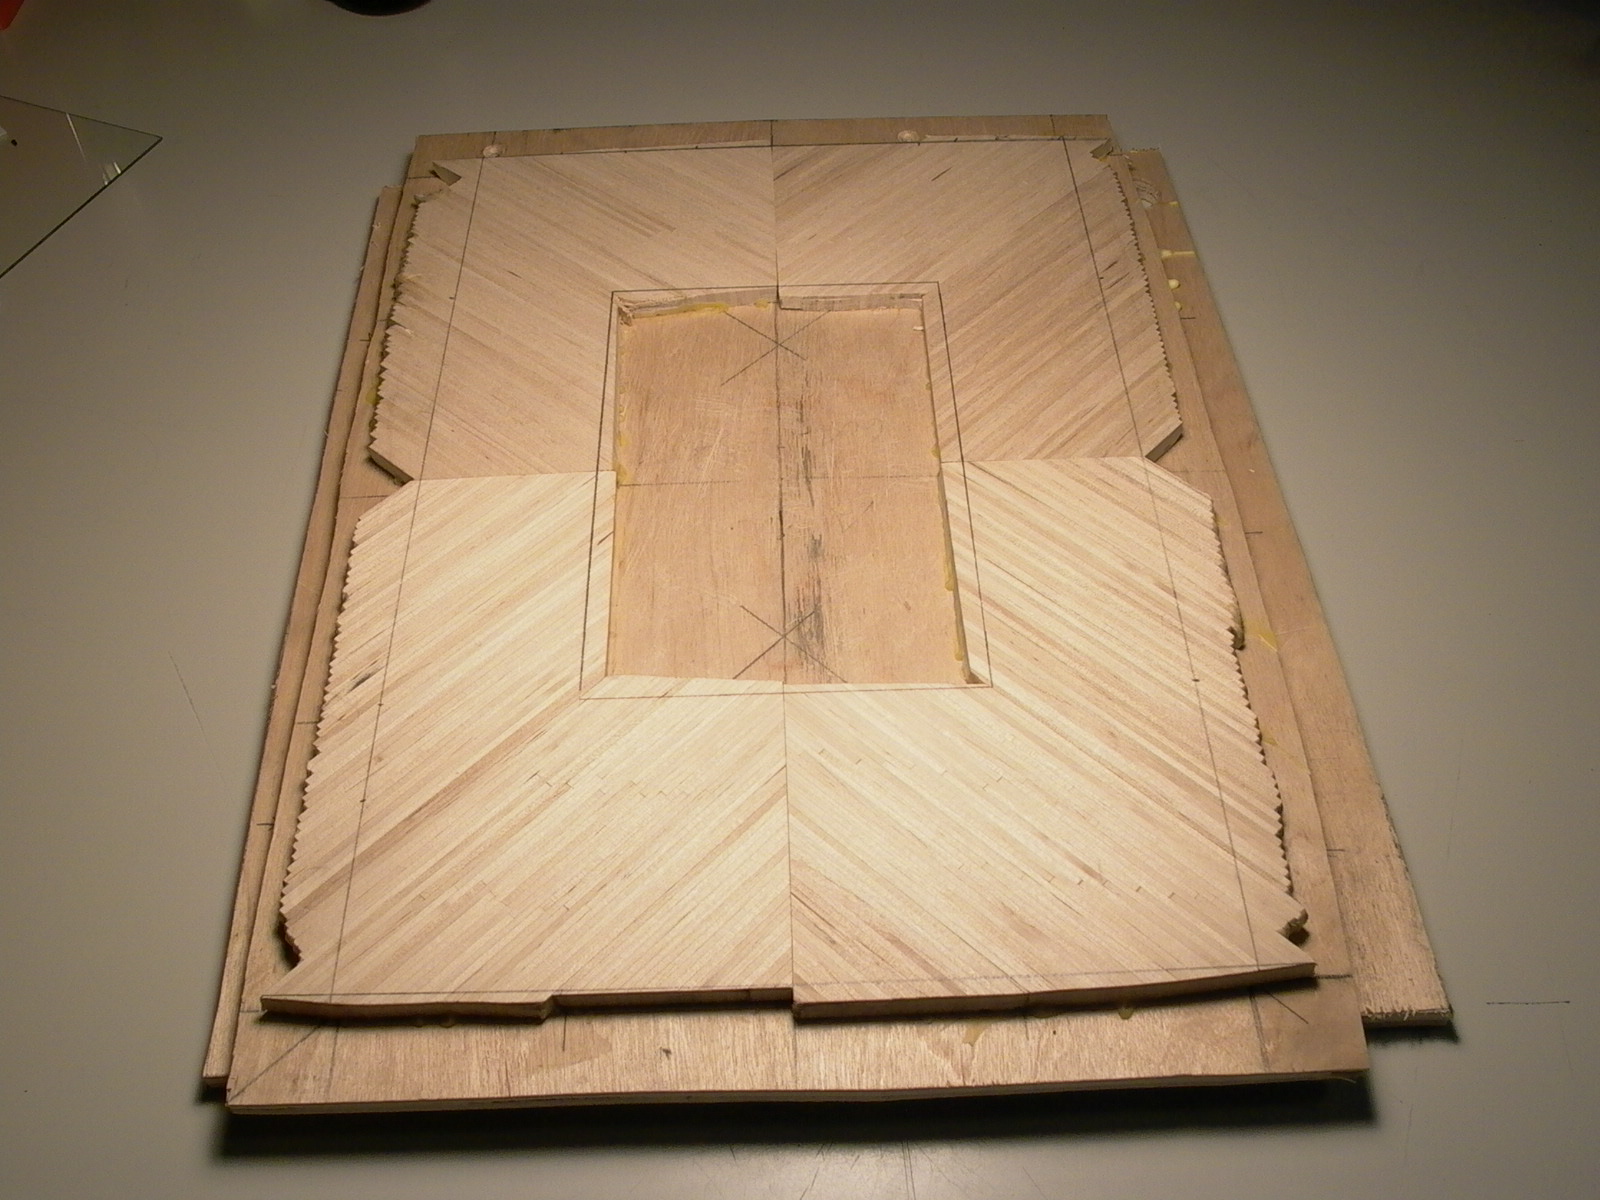
The next day, boards were picked up from the shop. As soon as I returned home, they were marked using the measurements from the drawing (fig. 18) and cut to shape (including center cut-outs). Unfortunately, I have forgotten to take photos after cutting.