The Bell Top: Bottom Half
After previous step, I lost interest in the project and placed everything in storage until the following spring (2015). When it came out of hibernation, I got ahead of myself and started to work on the decorative bell top. This was one of the hardest steps.
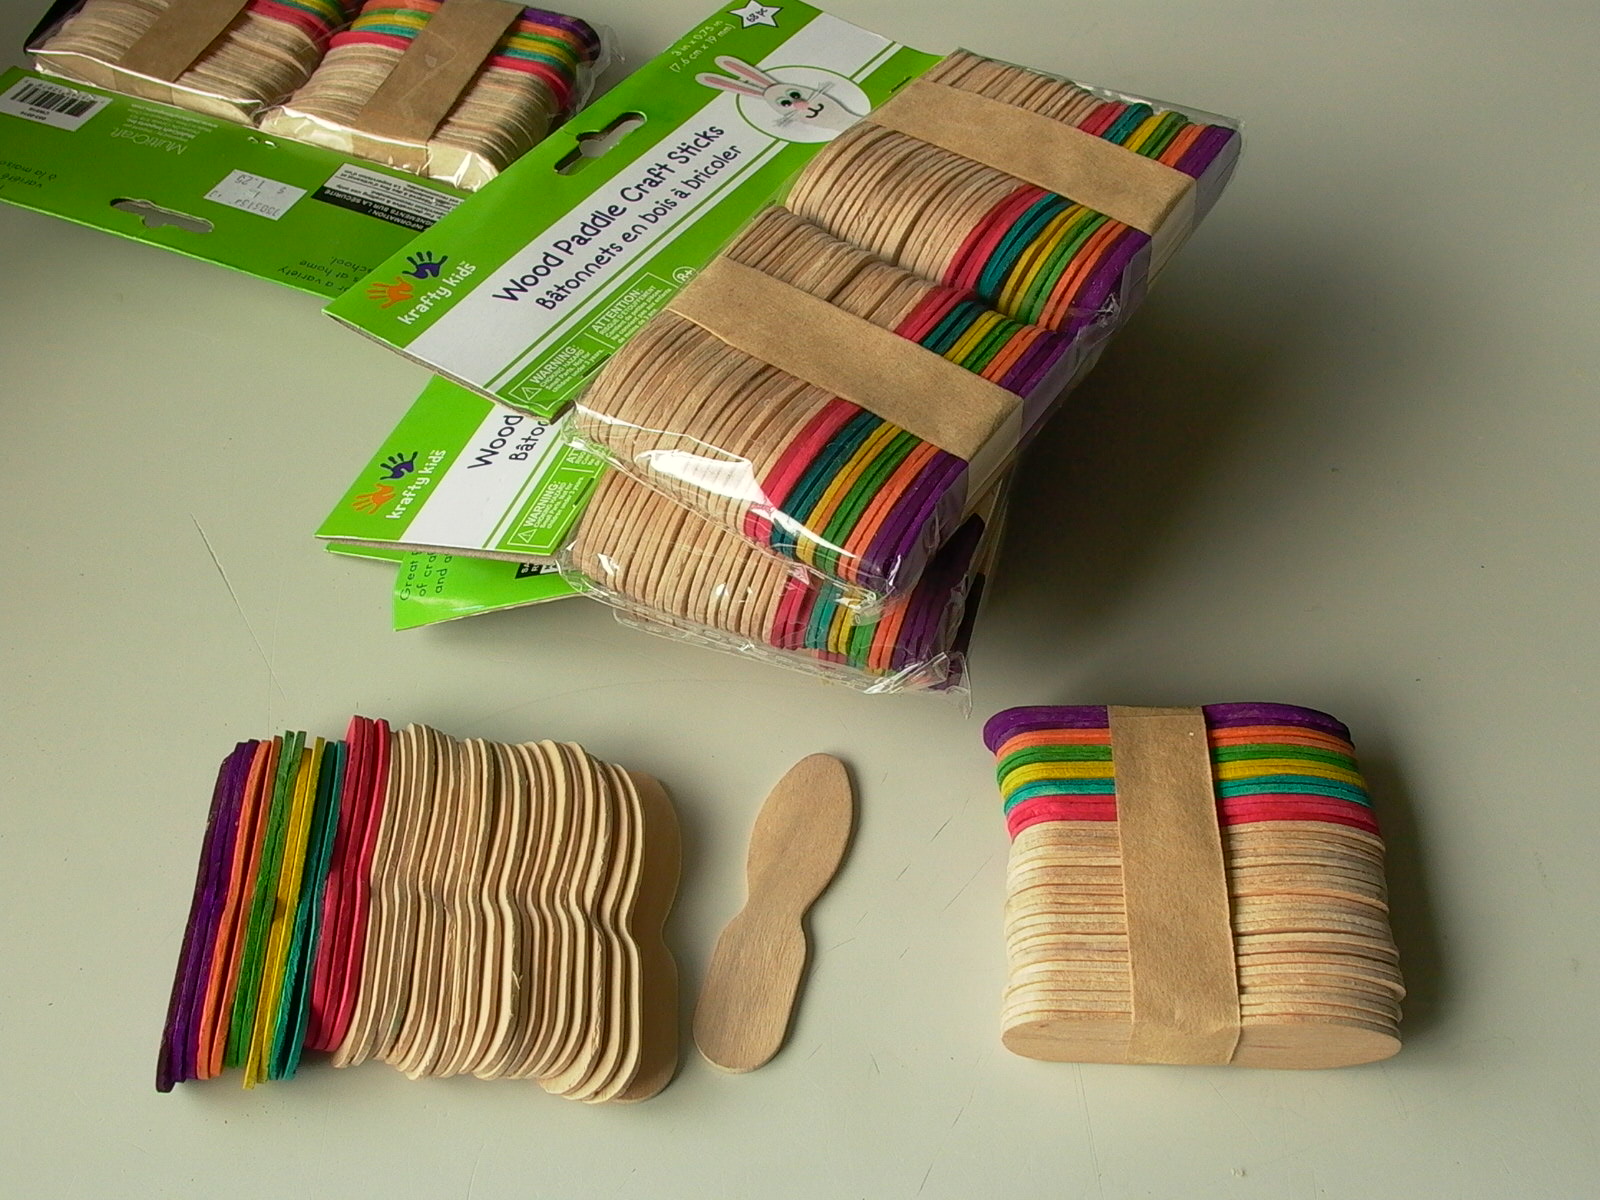
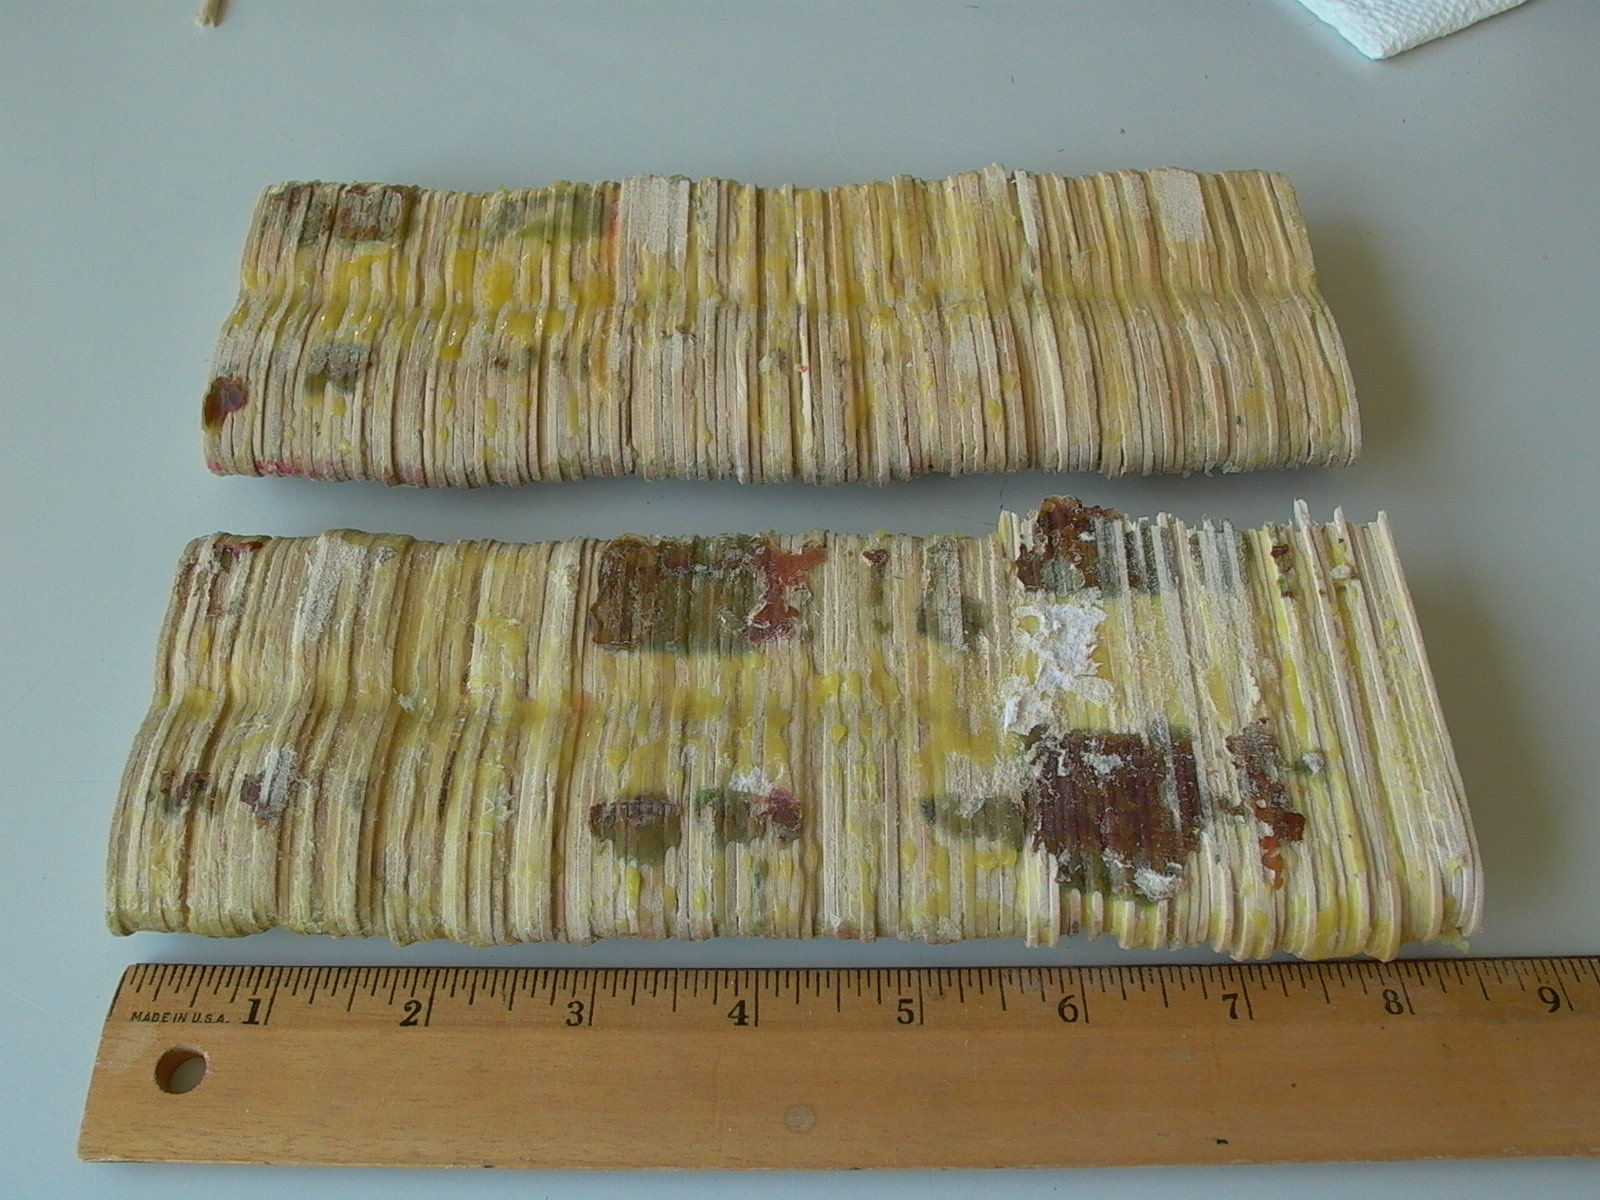
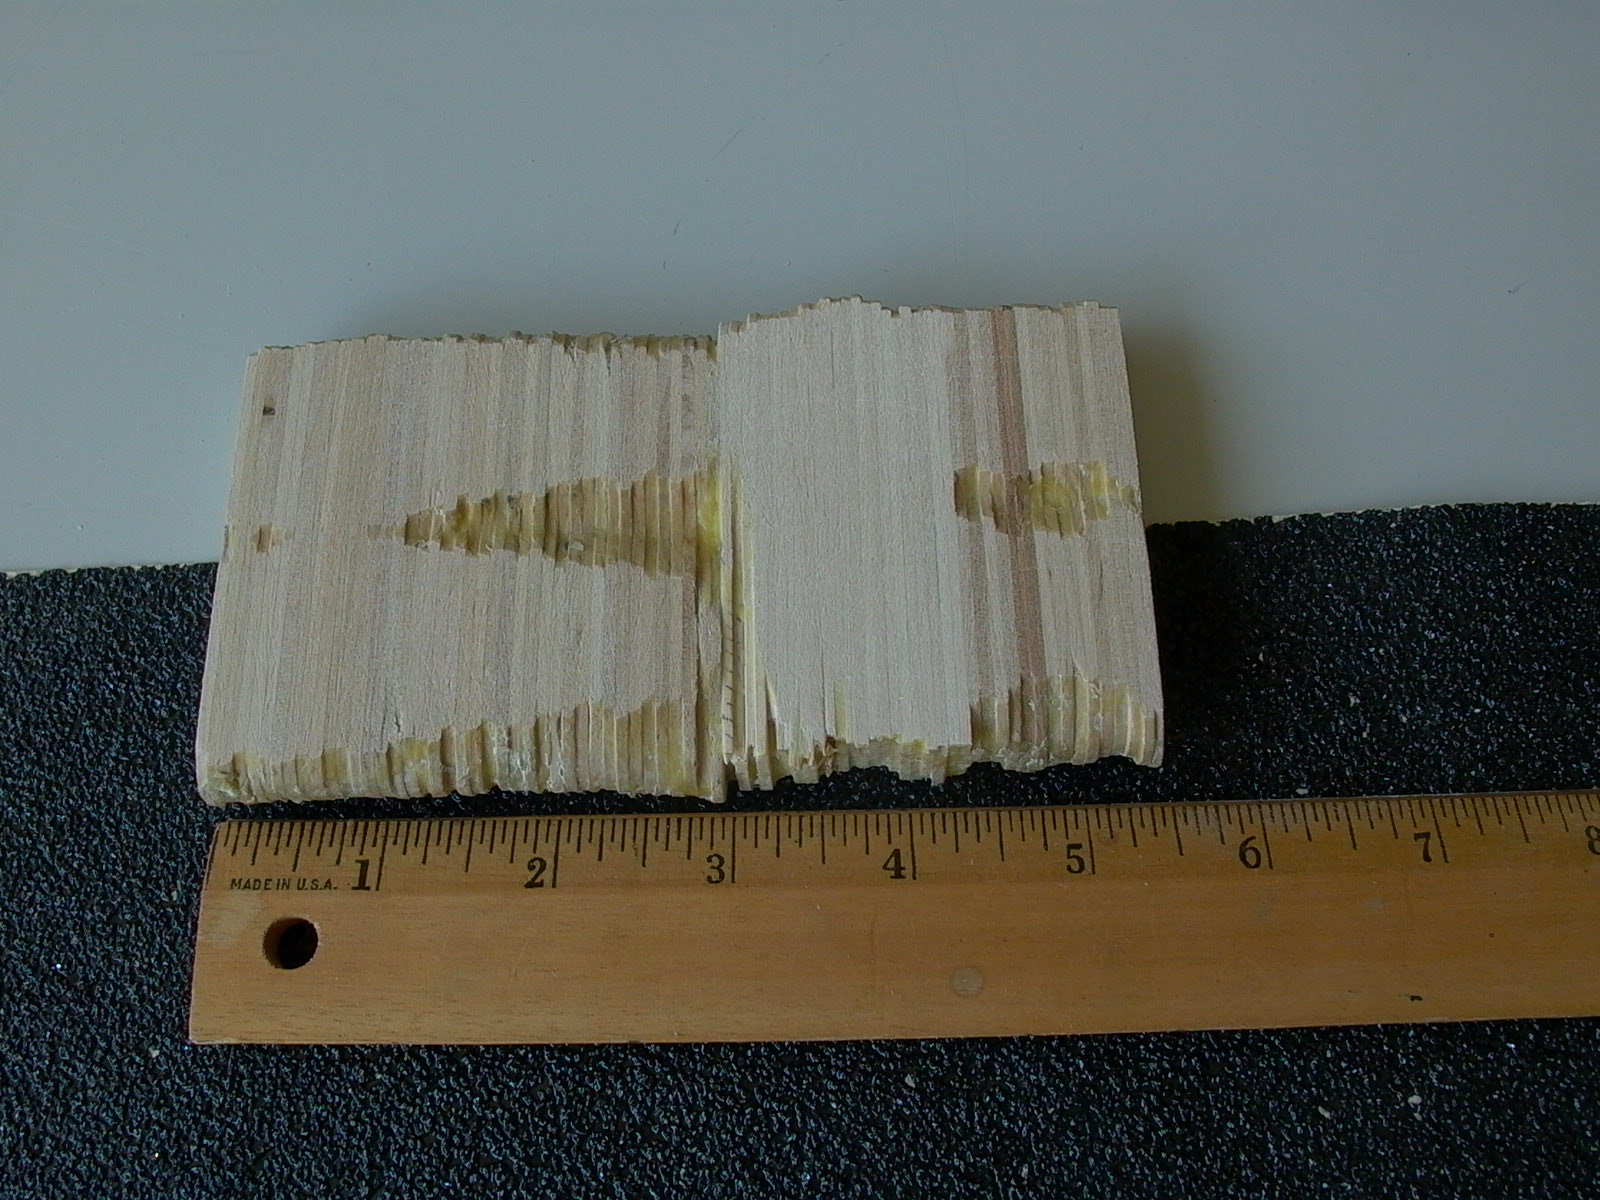
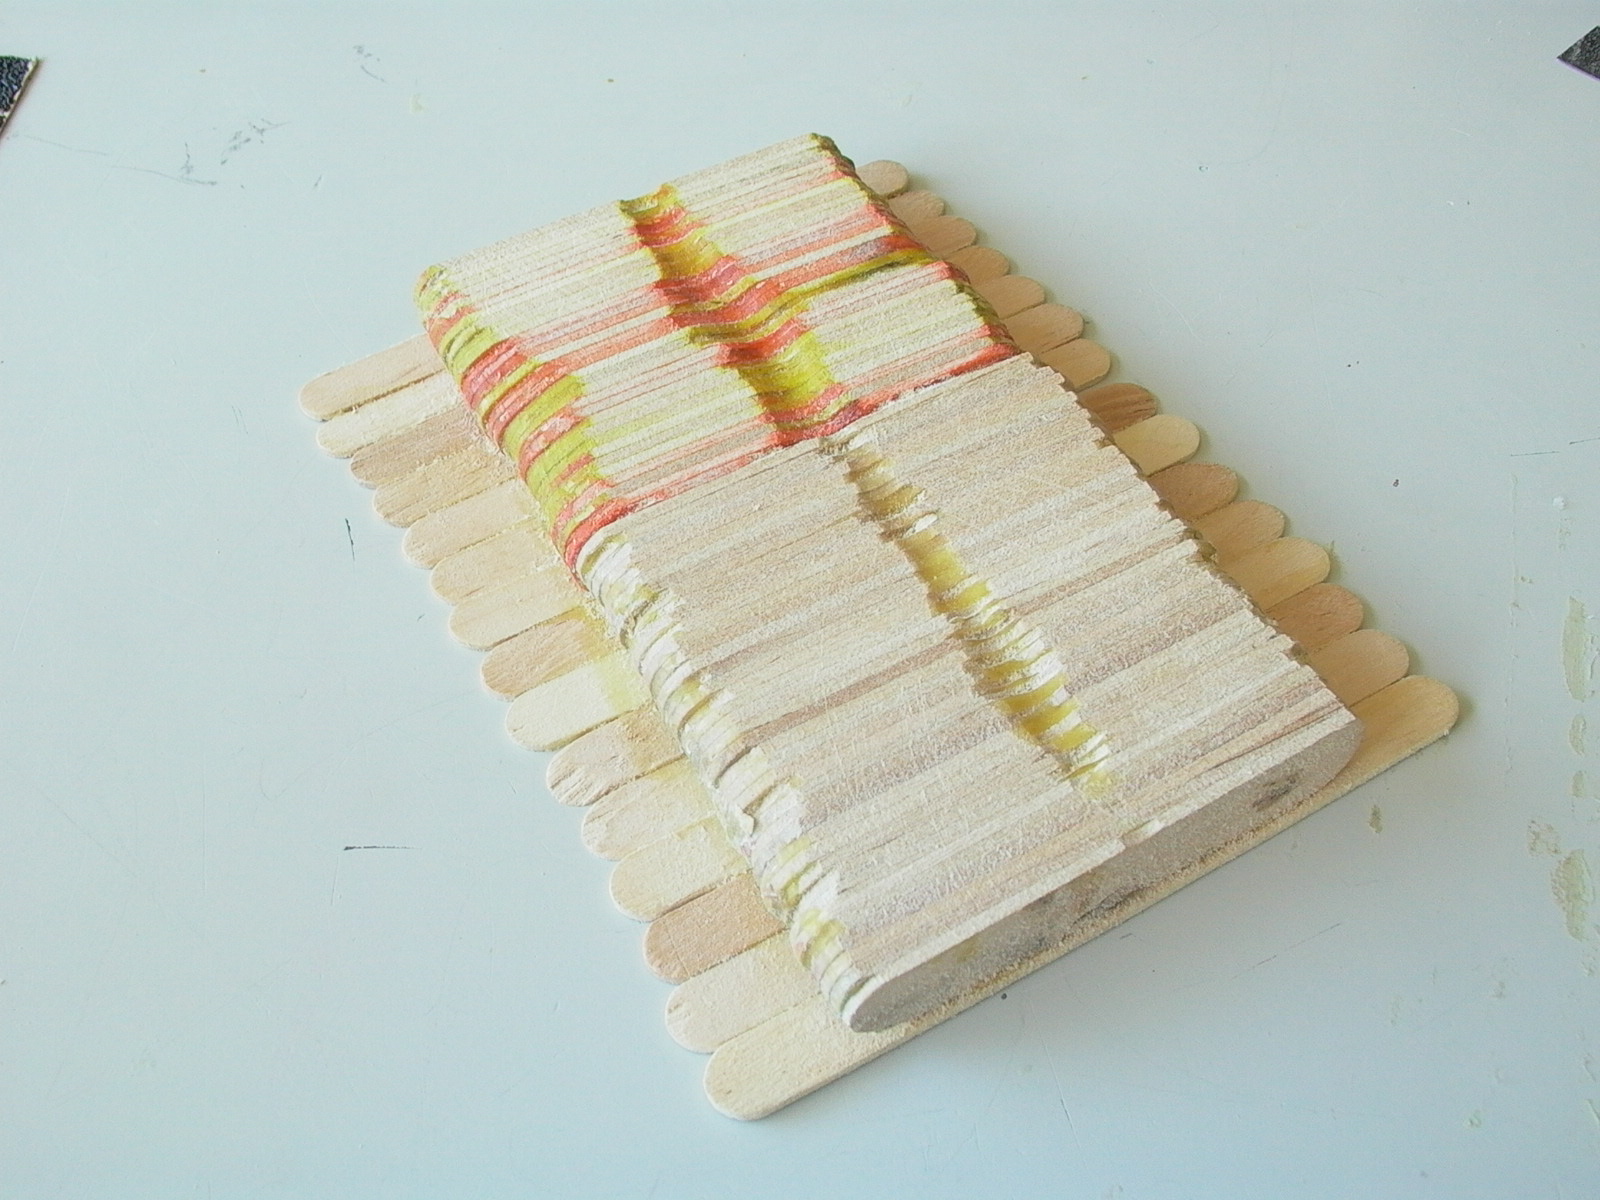
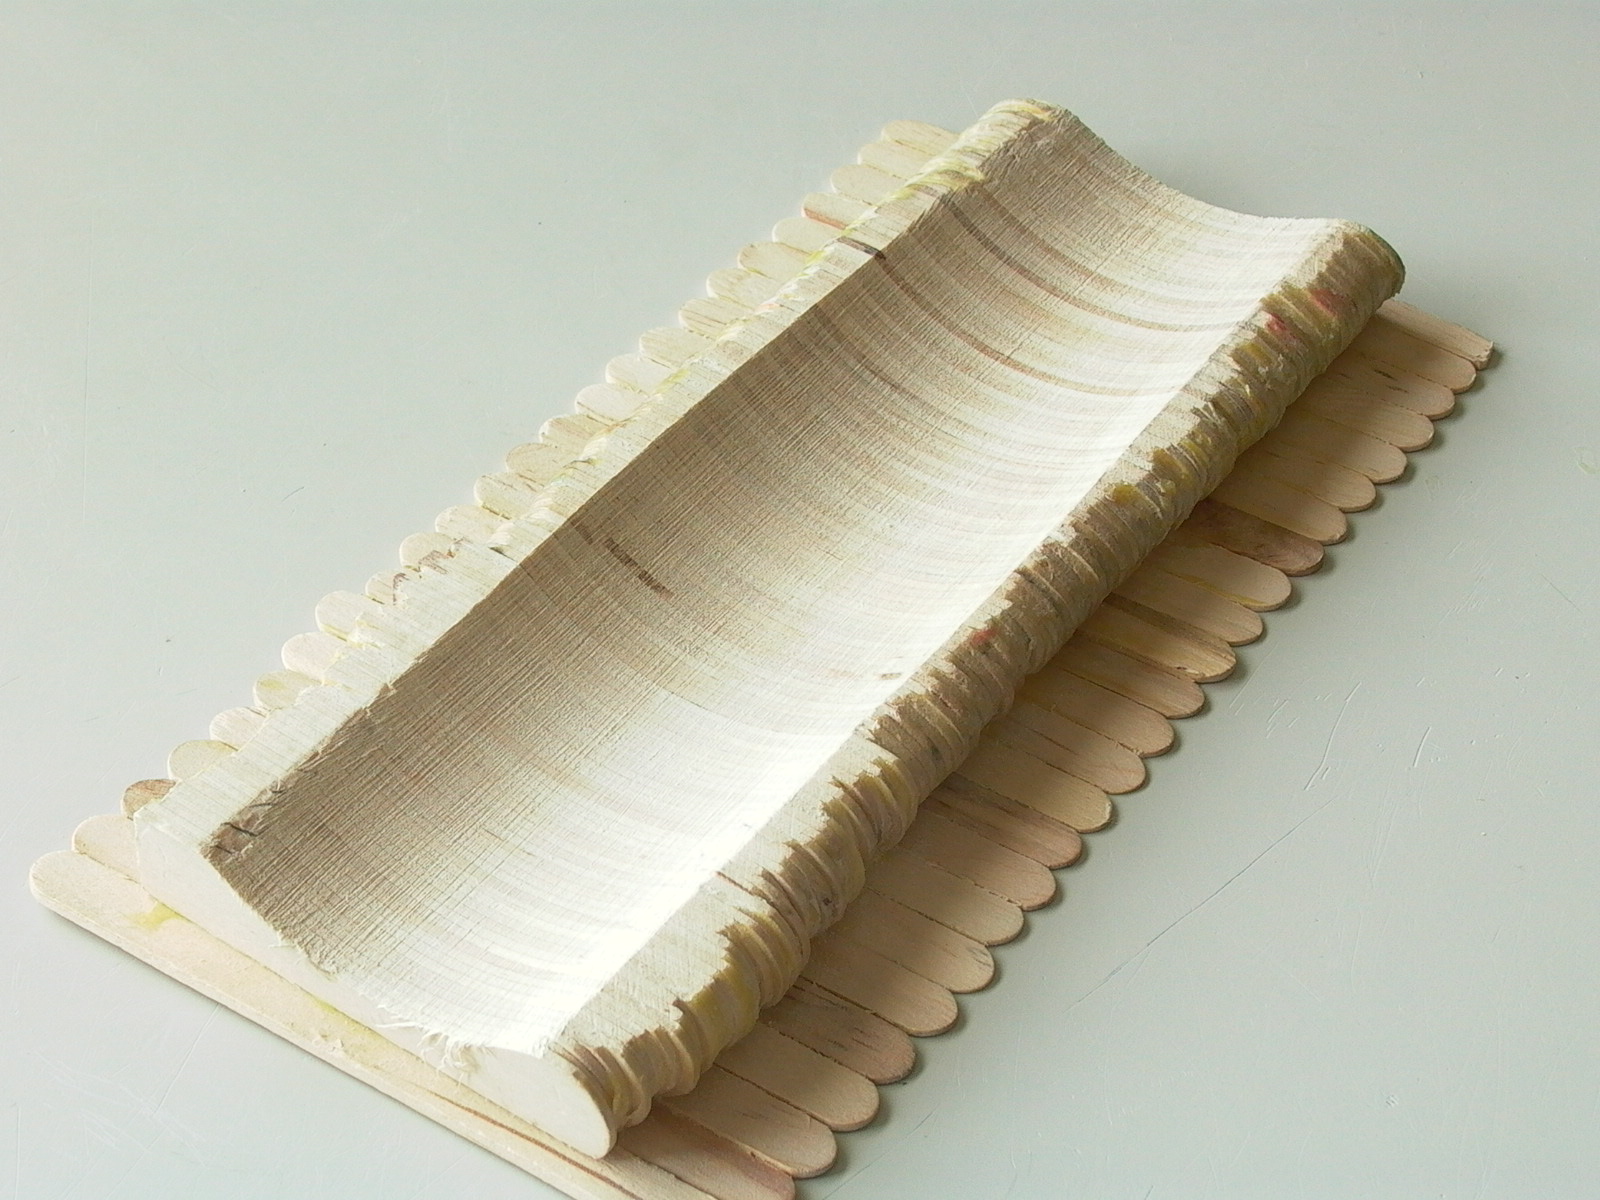
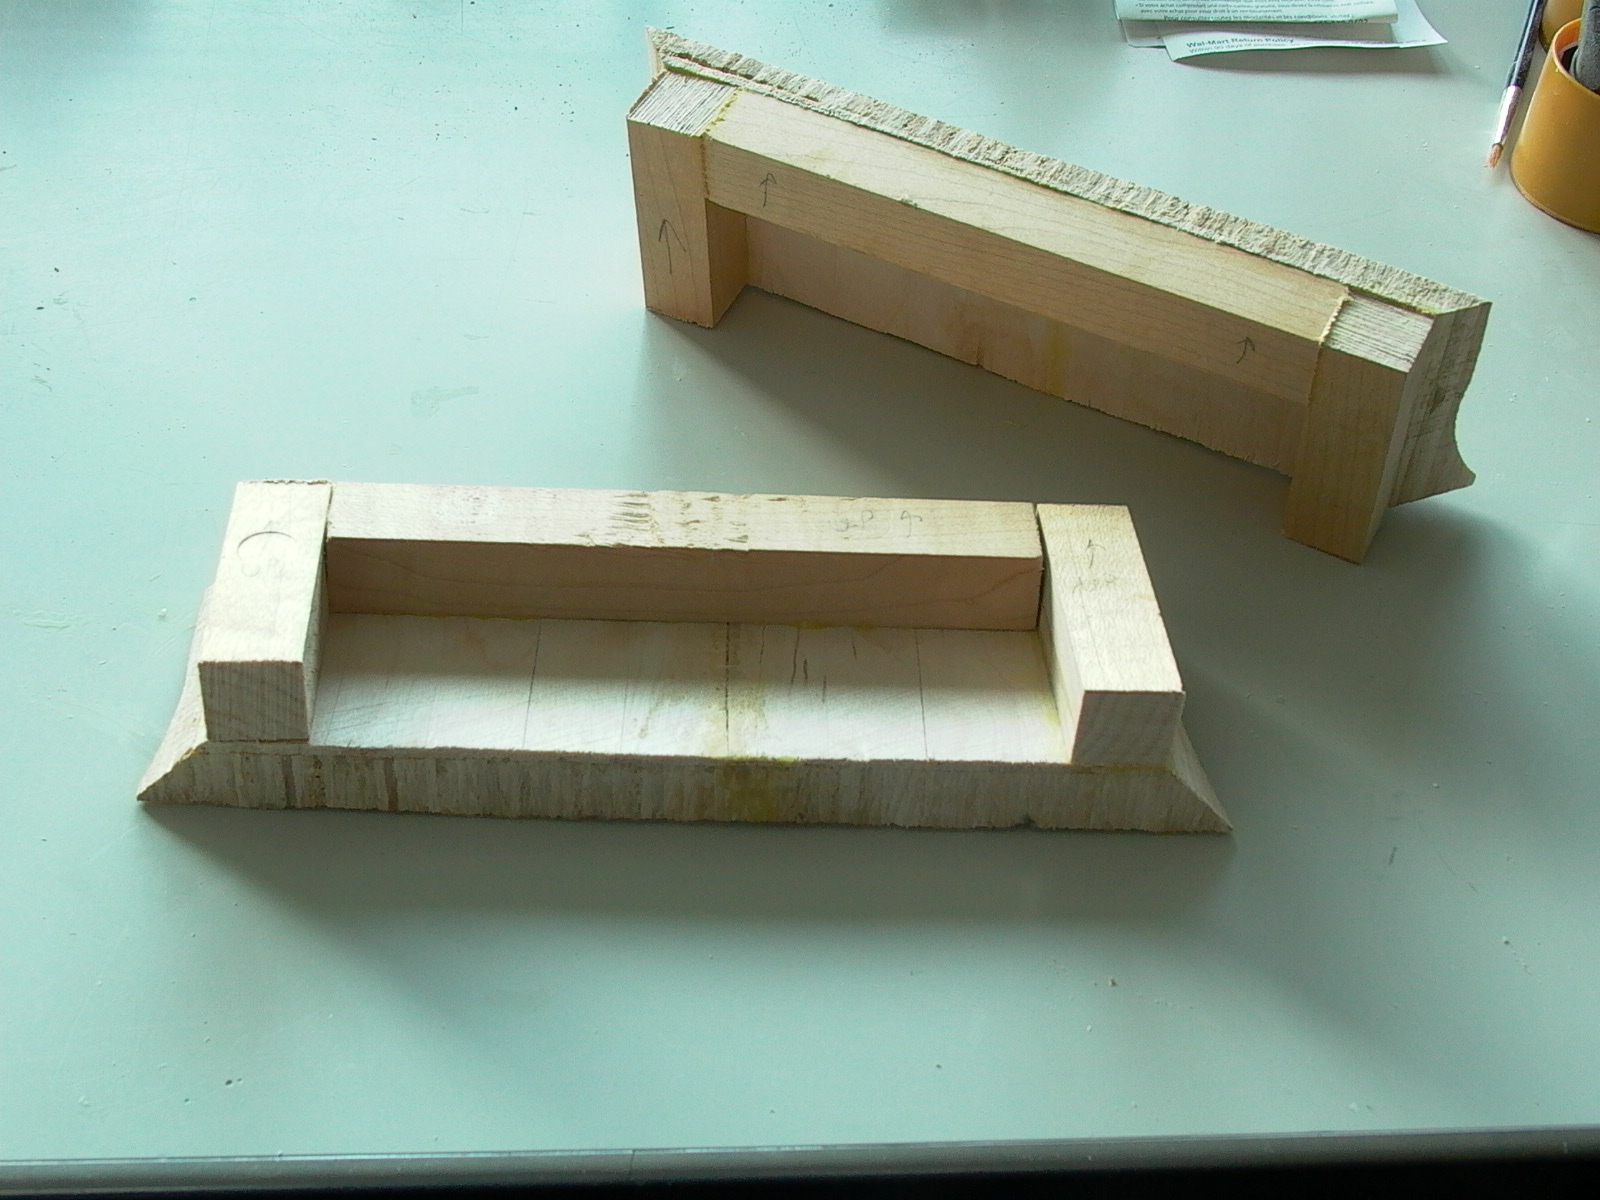
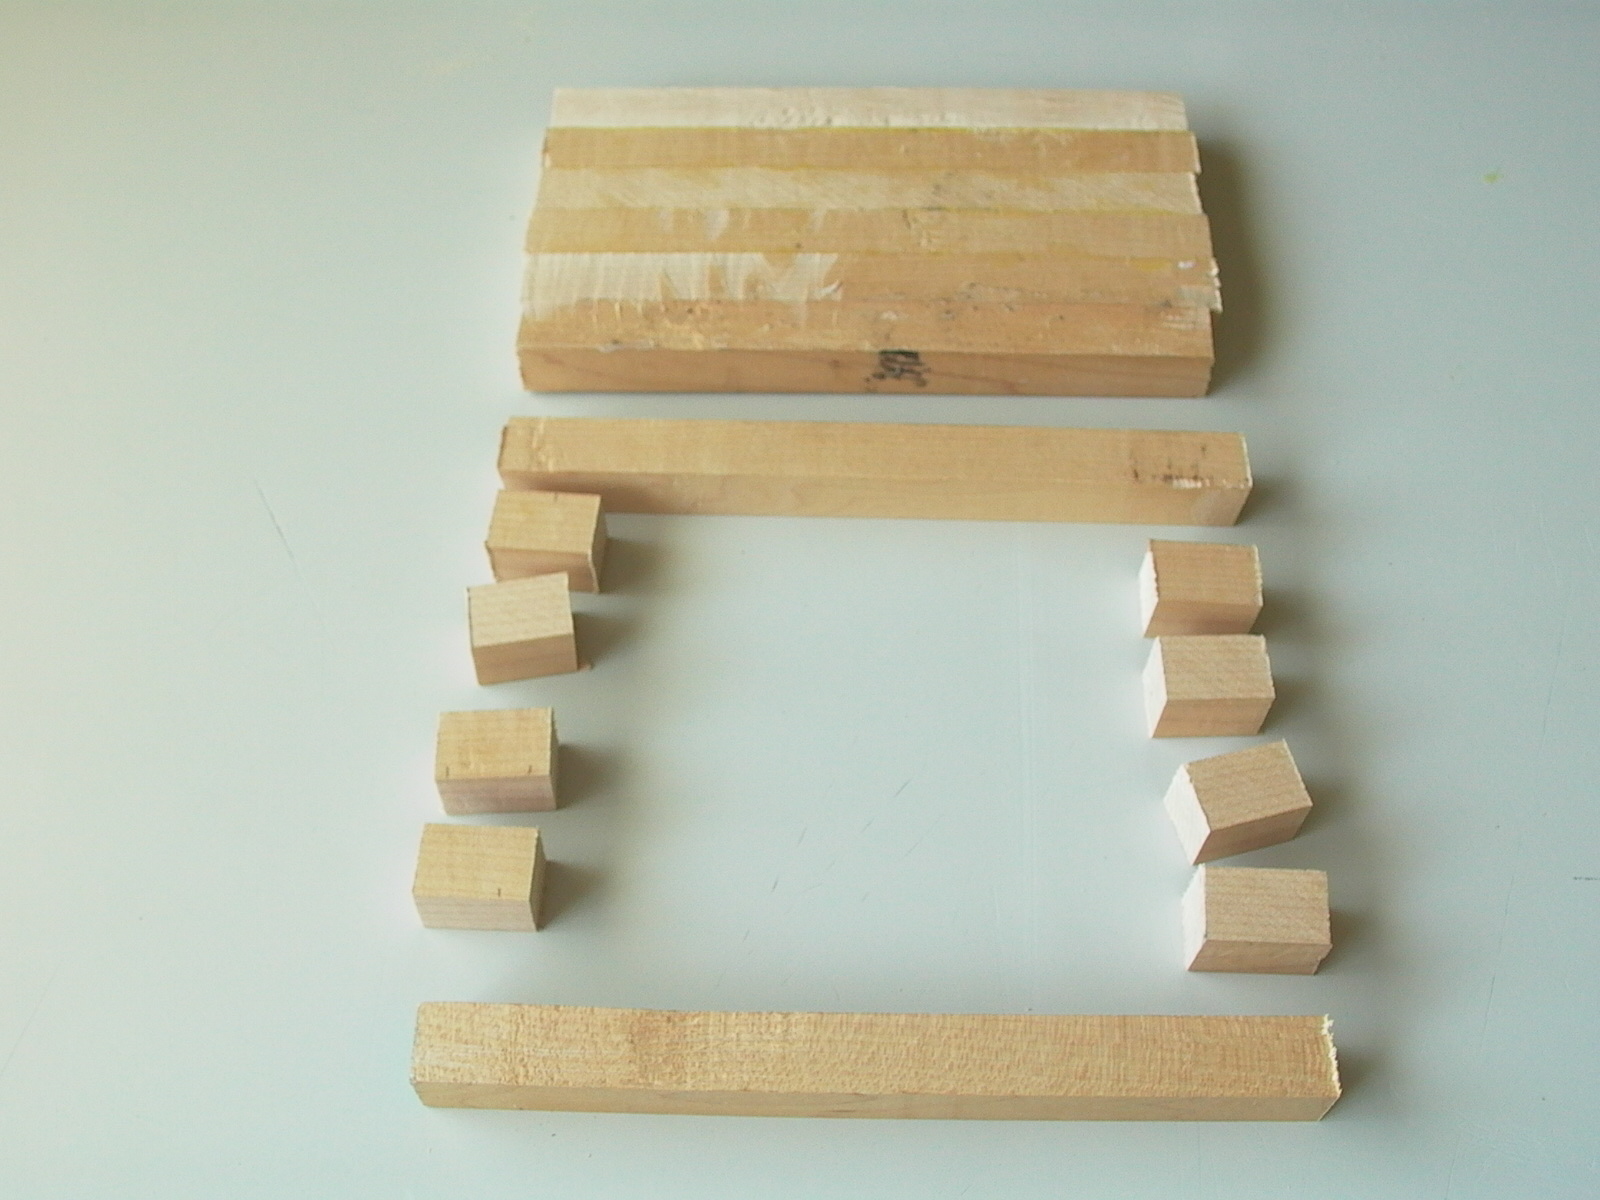
So, off to the dollar store I went and picked up several packs of craft spoons. As I got home, I began gluing their surfaces together forming what would be the sides of the lower portion of the bell top (figures 47 to 52).

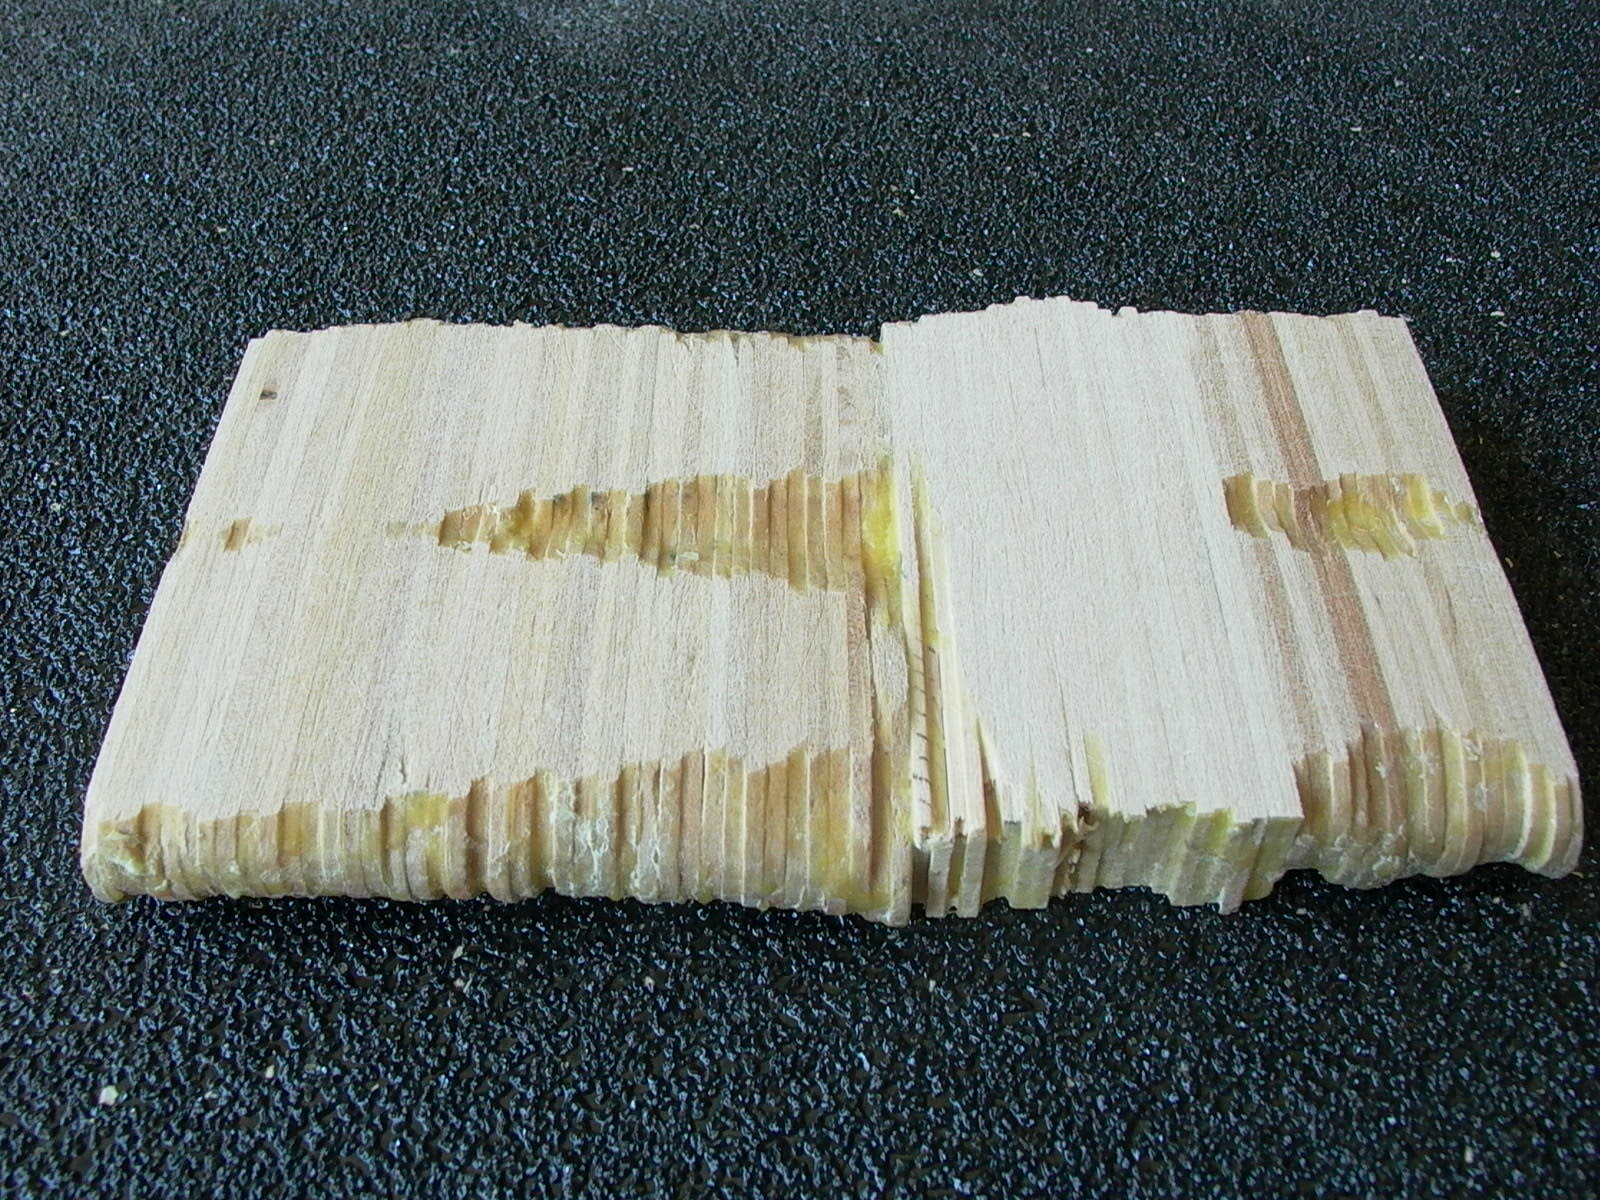
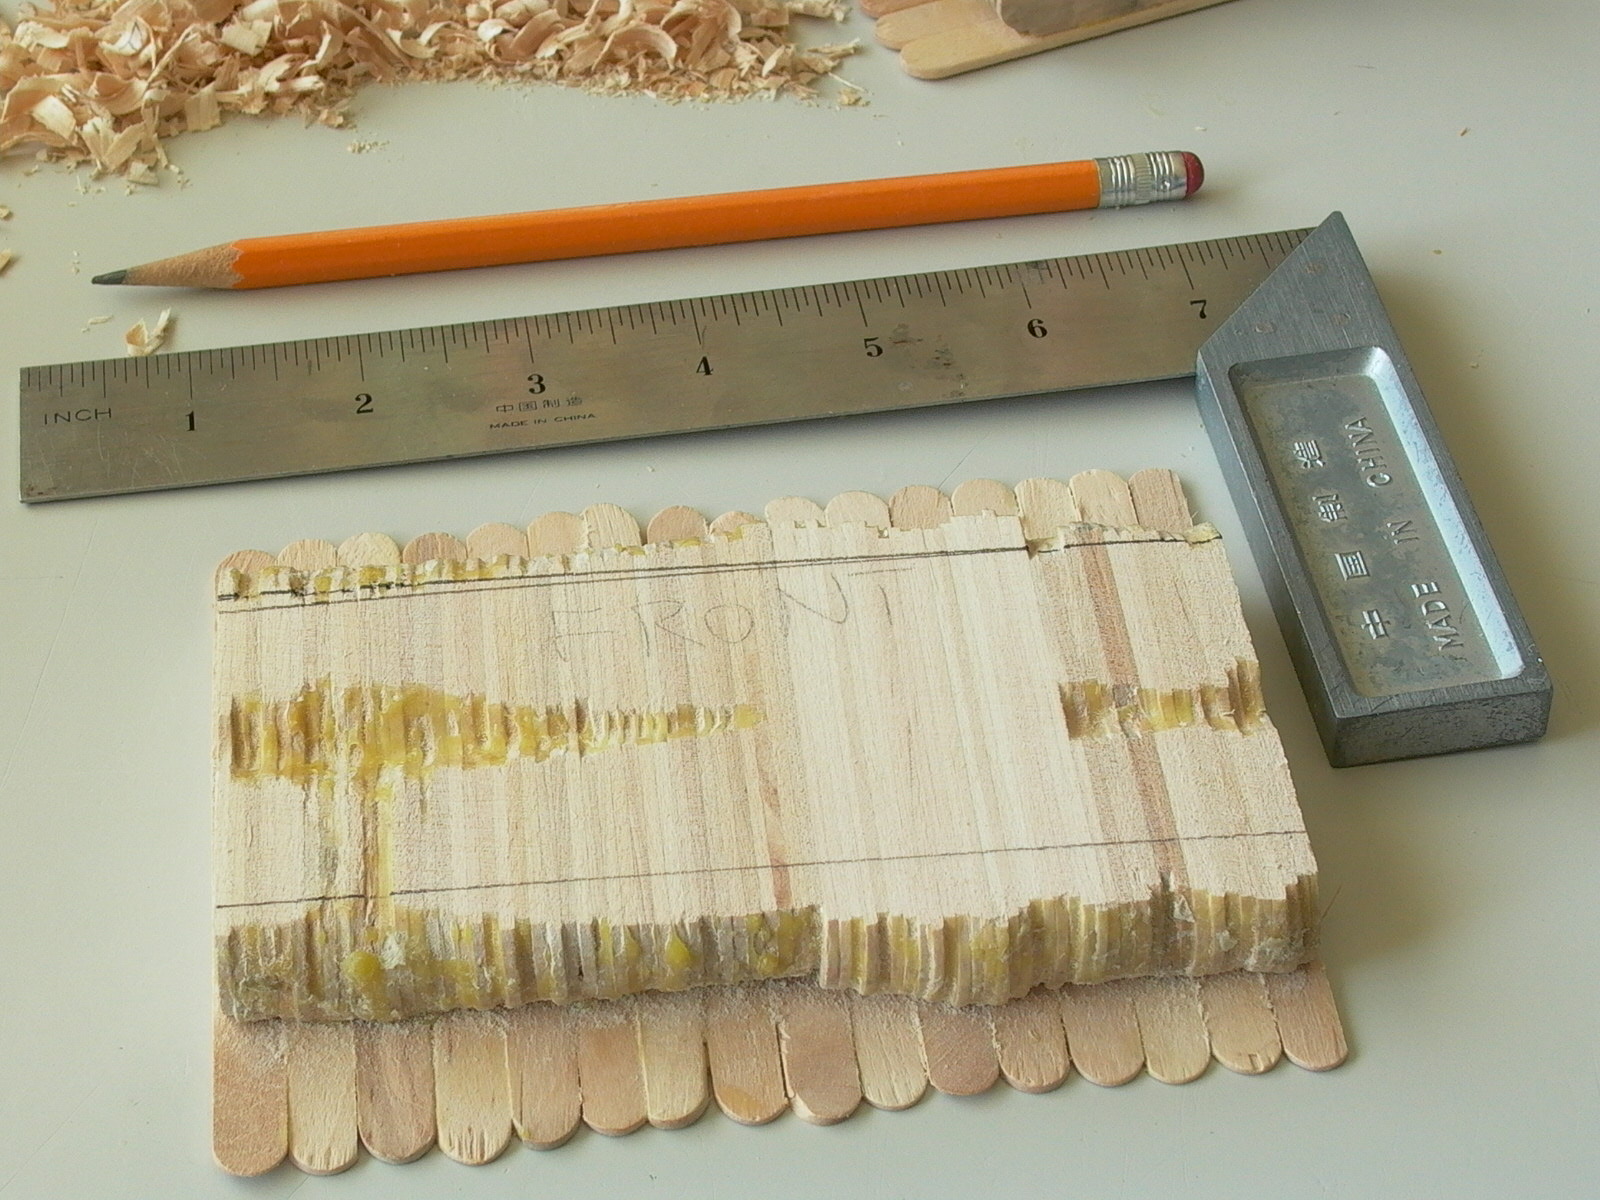
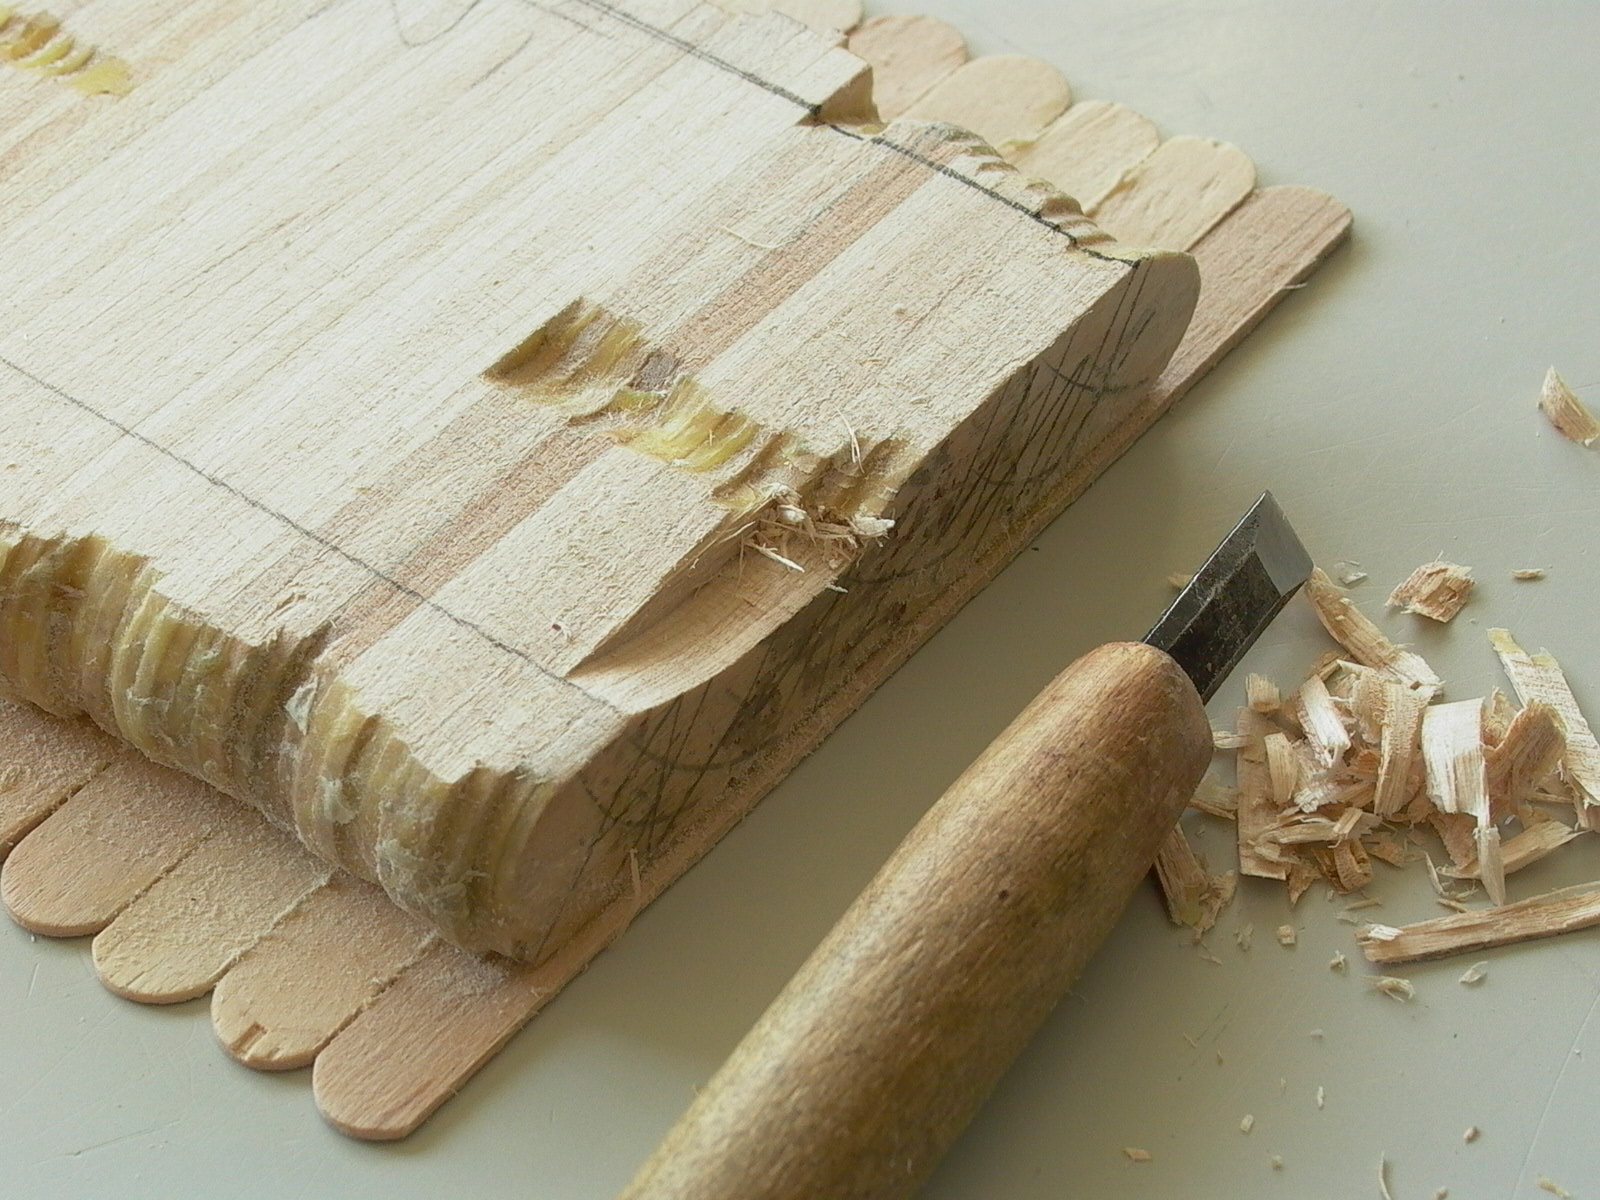
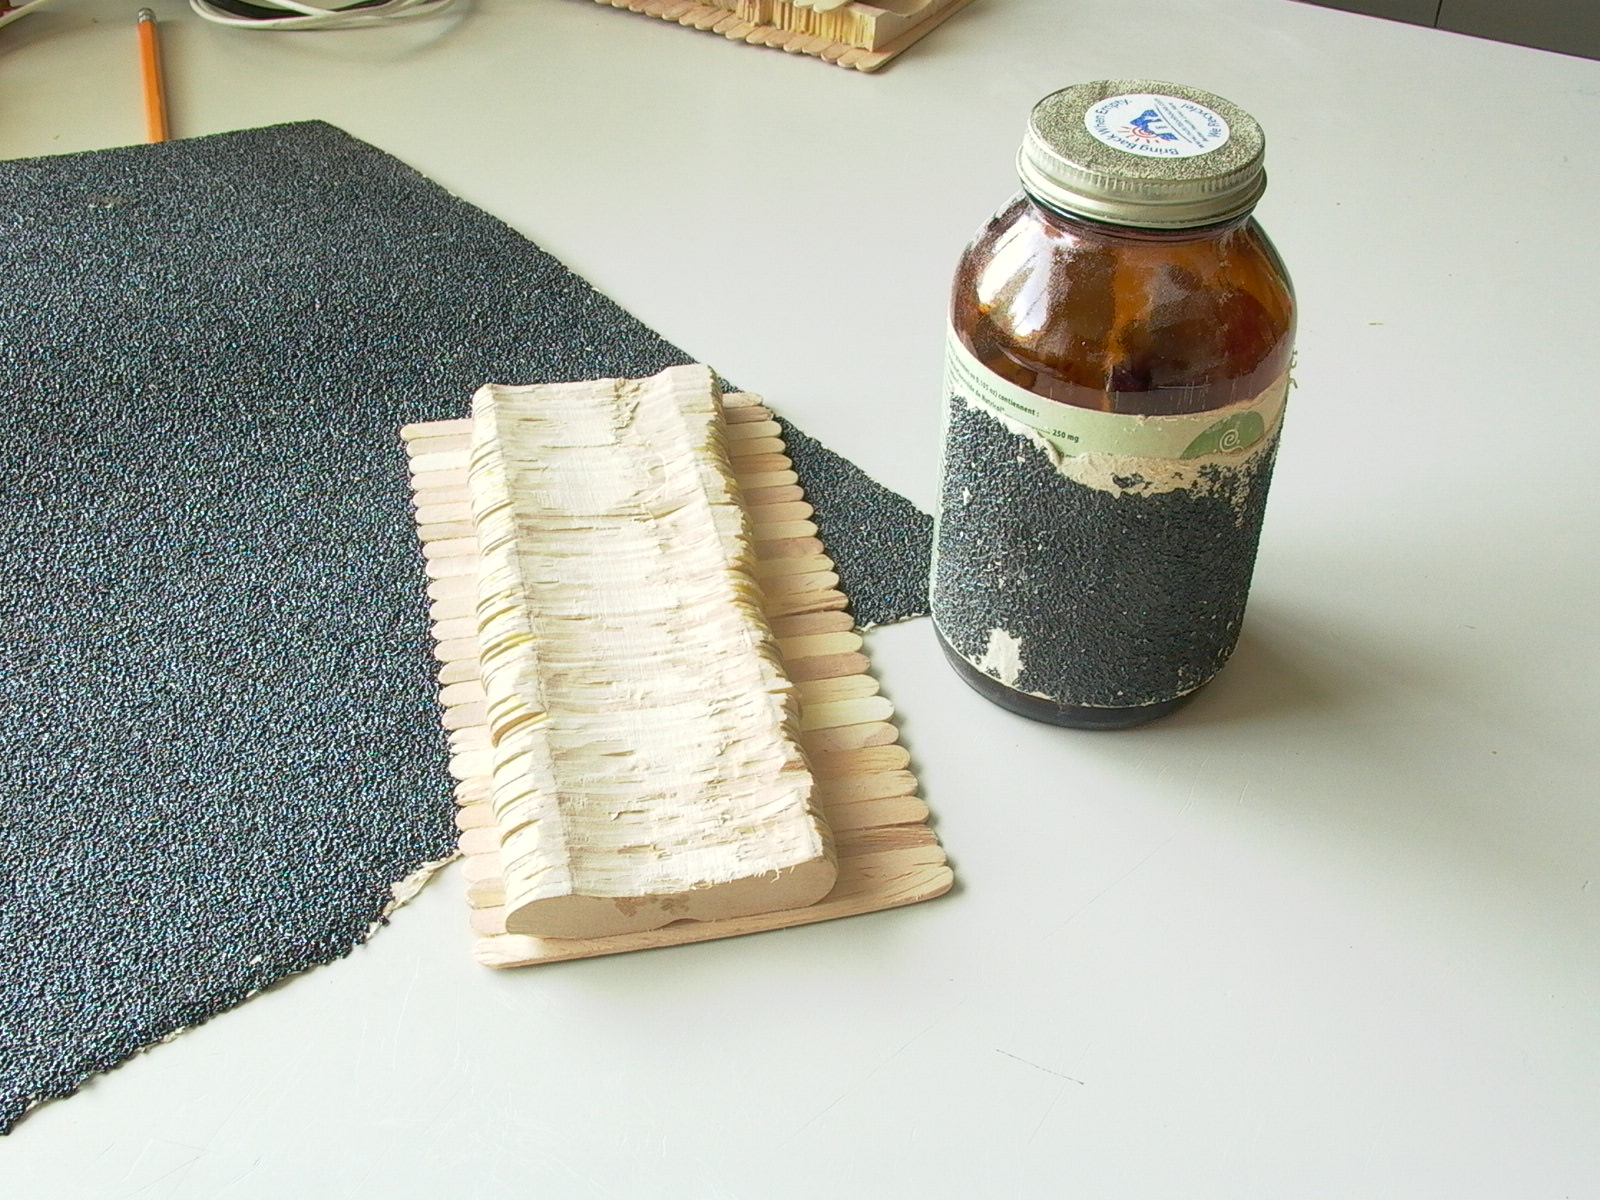
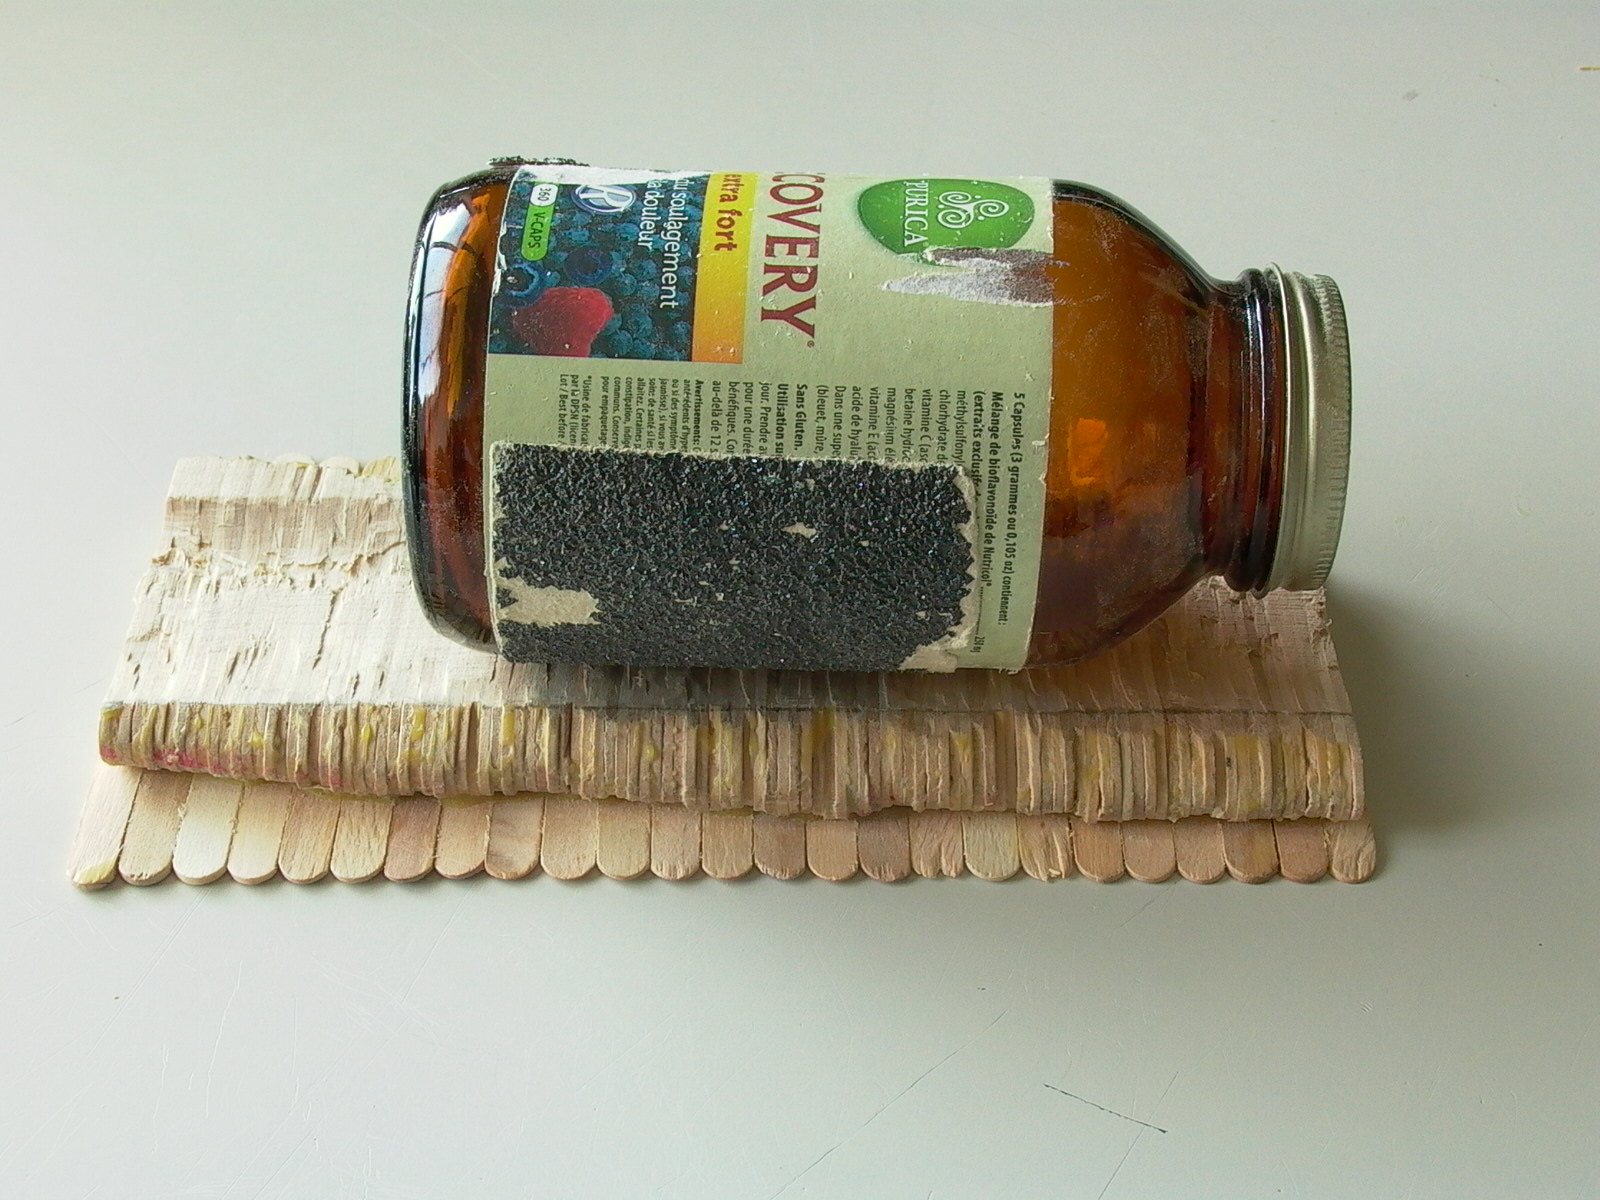
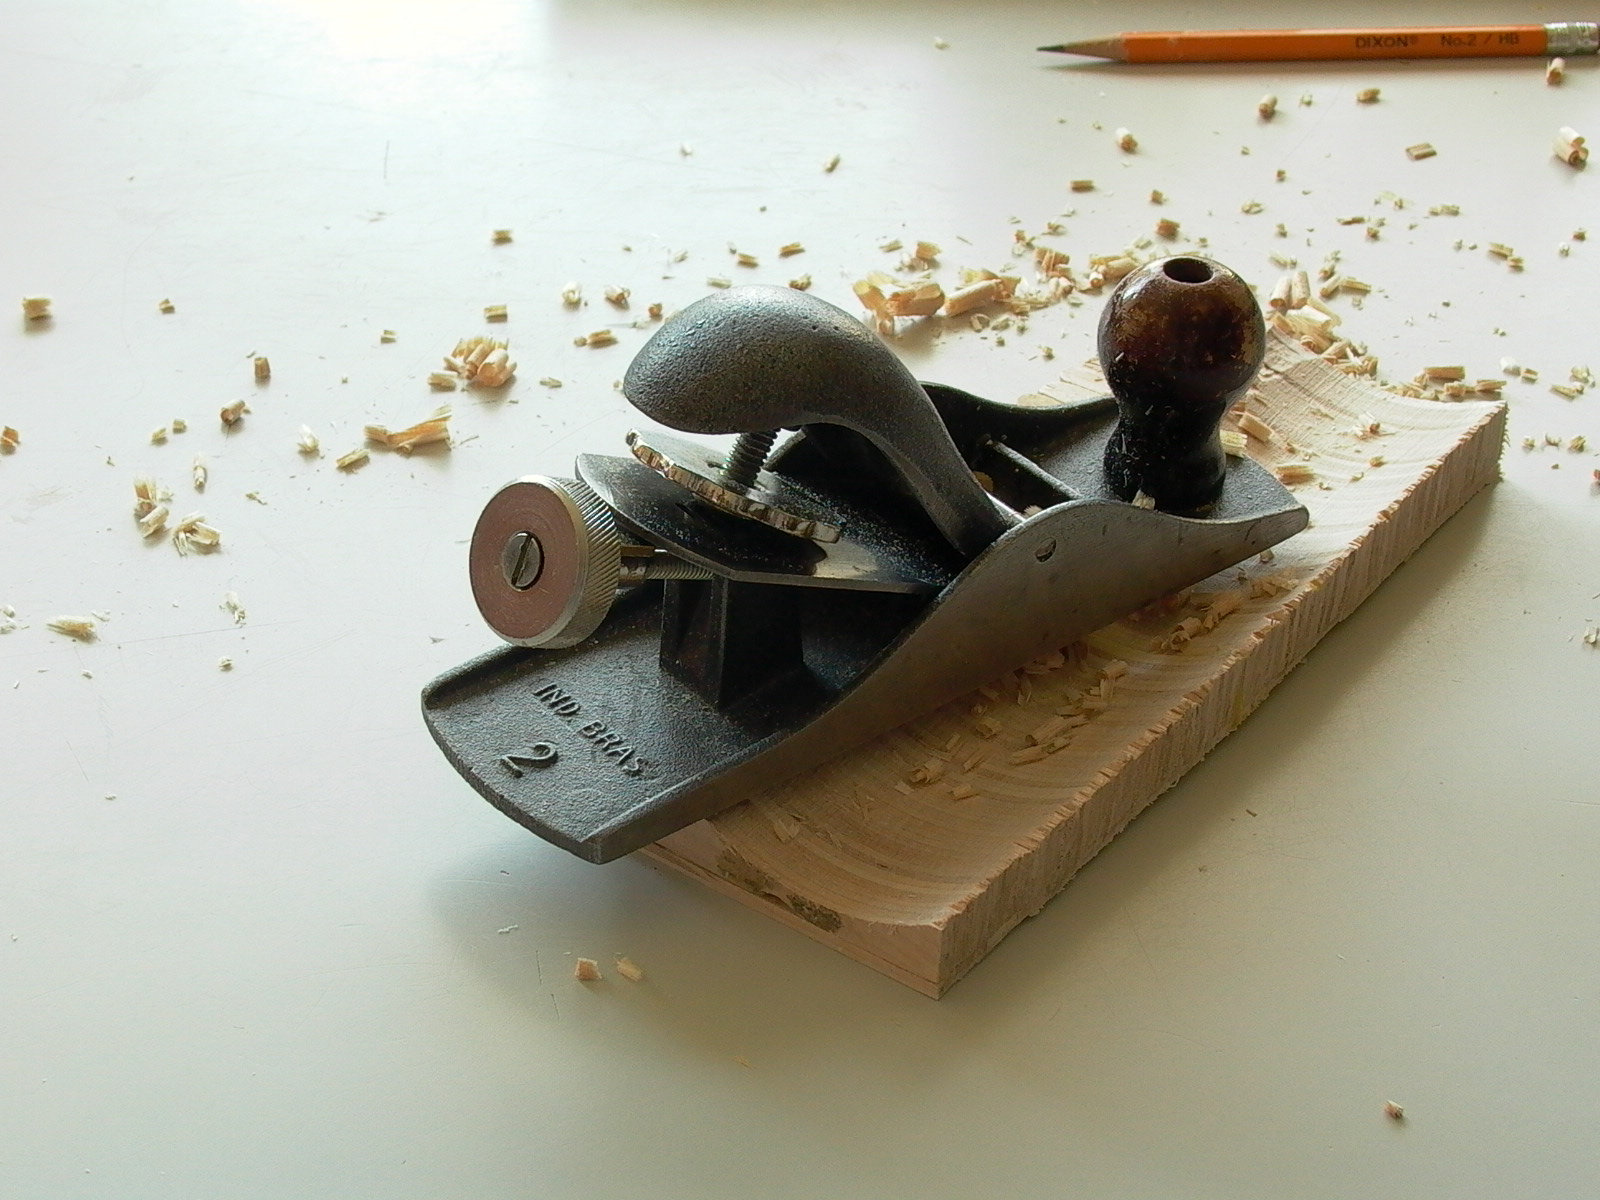
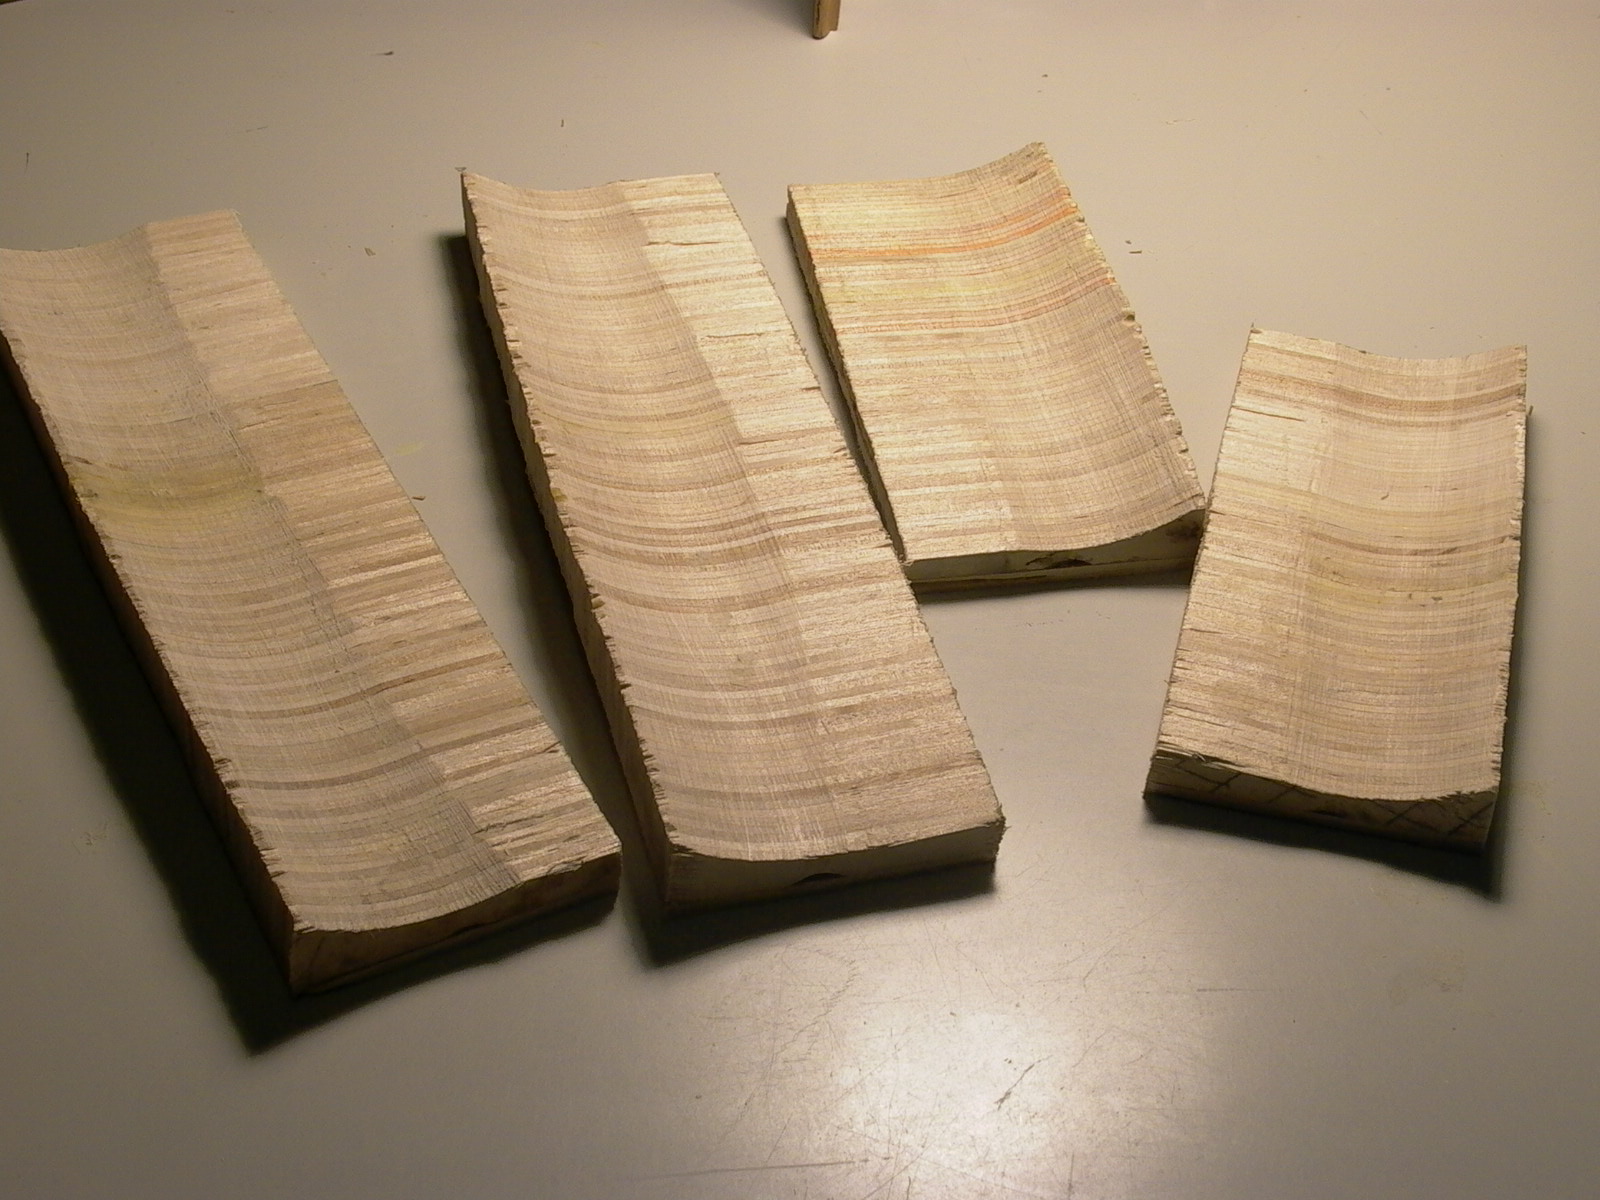
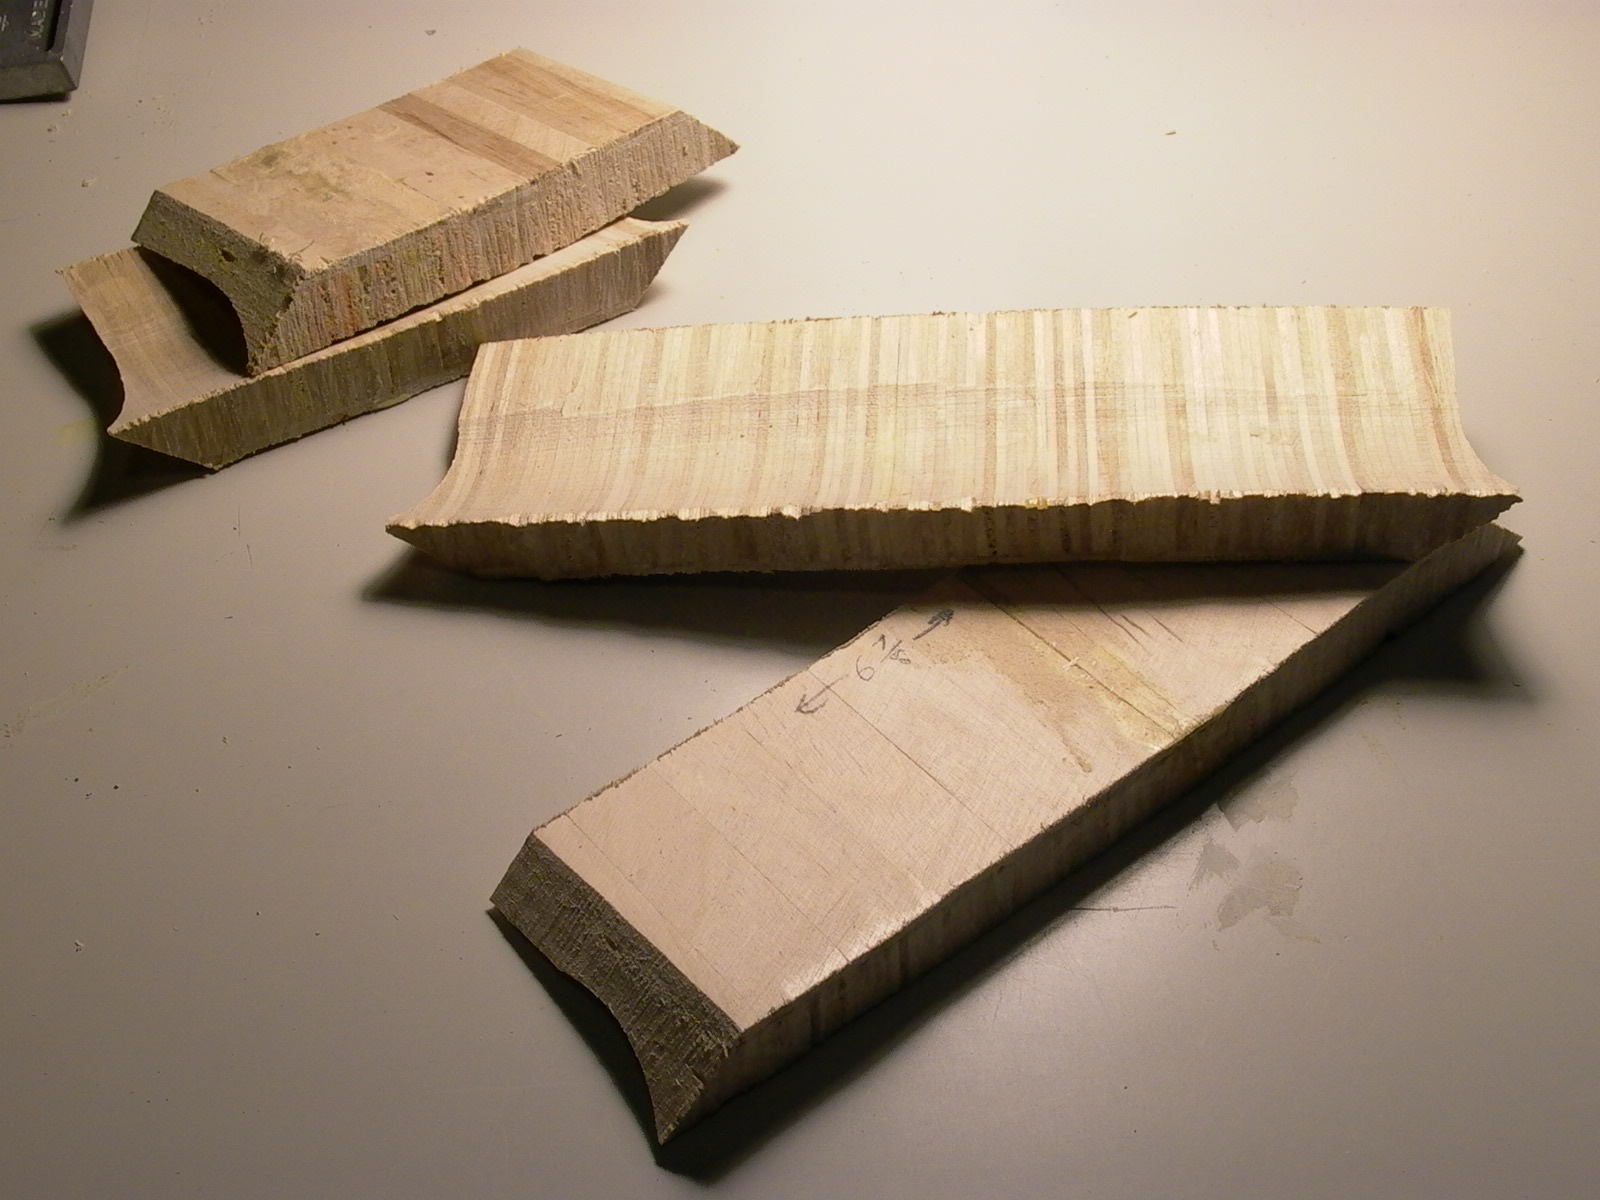
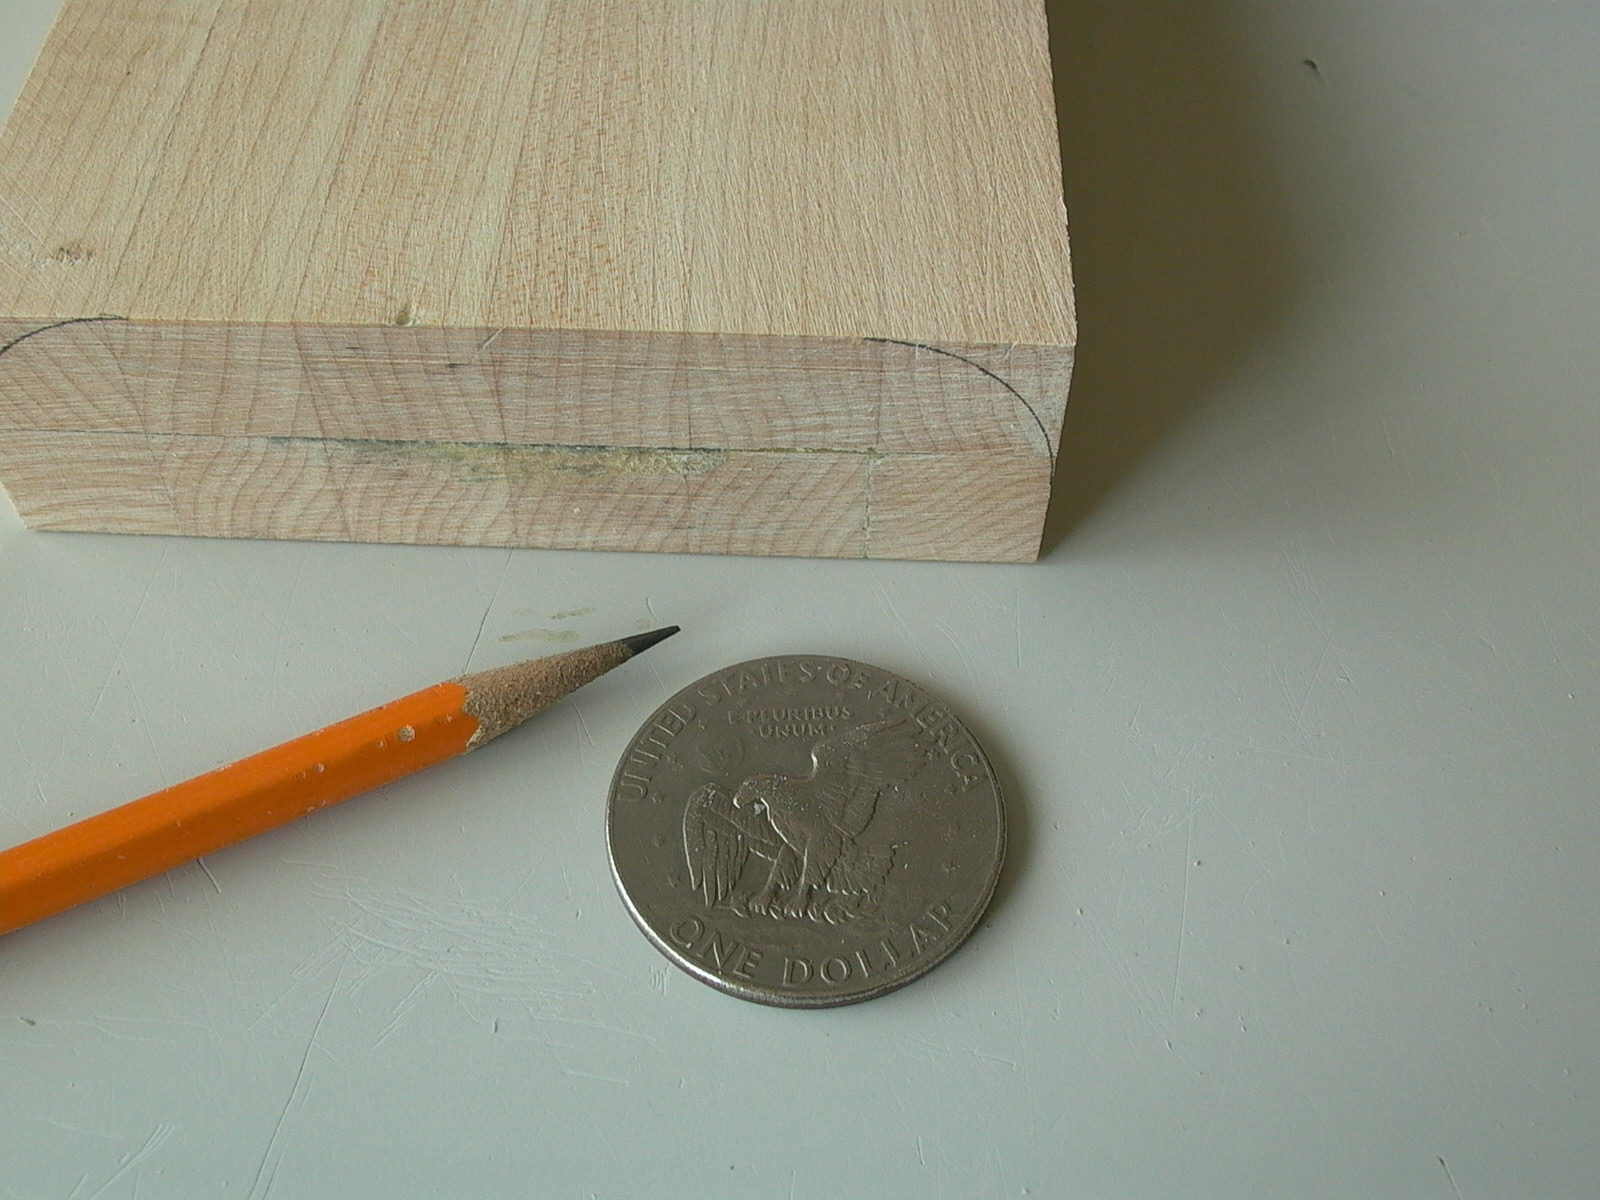
To form the curve, the width was marked off (fig. 53) and the channel was first carved out (fig. 54 to 55), then smoothed with a P36 (or P20) piece of sandpaper wrapped around a glass jar (fig. 56 to 59).
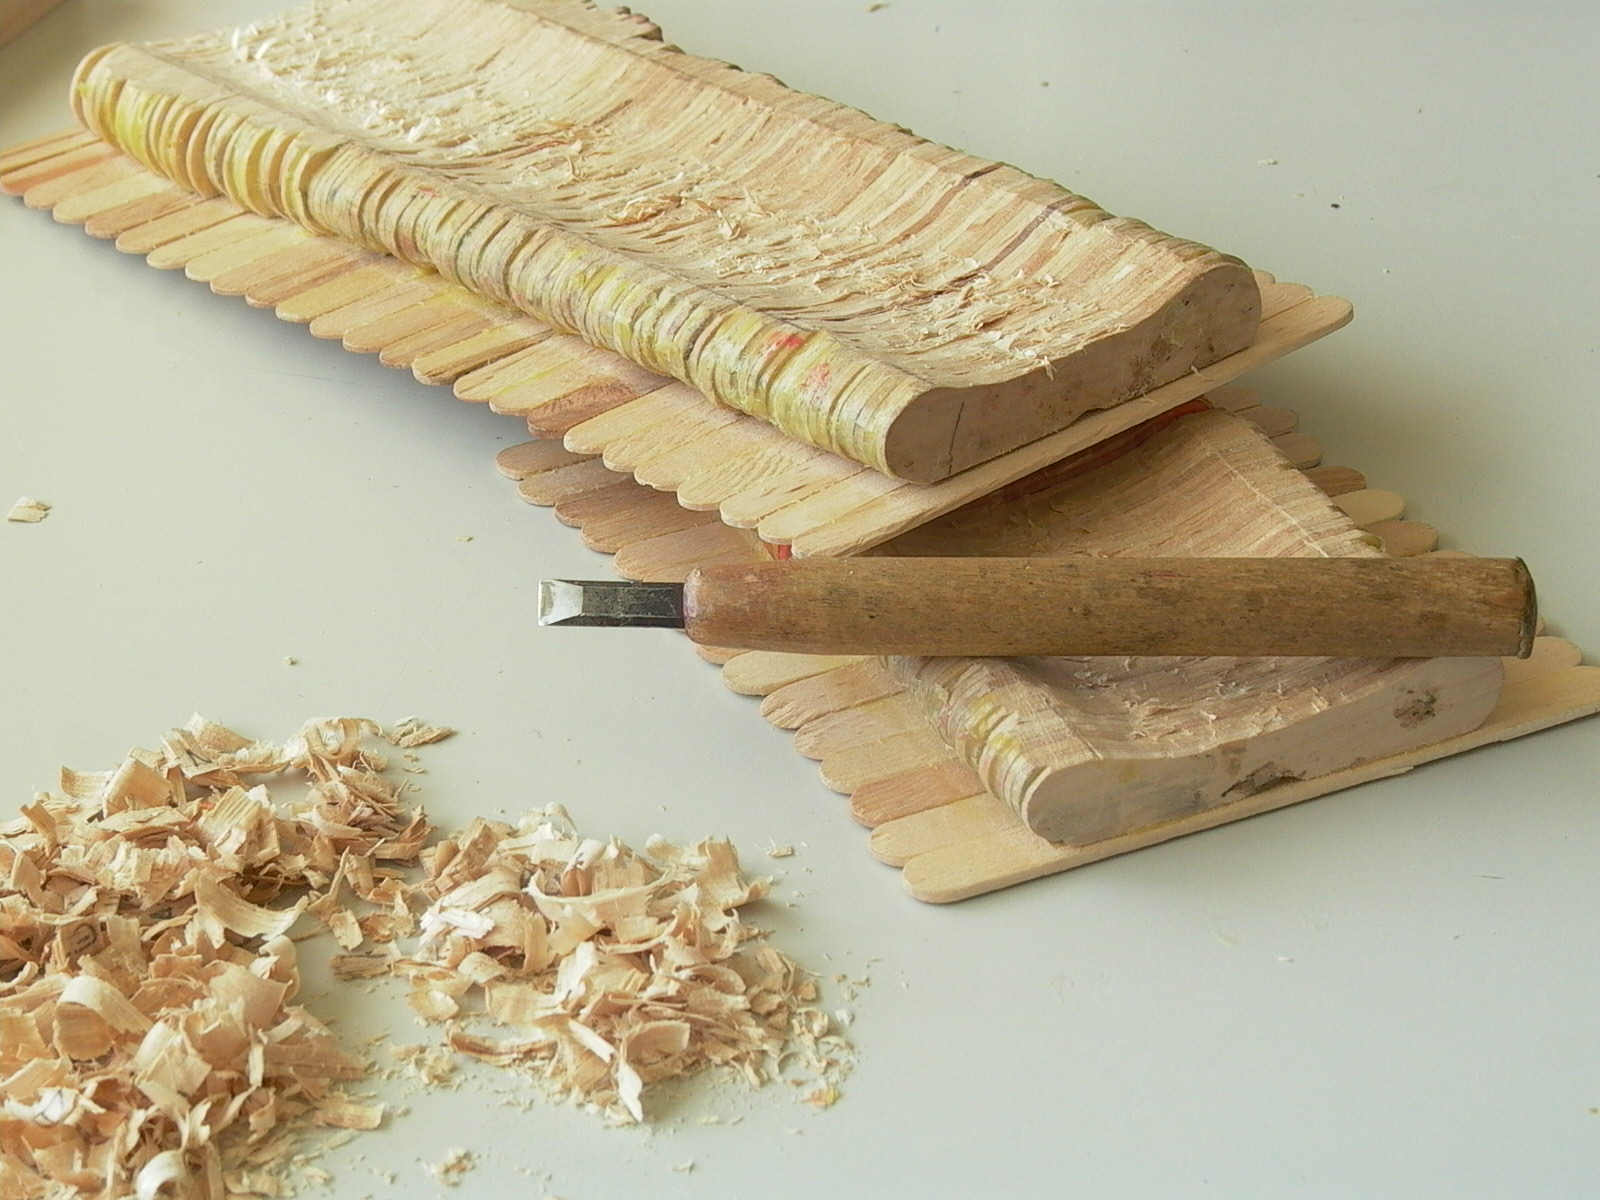
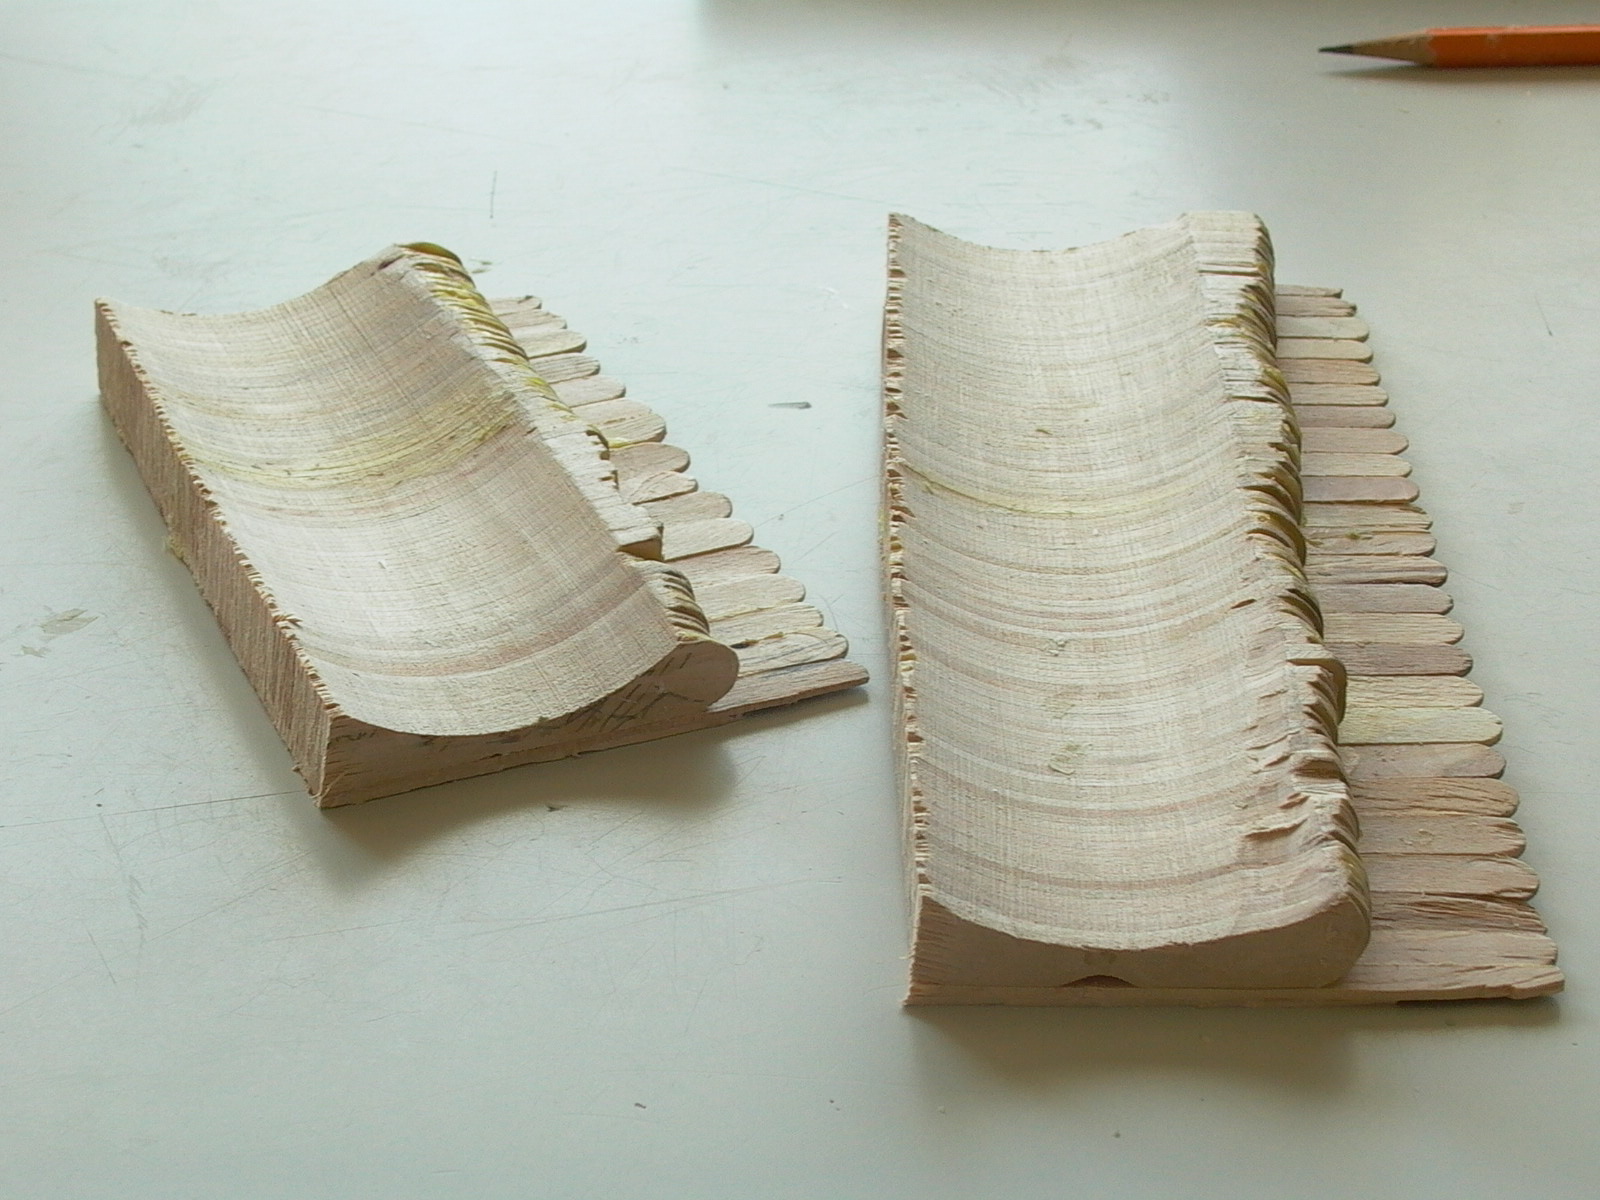
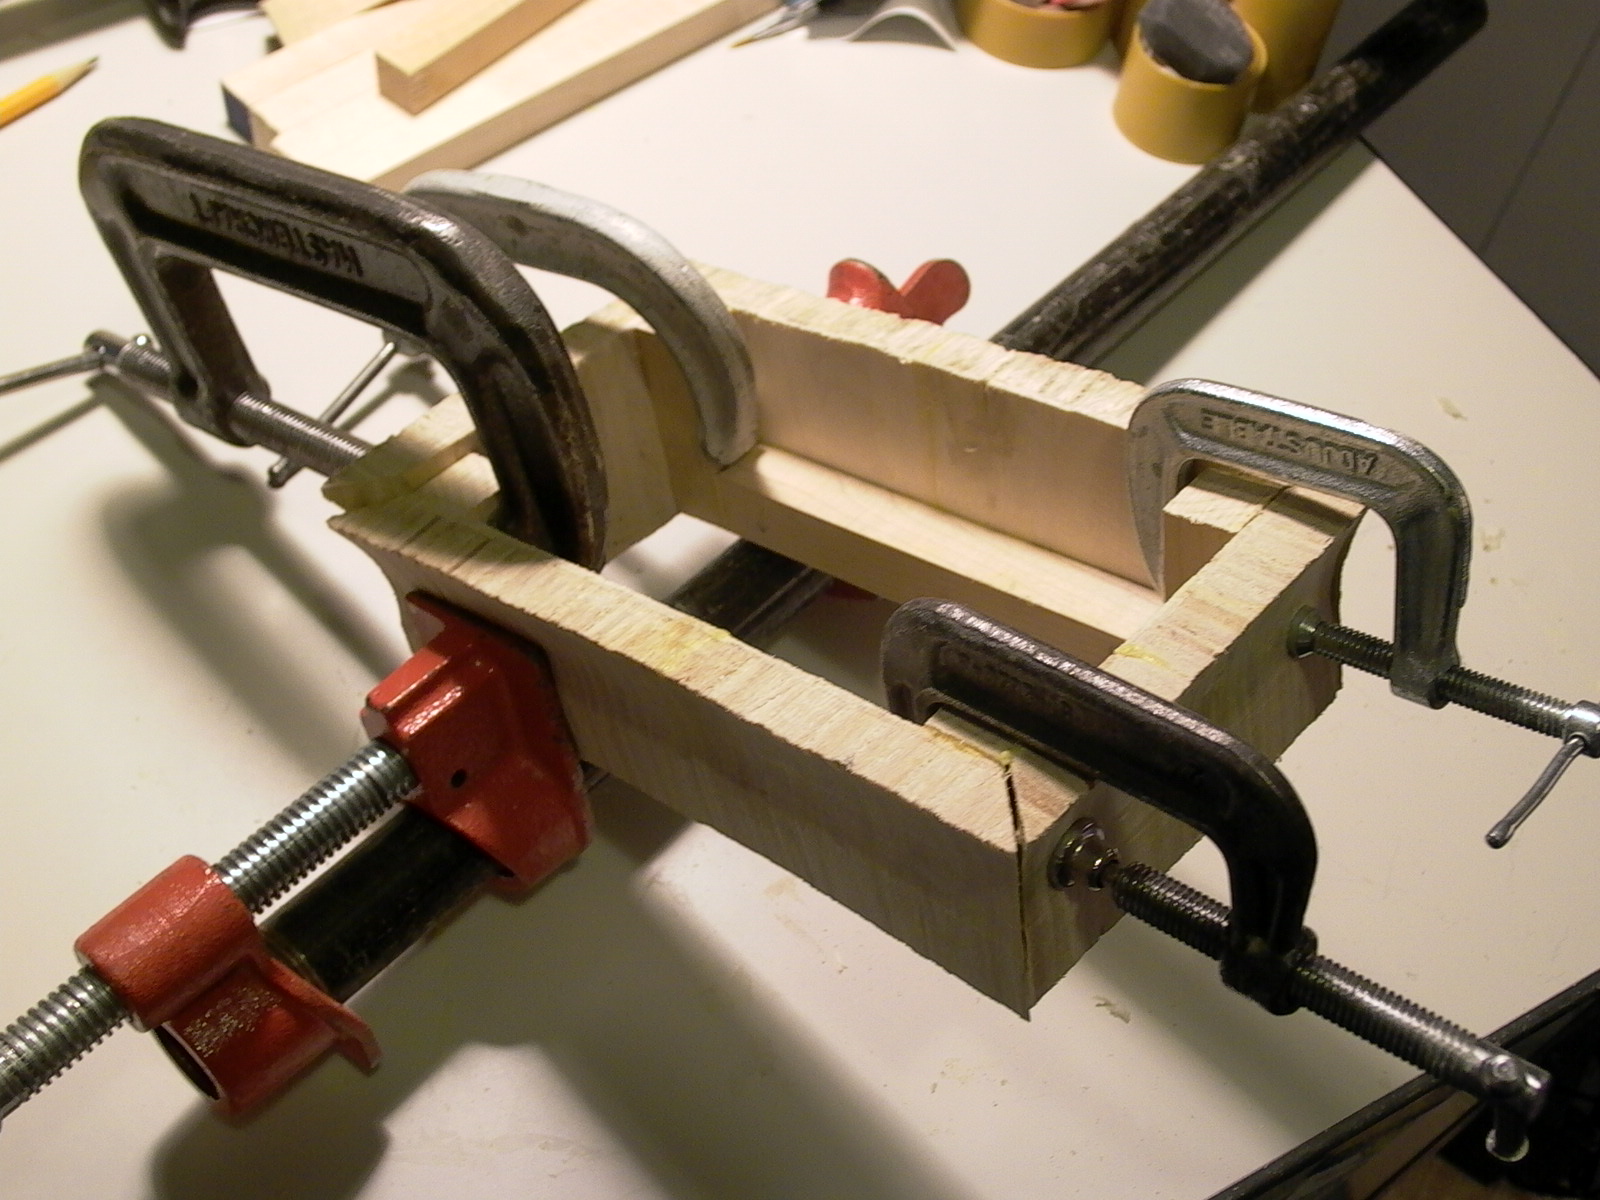
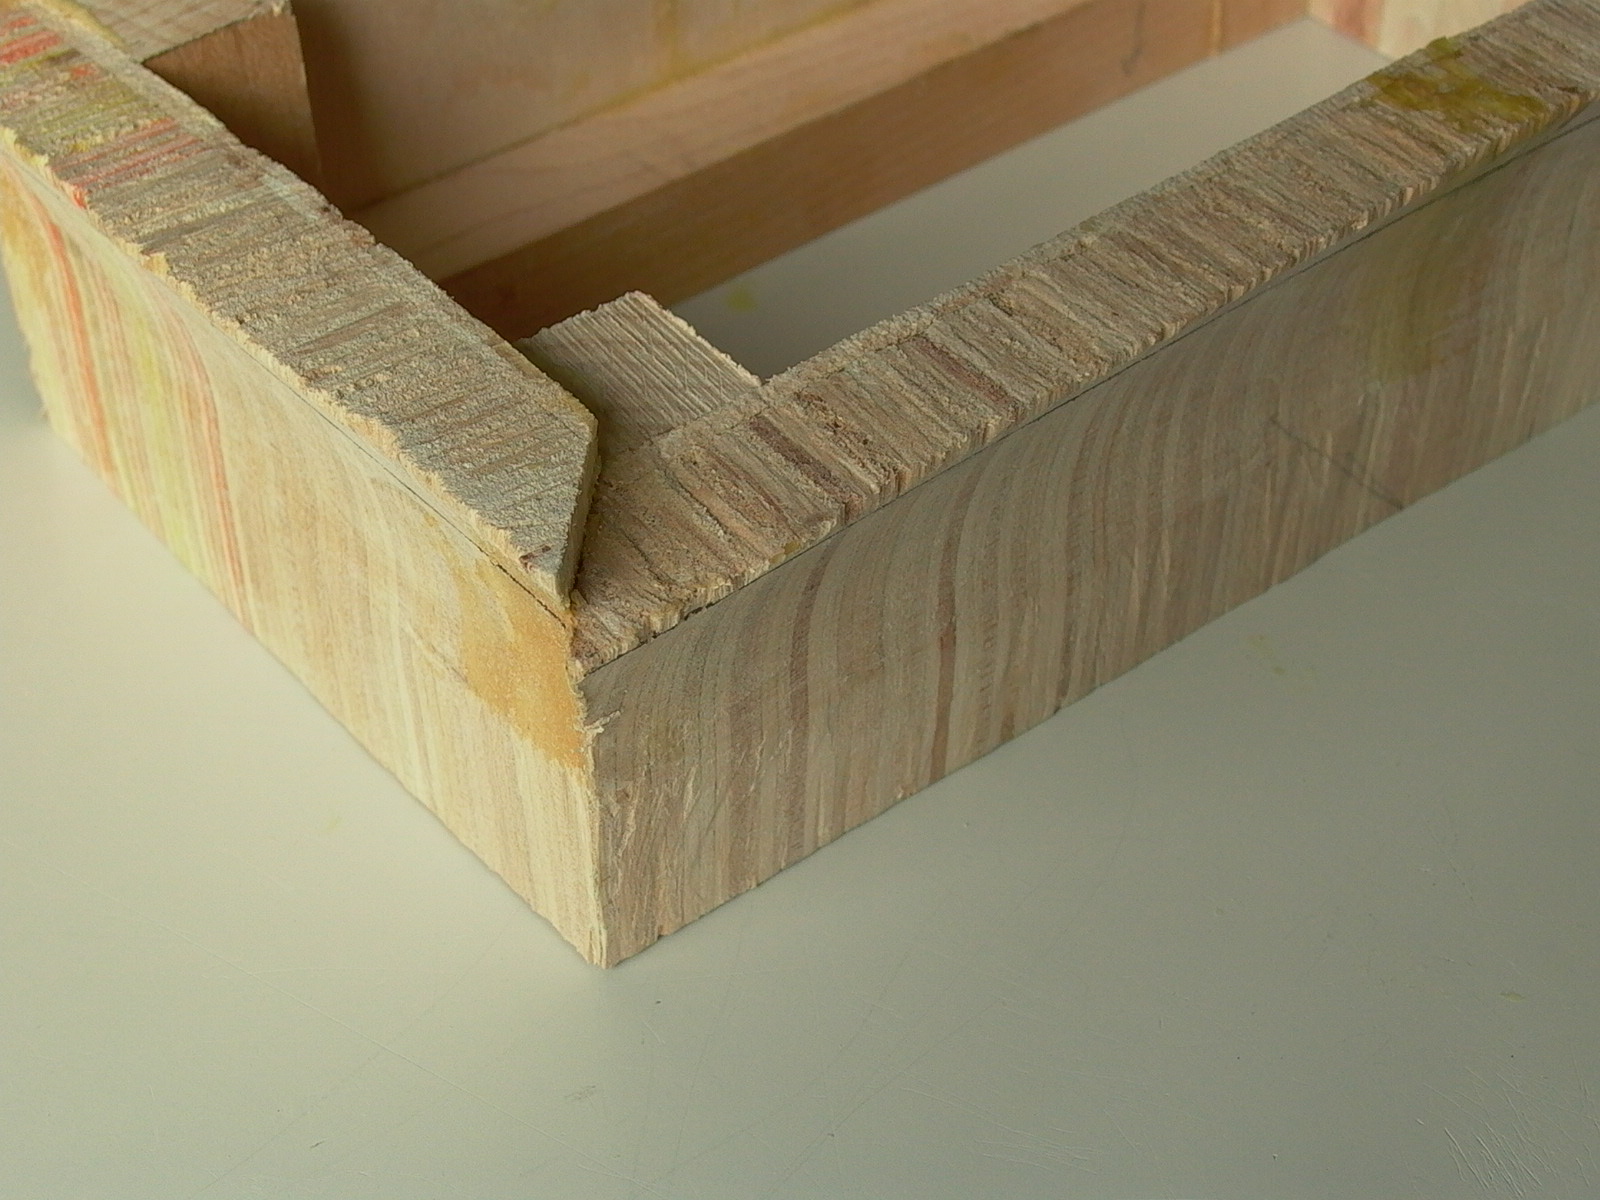
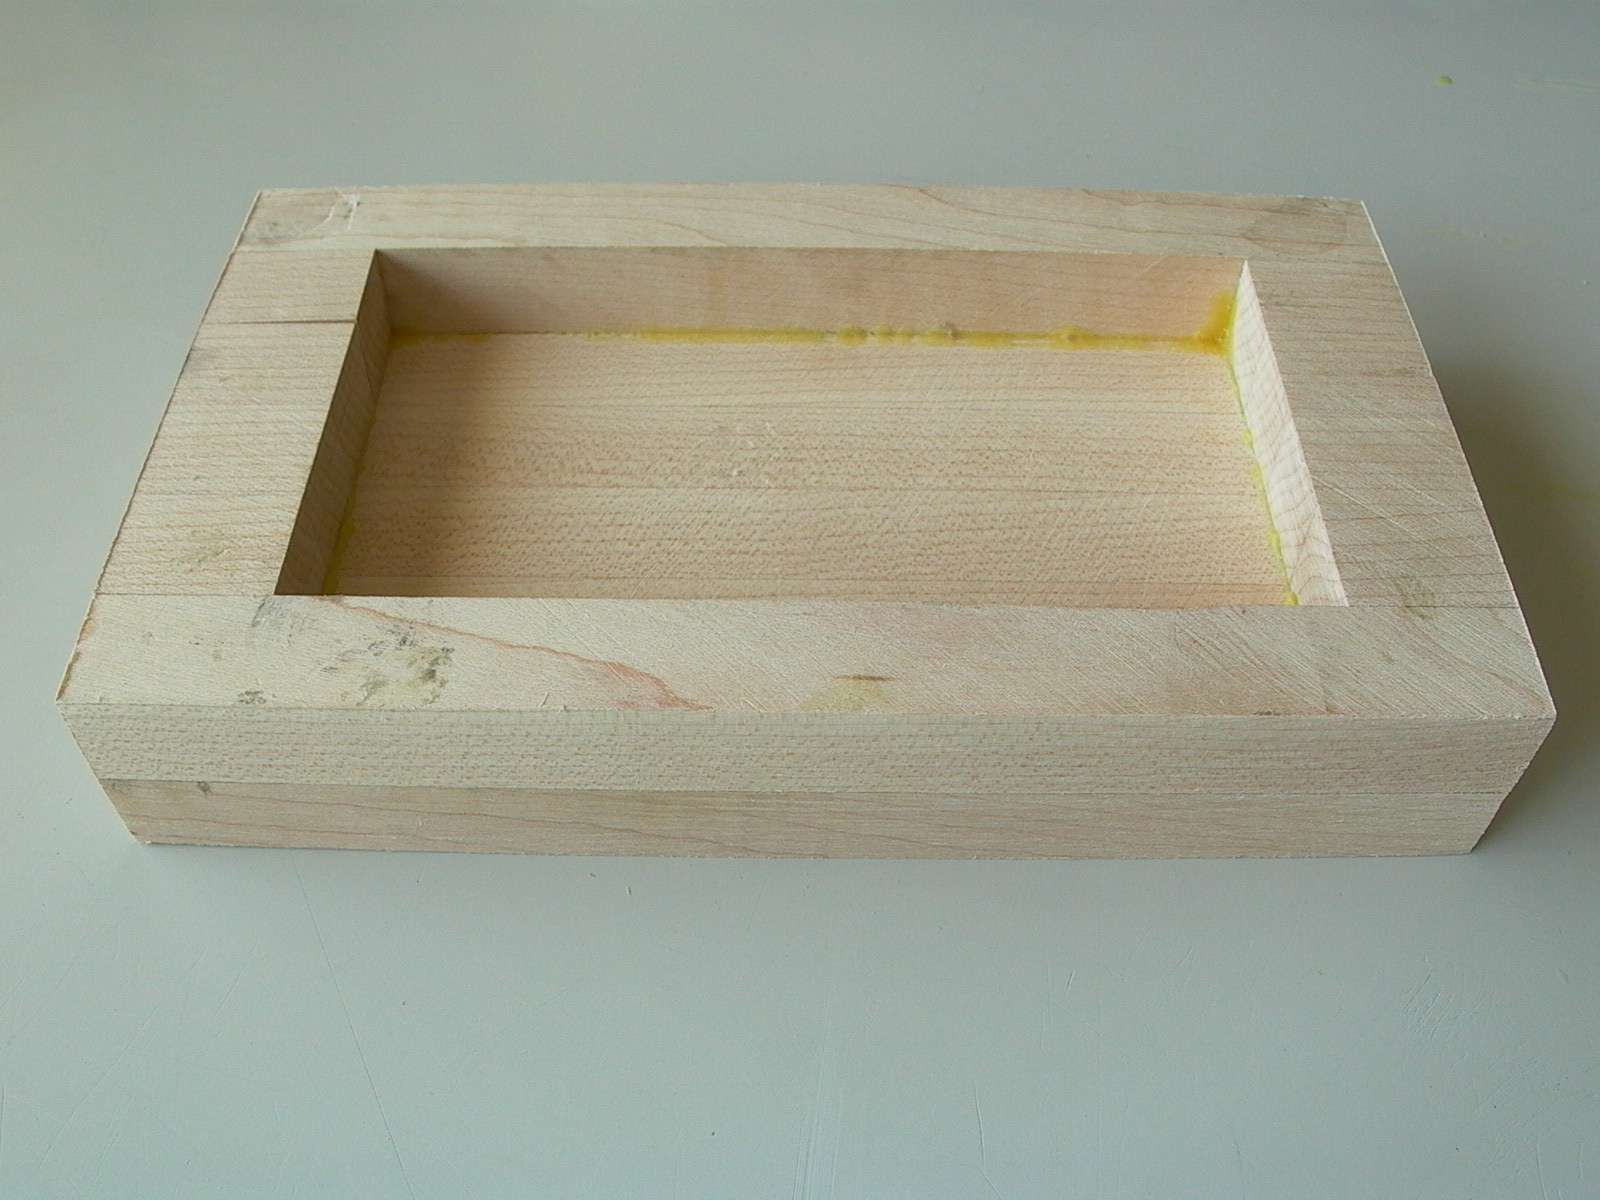
One edge along the channel was removed (fig. 60 and 61), cut to size and shape (fig. 62). Supports were then added (fig. 63) and glued together to form an open box (fig. 64). Top and bottom were then marked and sanded for eveness (fig. 65-66).
The Bell Top: Top Half
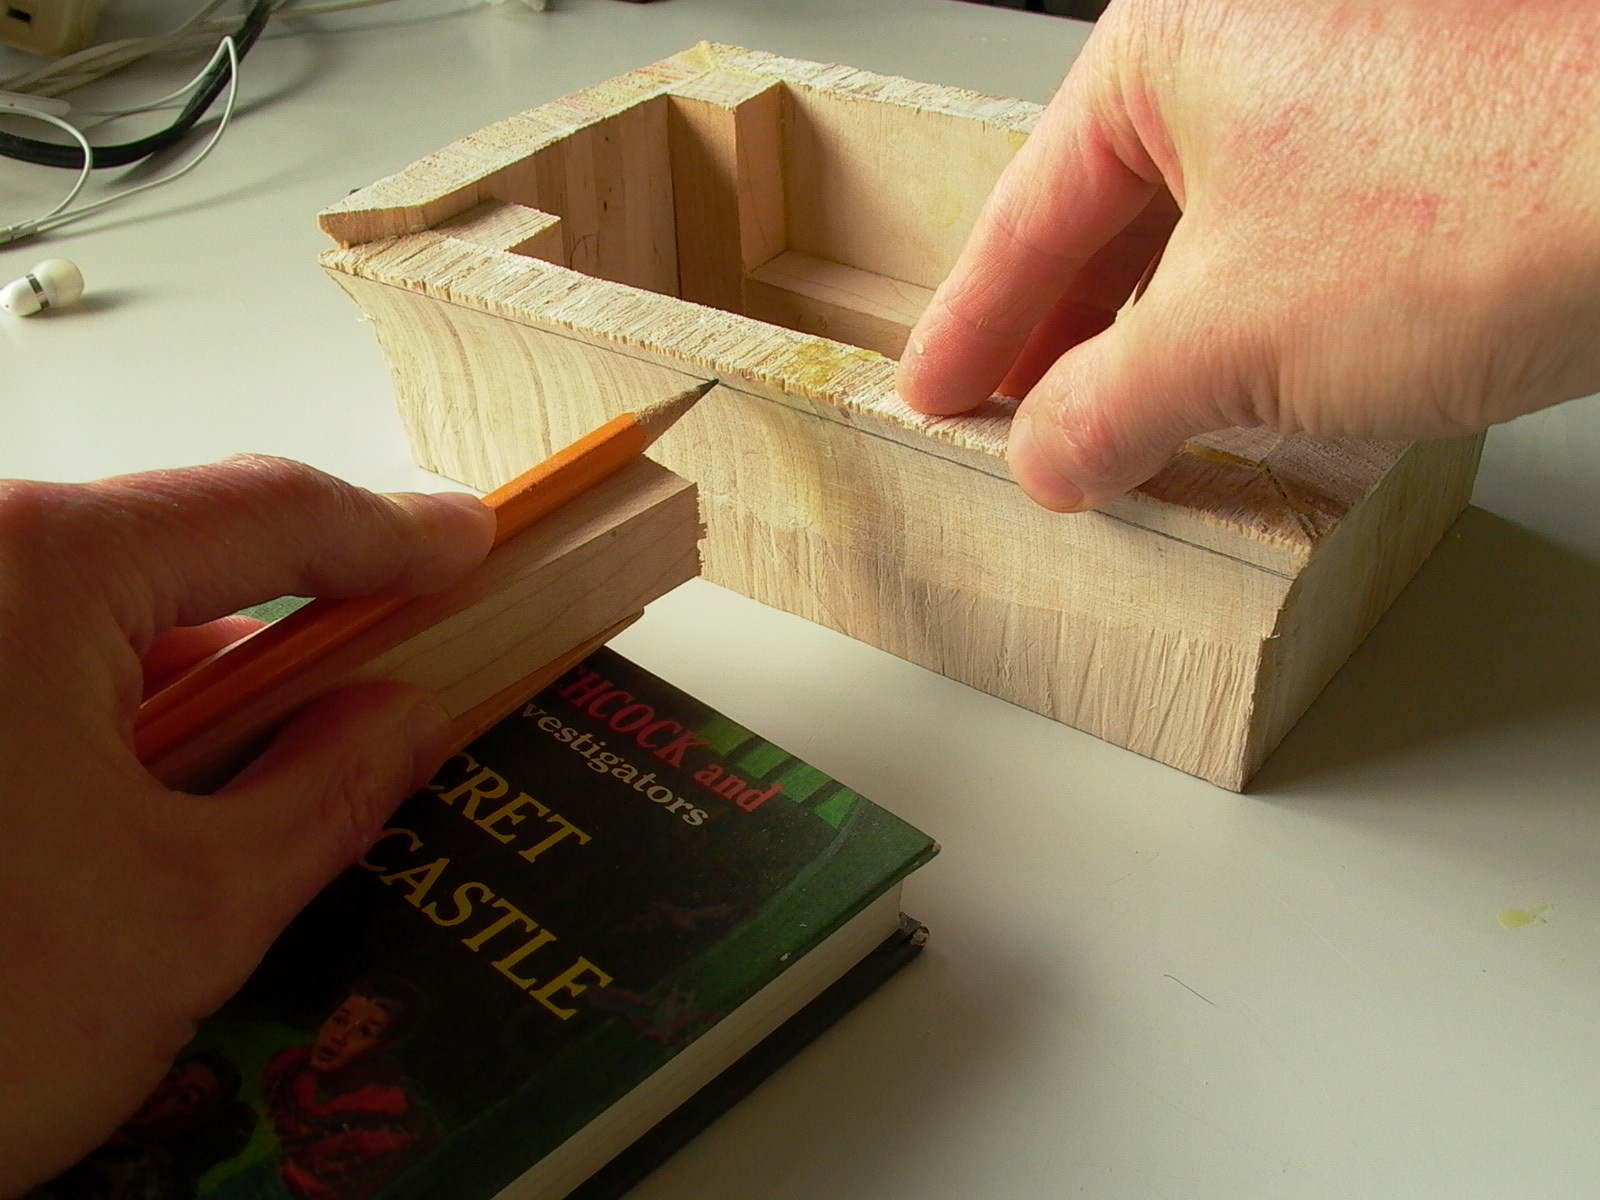
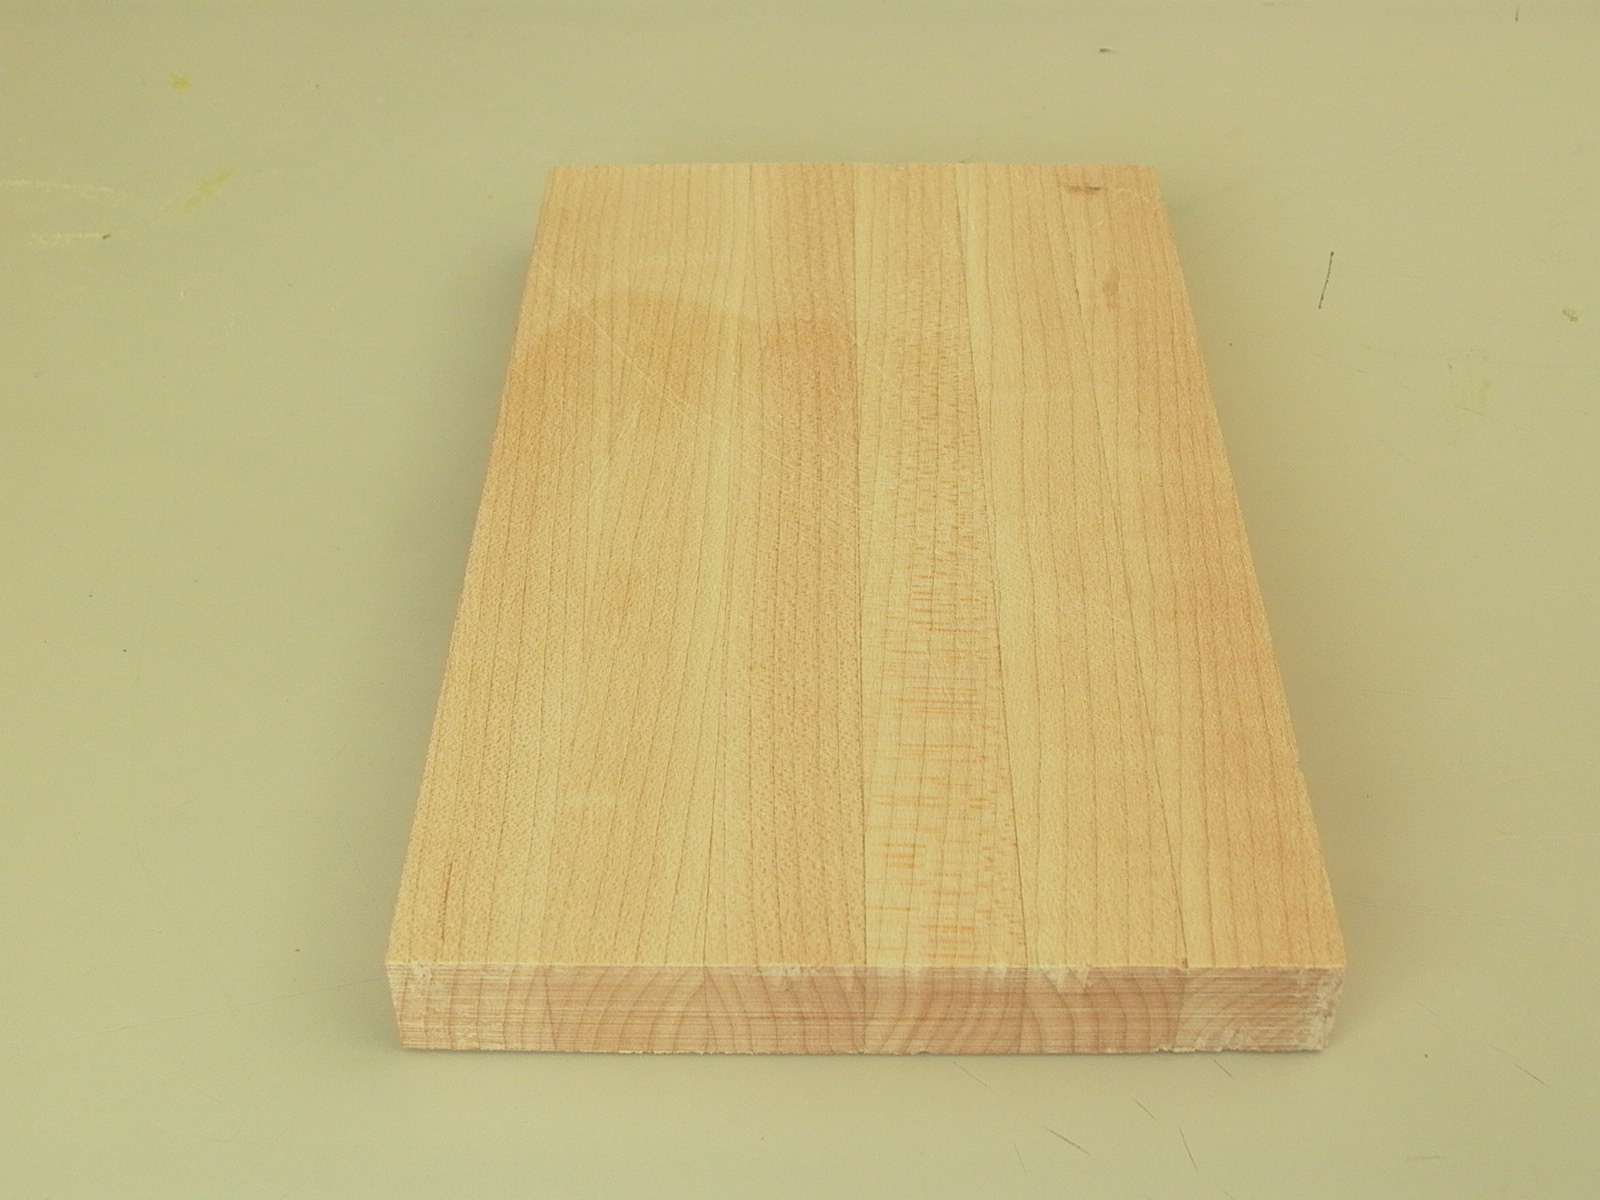
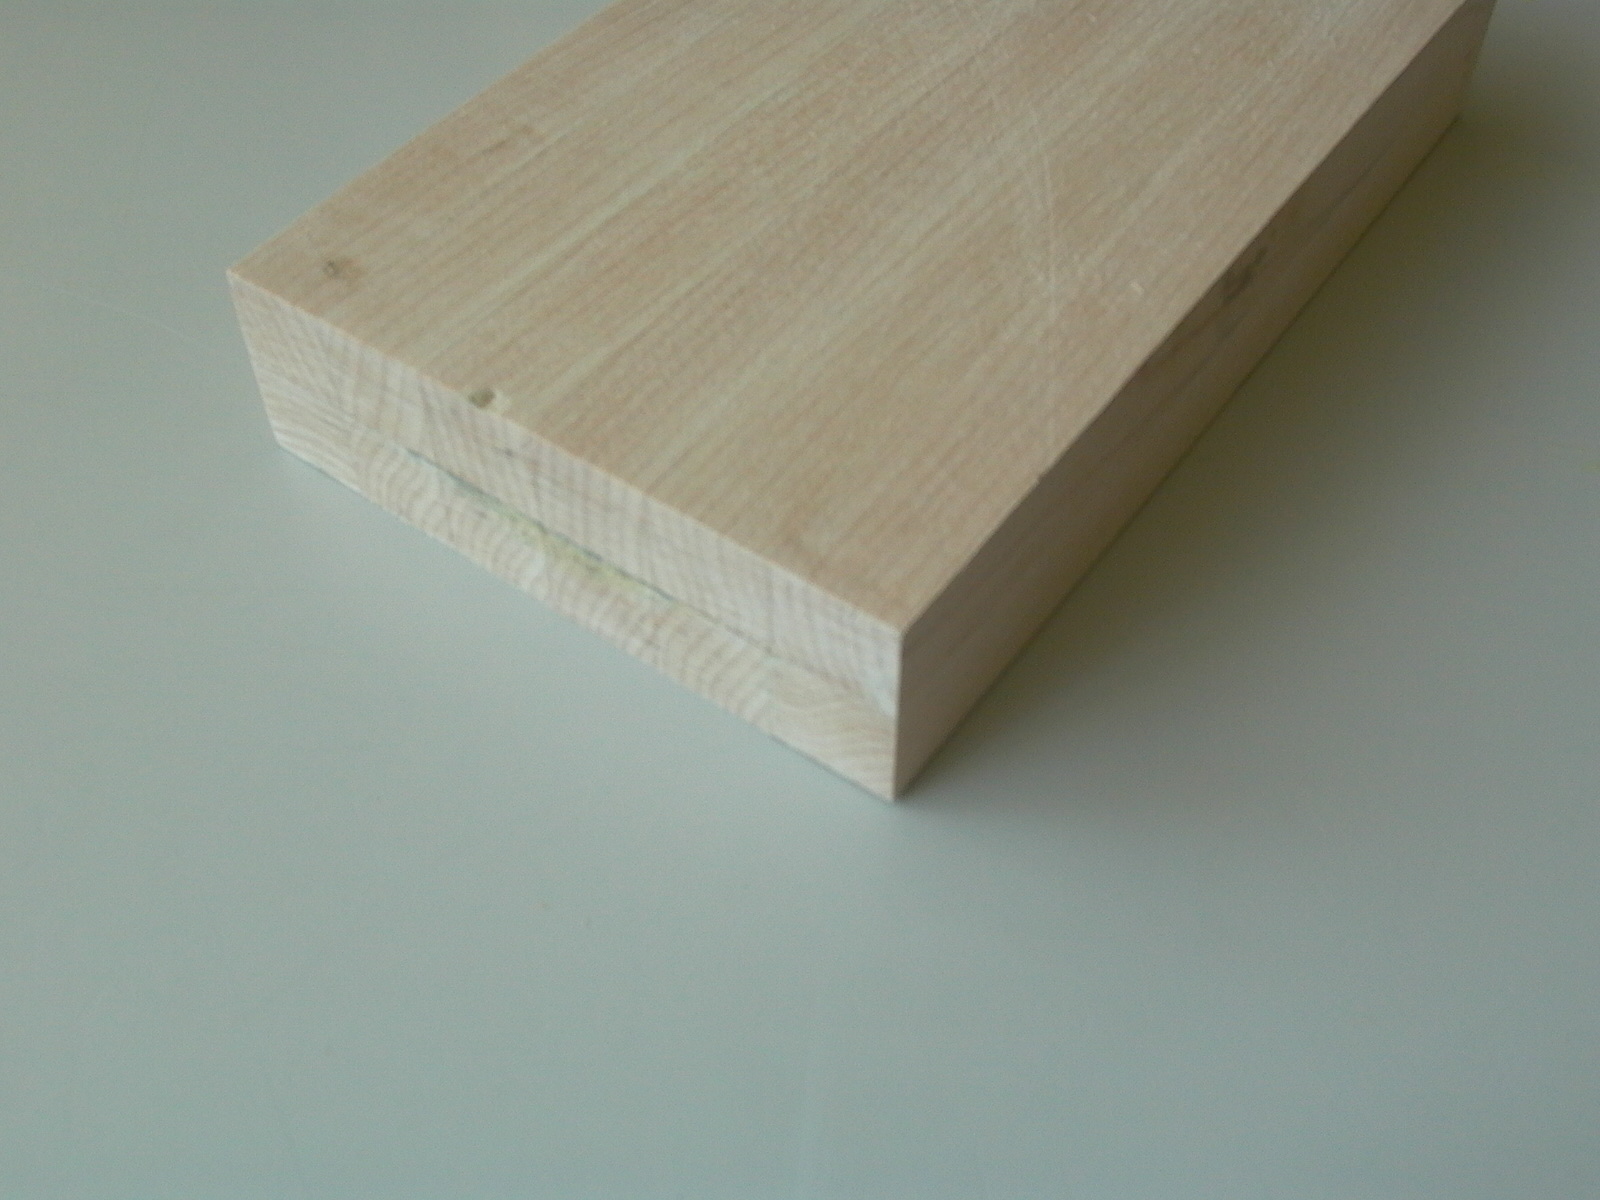
The top of the top was relatively easy to construct. I made the upper section from pieces of scrap birch glued together as shown in the following series of photos. Make sure the length and width are the same as that of the top edge of the bottom piece made in the previous step; the edges should be almost flush when upper part is placed on top of the lower portion: (fig. 67 to 72)
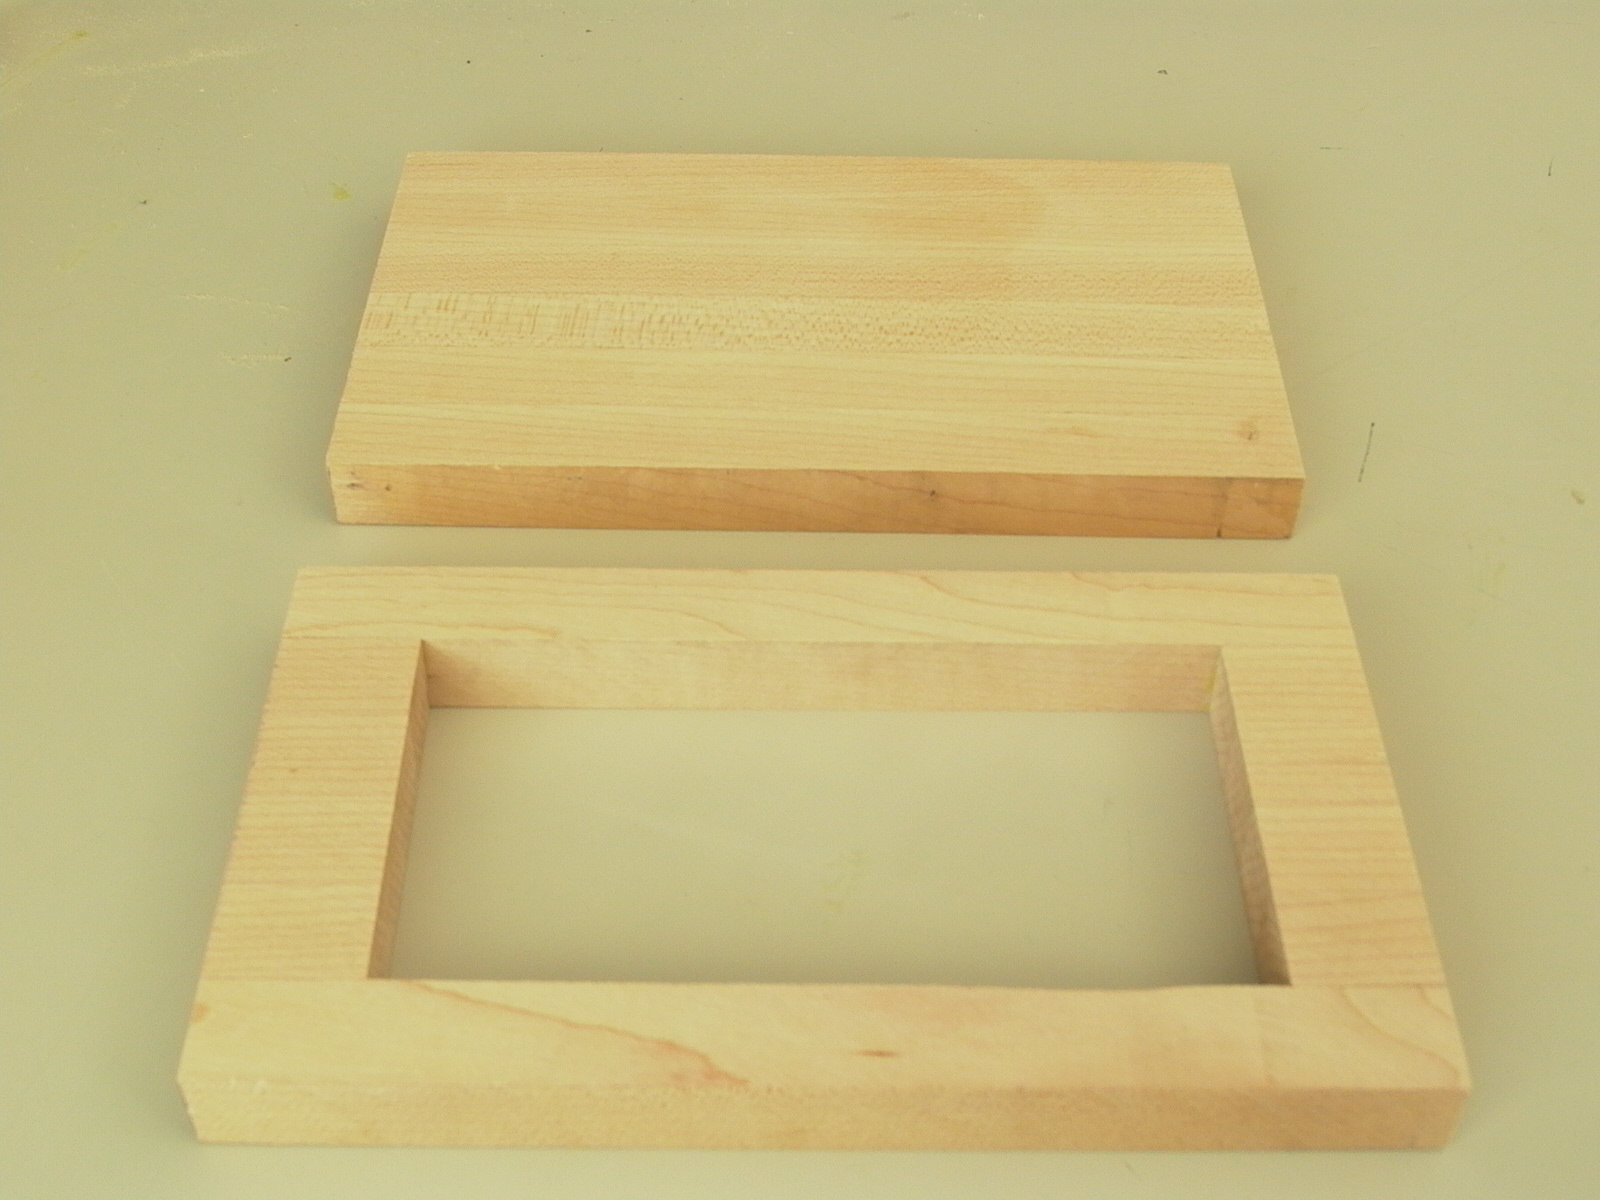
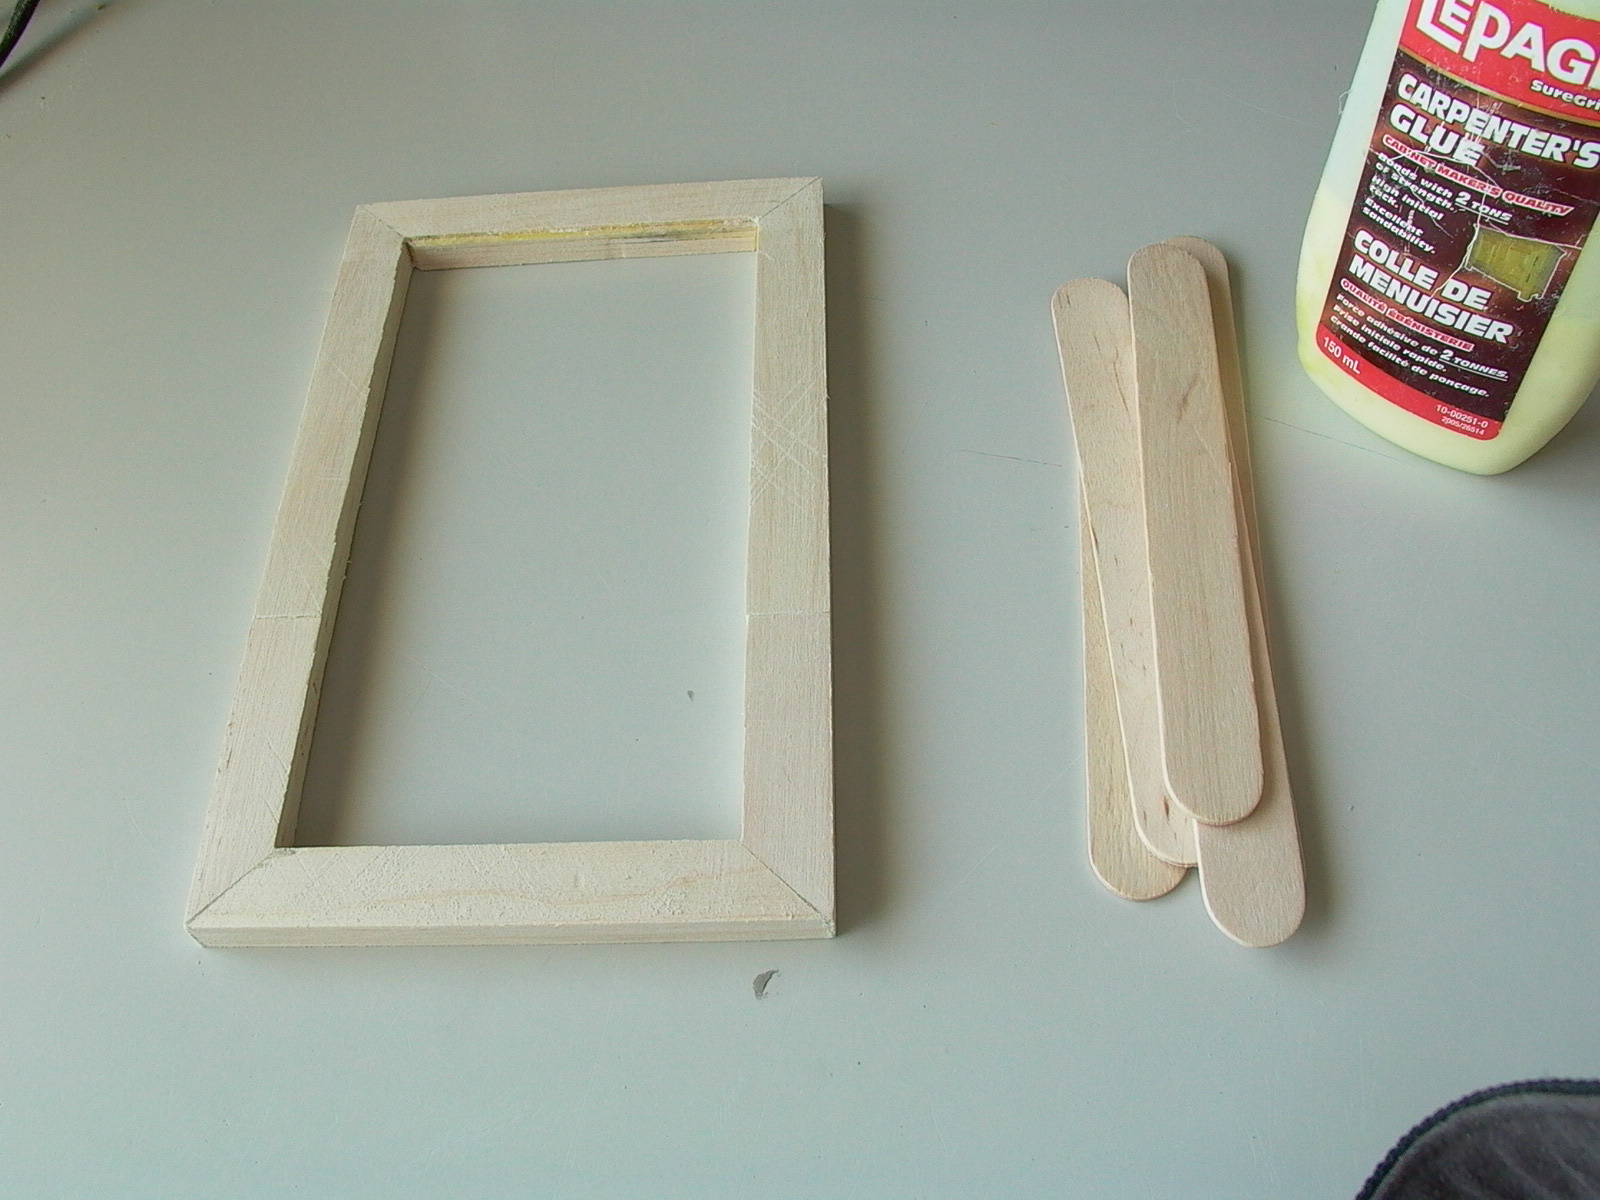
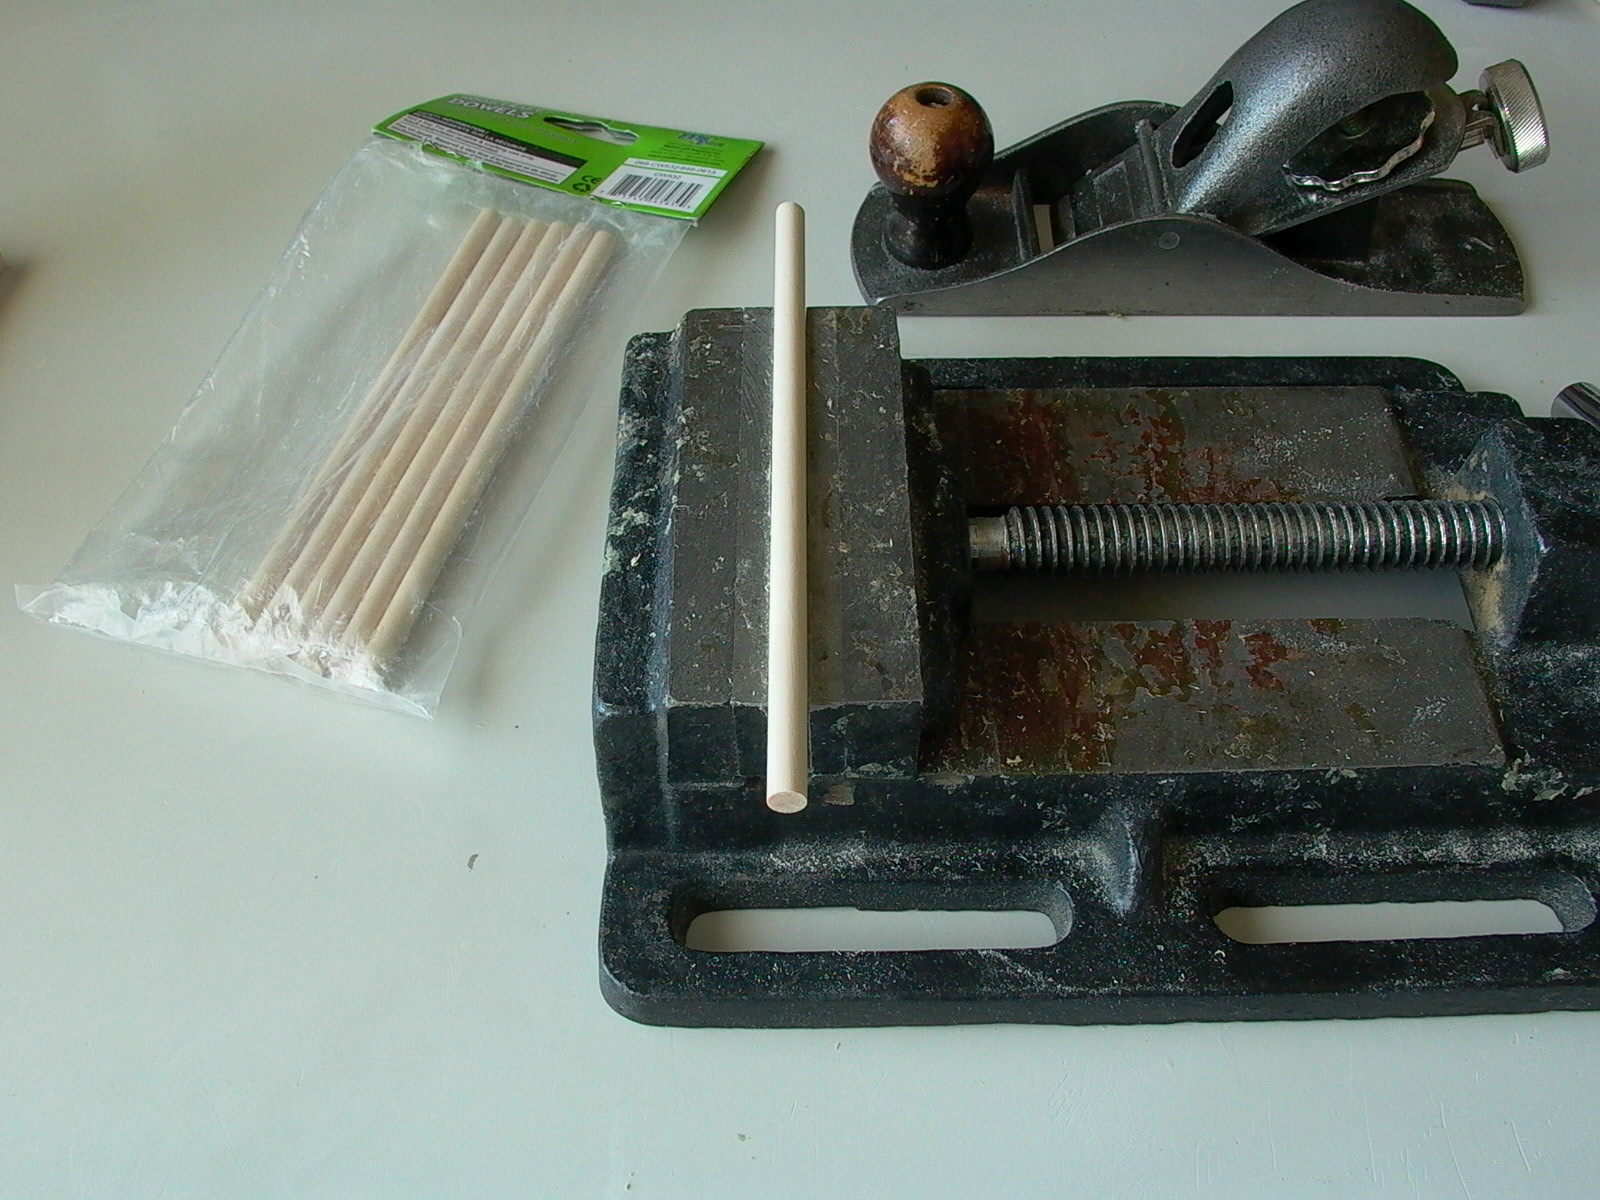
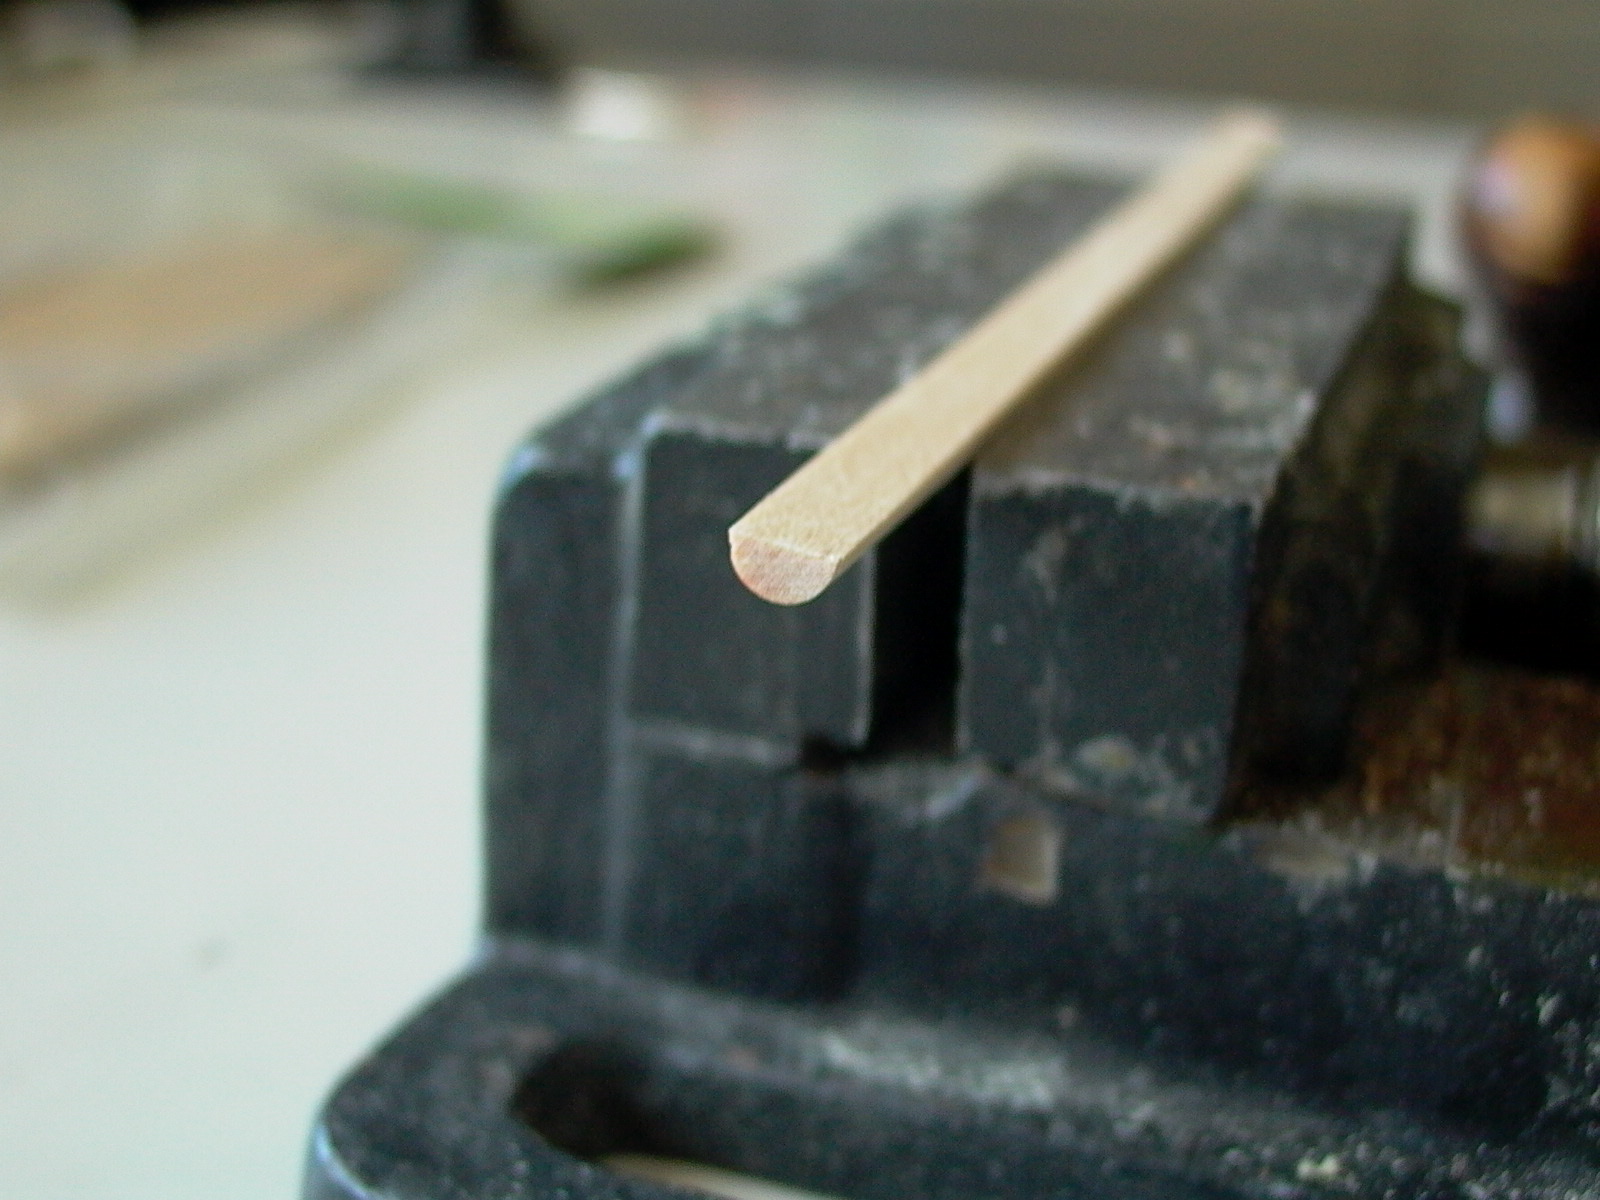
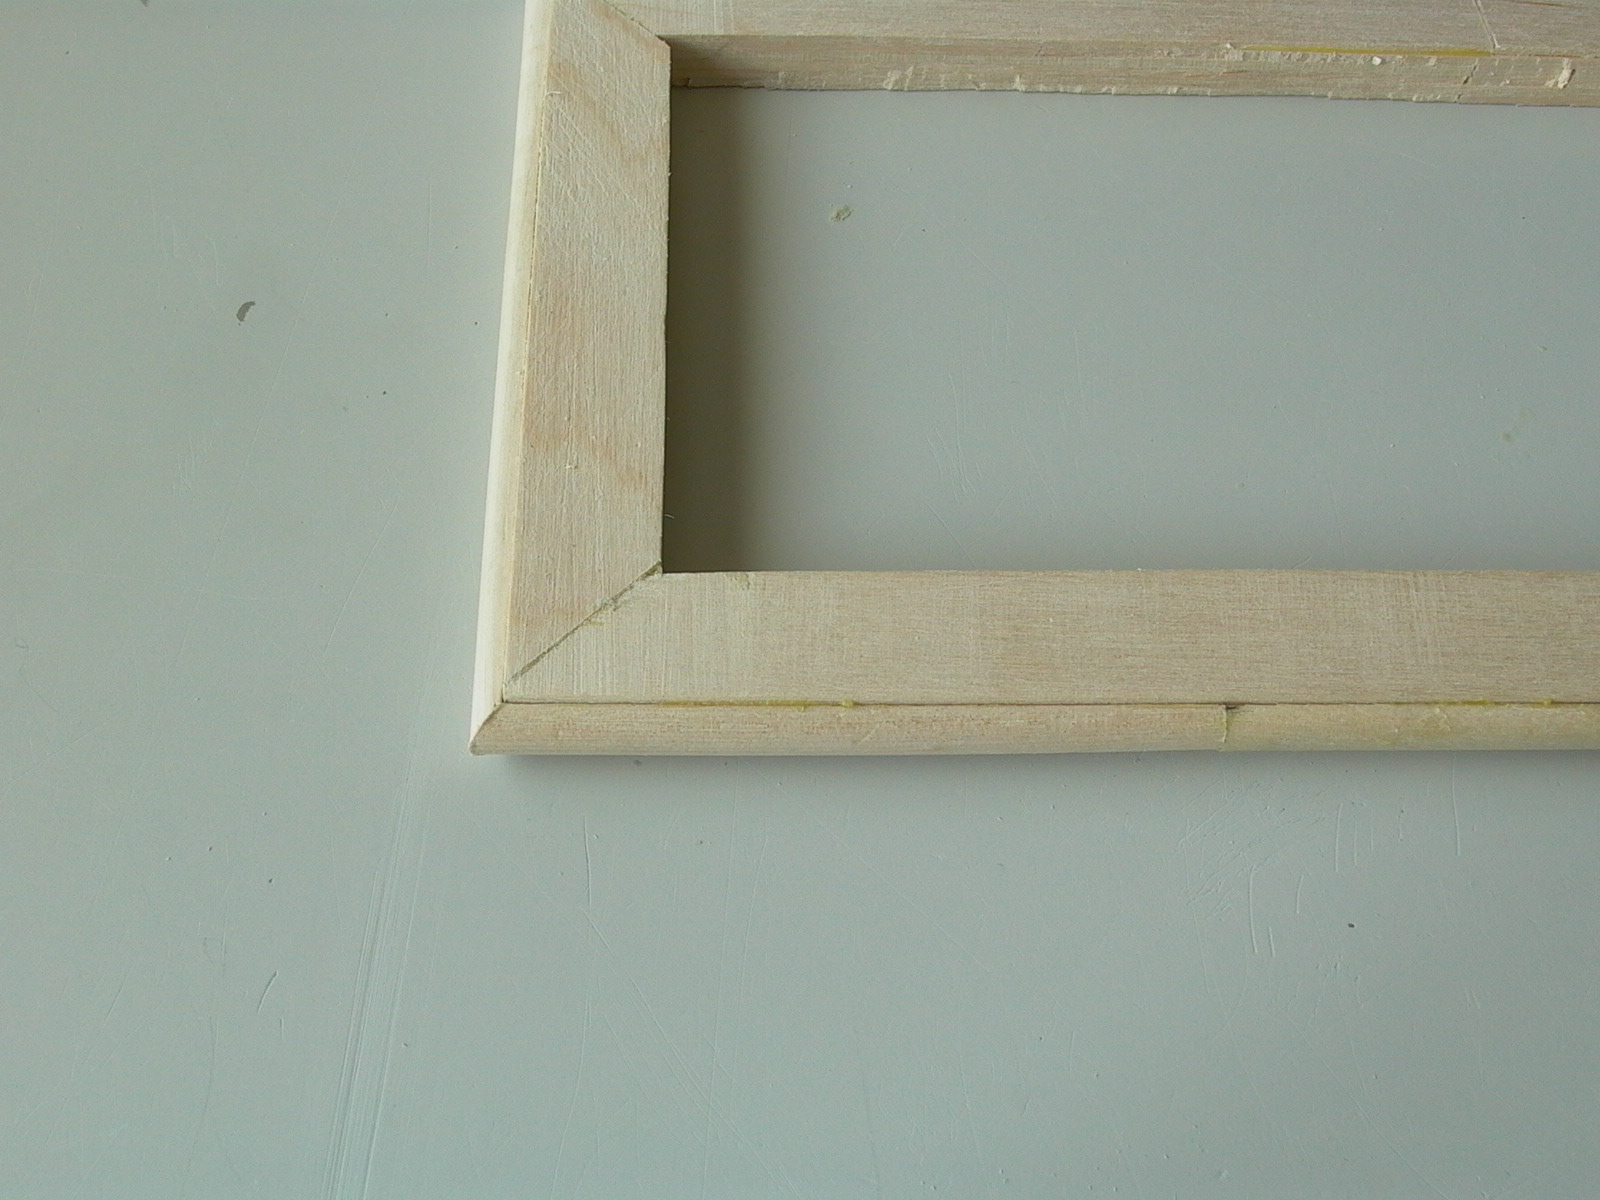
A frame slightly longer and wider than the top piece (by a few millimeters or so) was built up from layers of wide/thin crafts sticks (tongue depressors, about 4 or 5 layers) and was then sanded to squareness and even-thickness (fig. 73). Four thin wooden dowel (also available from the craft section of dollar stores) were planned so that their cross sections were semicircular (fig. 74 and 75). The planed dowels were then cut to length with 45 degree ends and glued along the edge of this frame (fig. 76). This frame forms a decorative edge that will be sandwiched between the upper and lower parts of the bell top.
The bell top will be revisited in a later step.