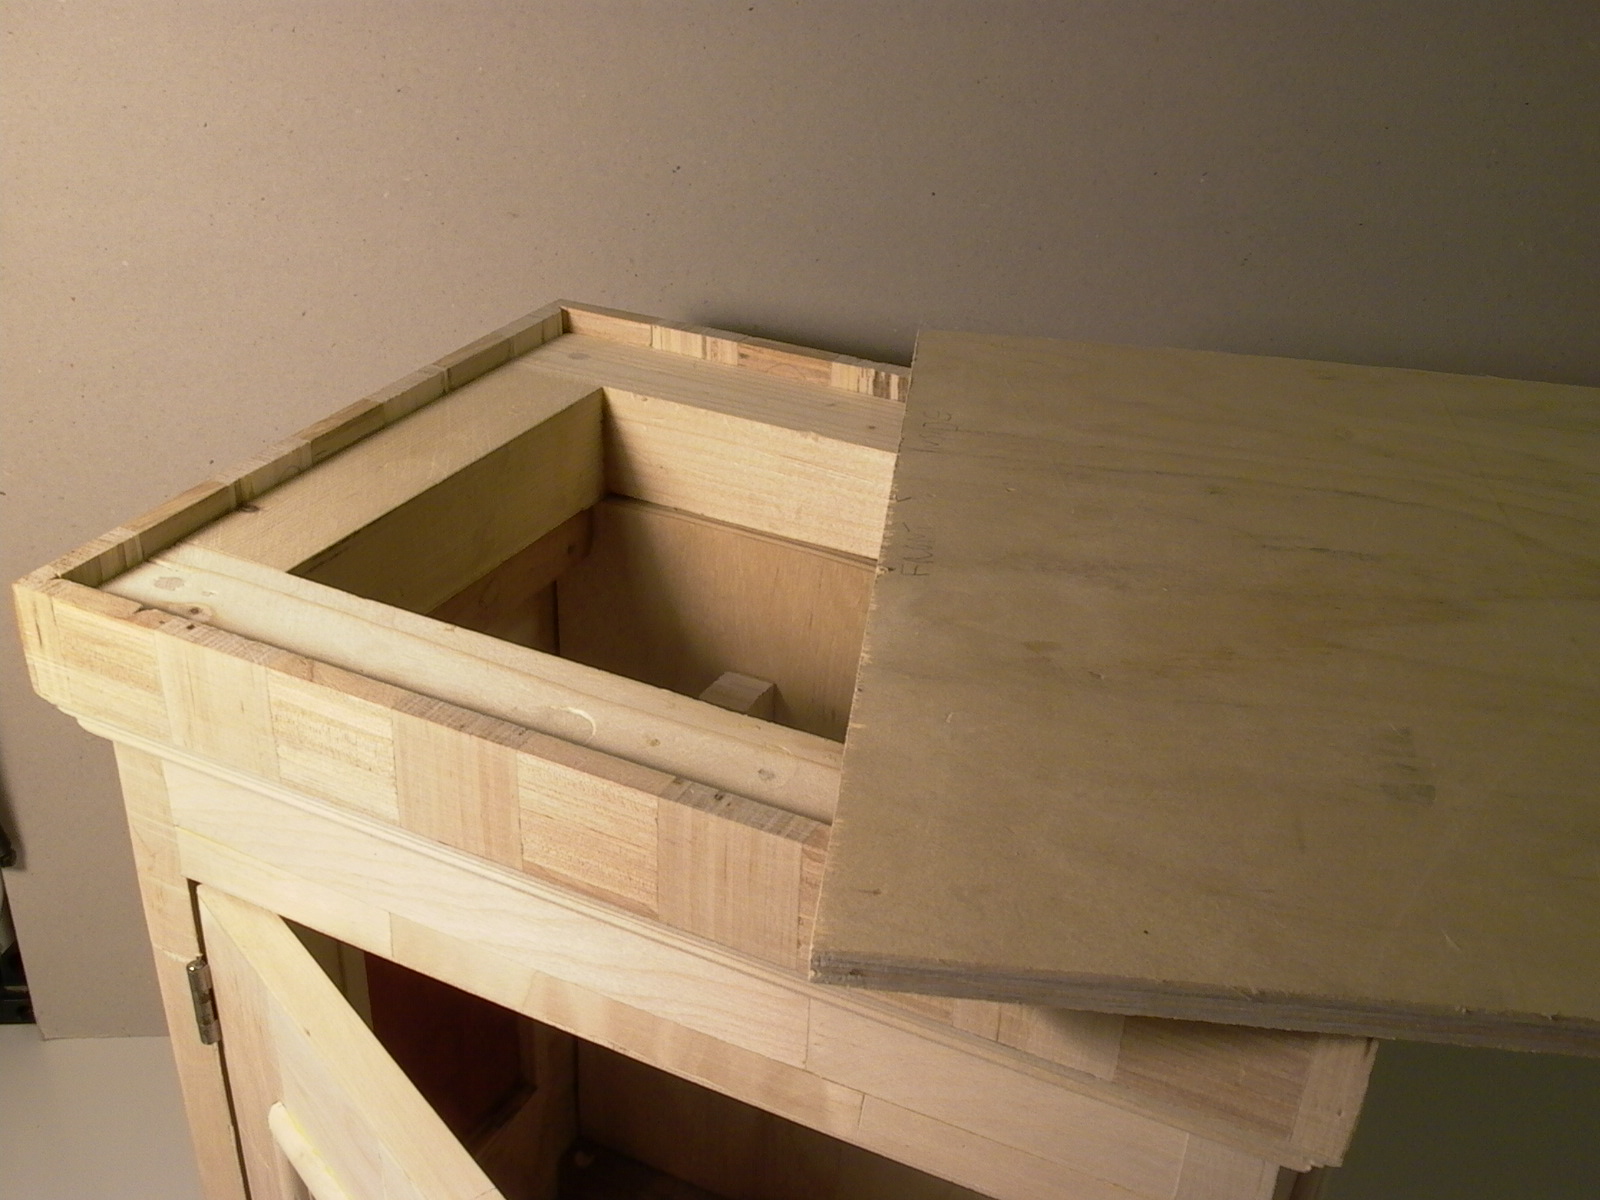
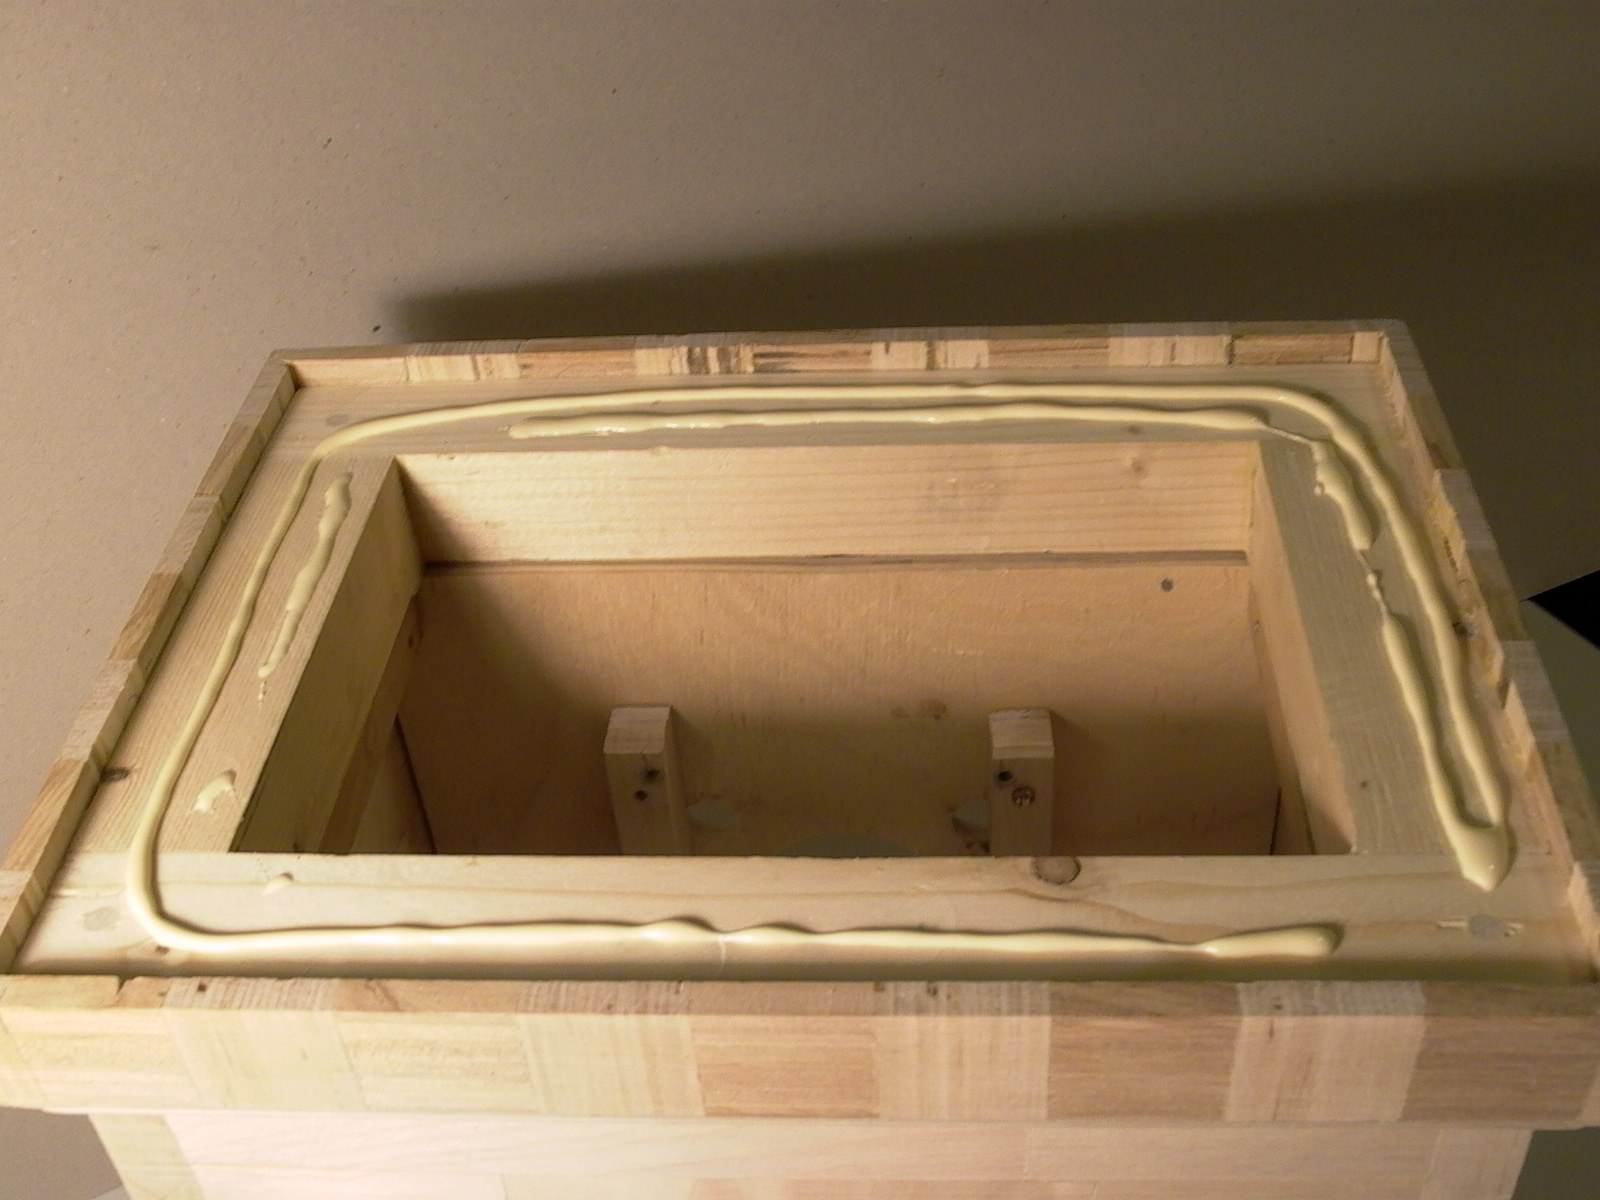
Installing the Bottom Cover
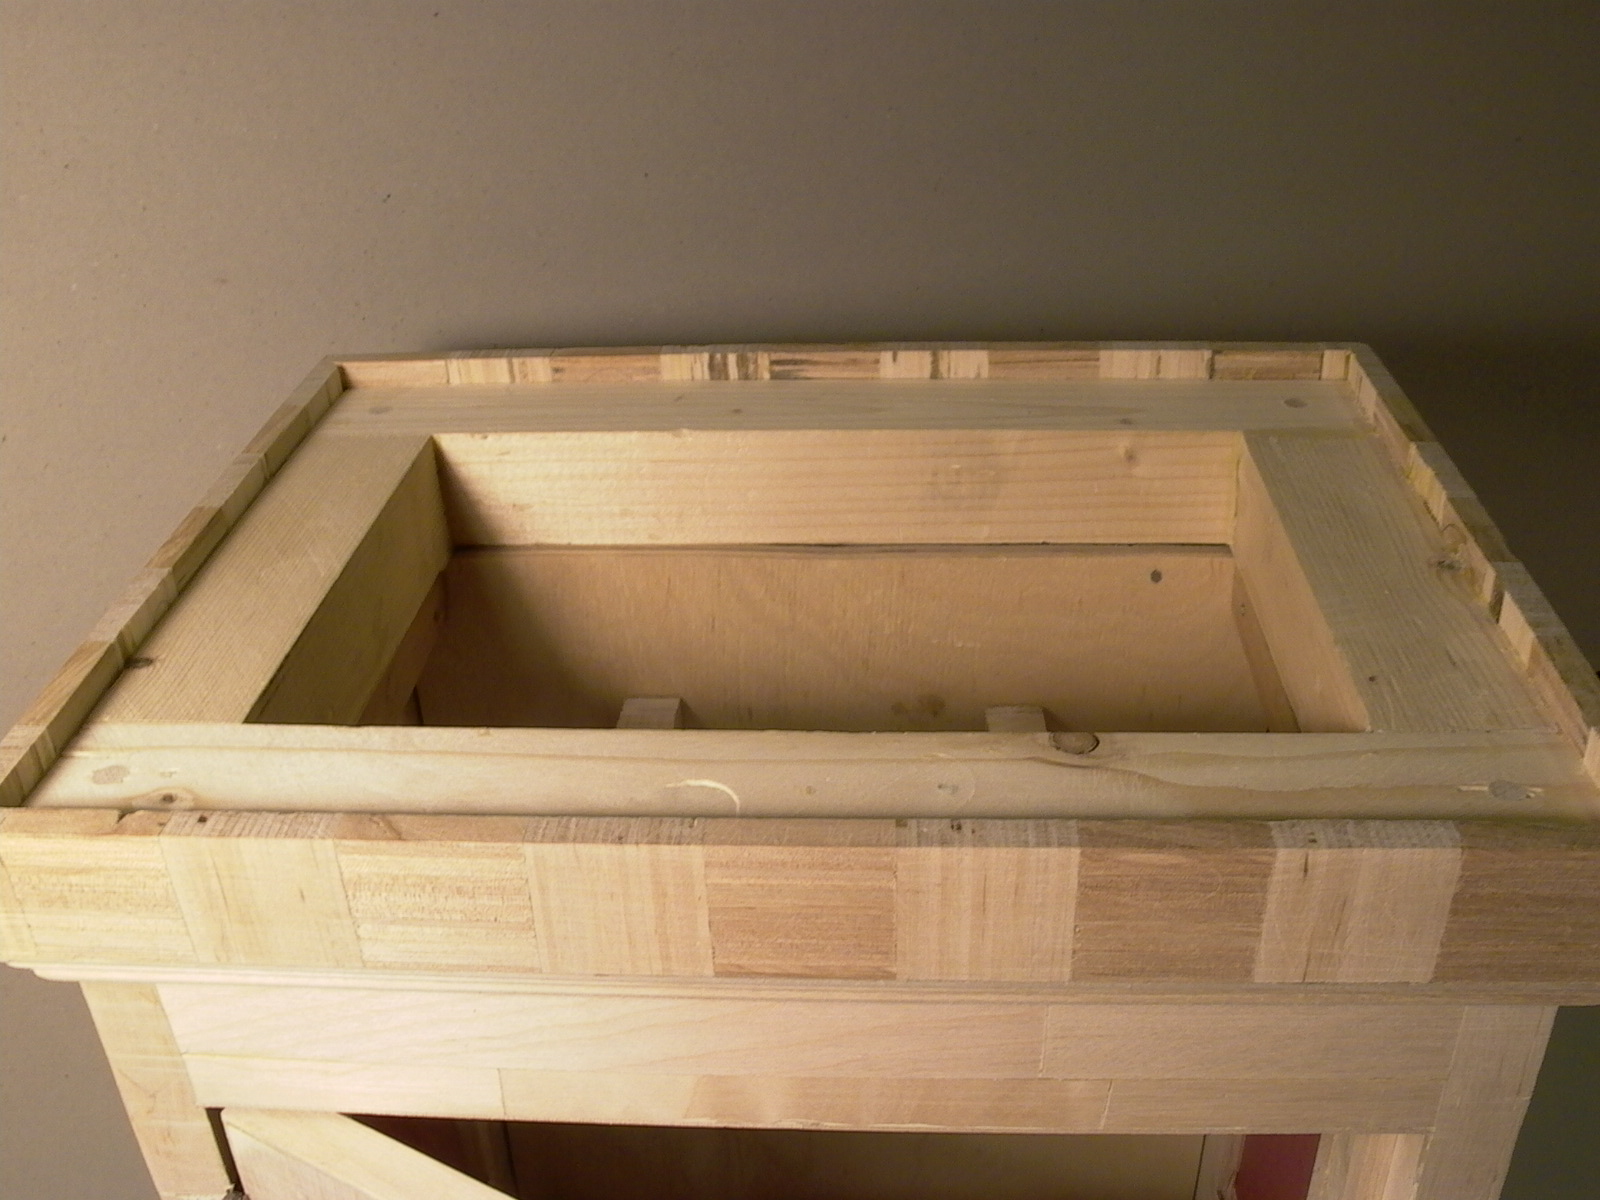
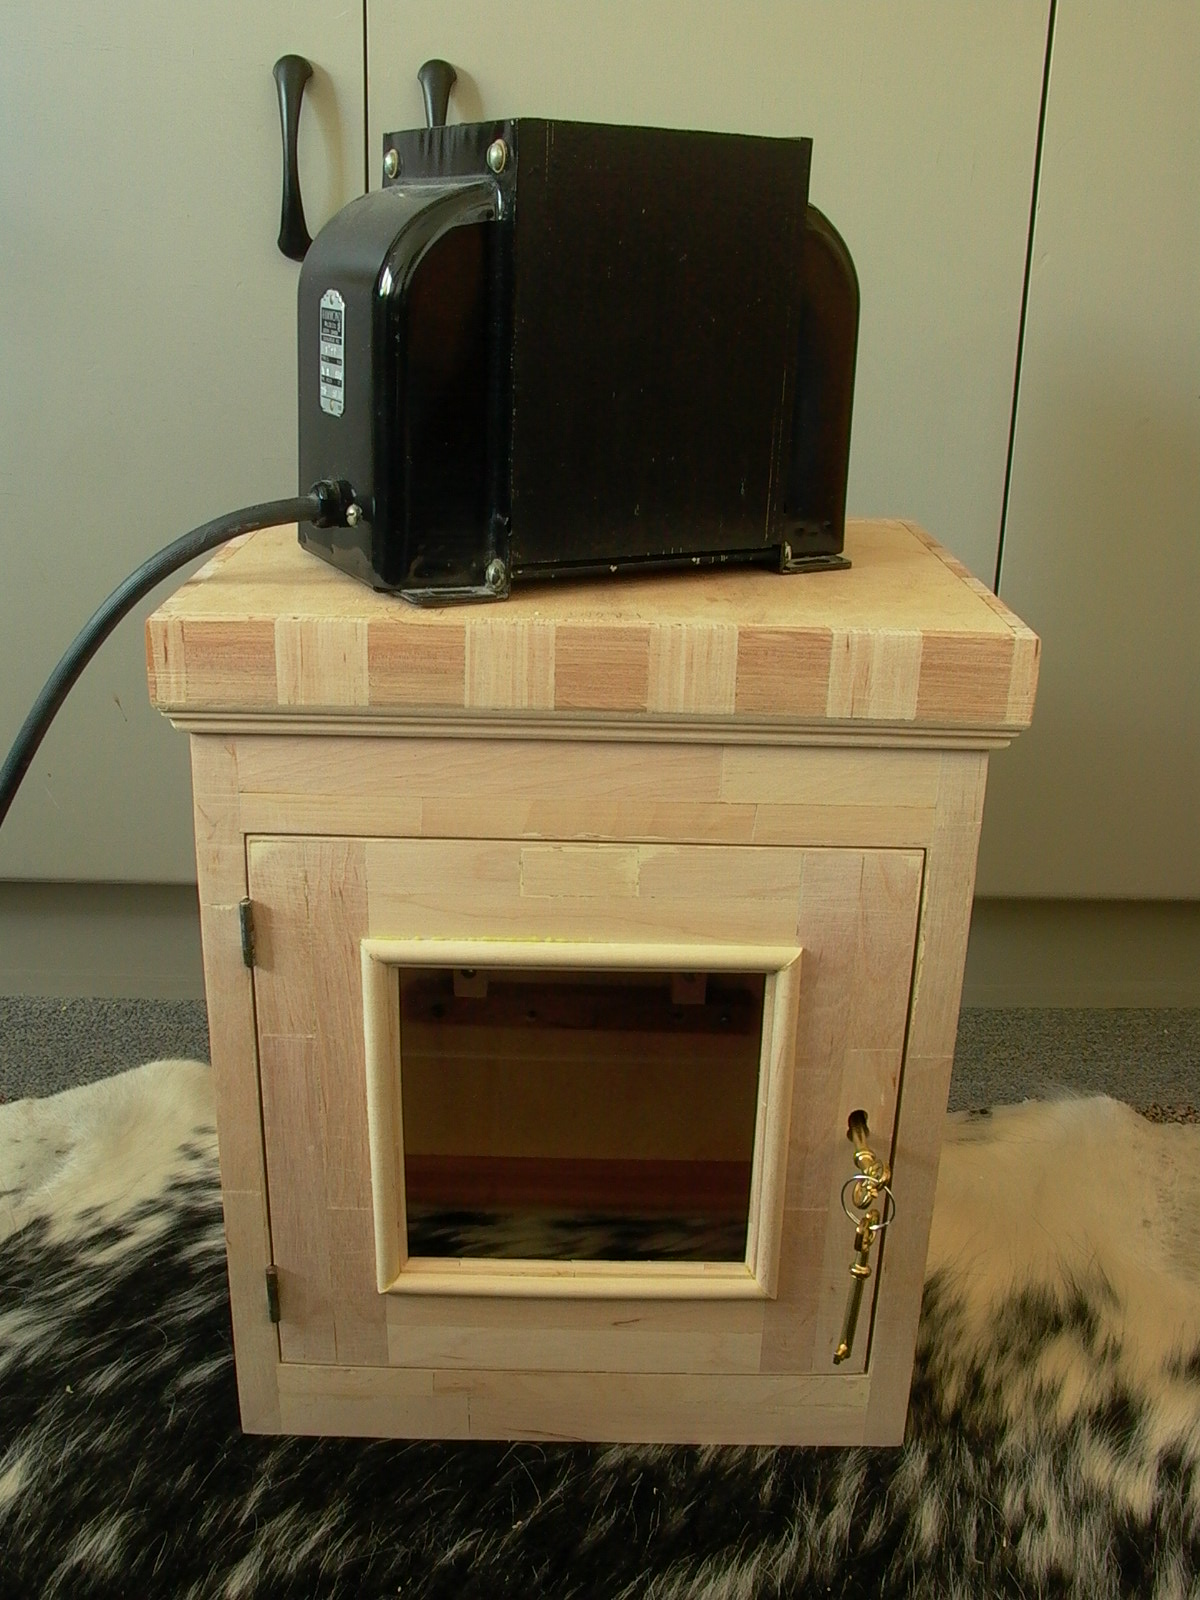
Once again, the top was removed and the case was turned up-side-down (fig. 137) so that a bottom cover could be glued into place. I used the same type of thin plywood for the bottom cover (fig. 138) as that used for the back of the side boards. Glue was applied (fig. 139) evenly, and cover was put in place. Then, a 40 pound weight was placed on top and glue was allowed to dry overnight. I used a large electrical isolation transformer for the weight (fig. 140).
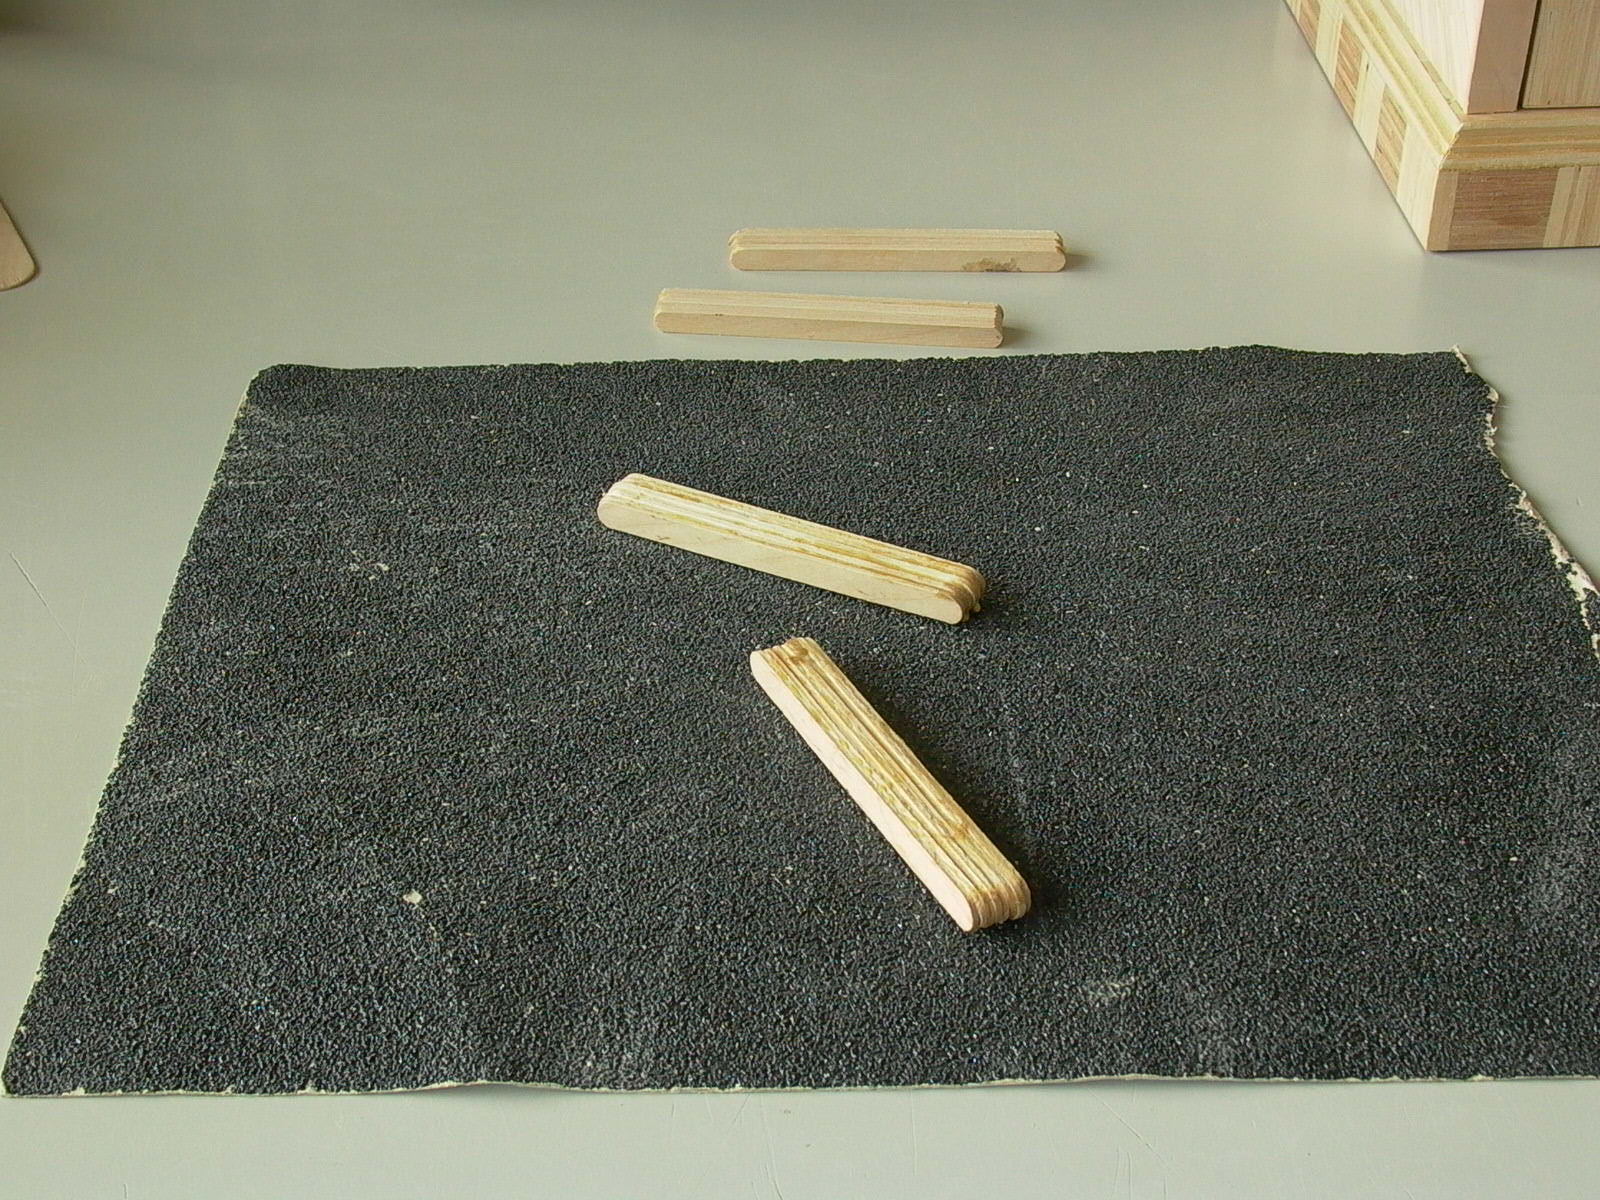
Making the Feet
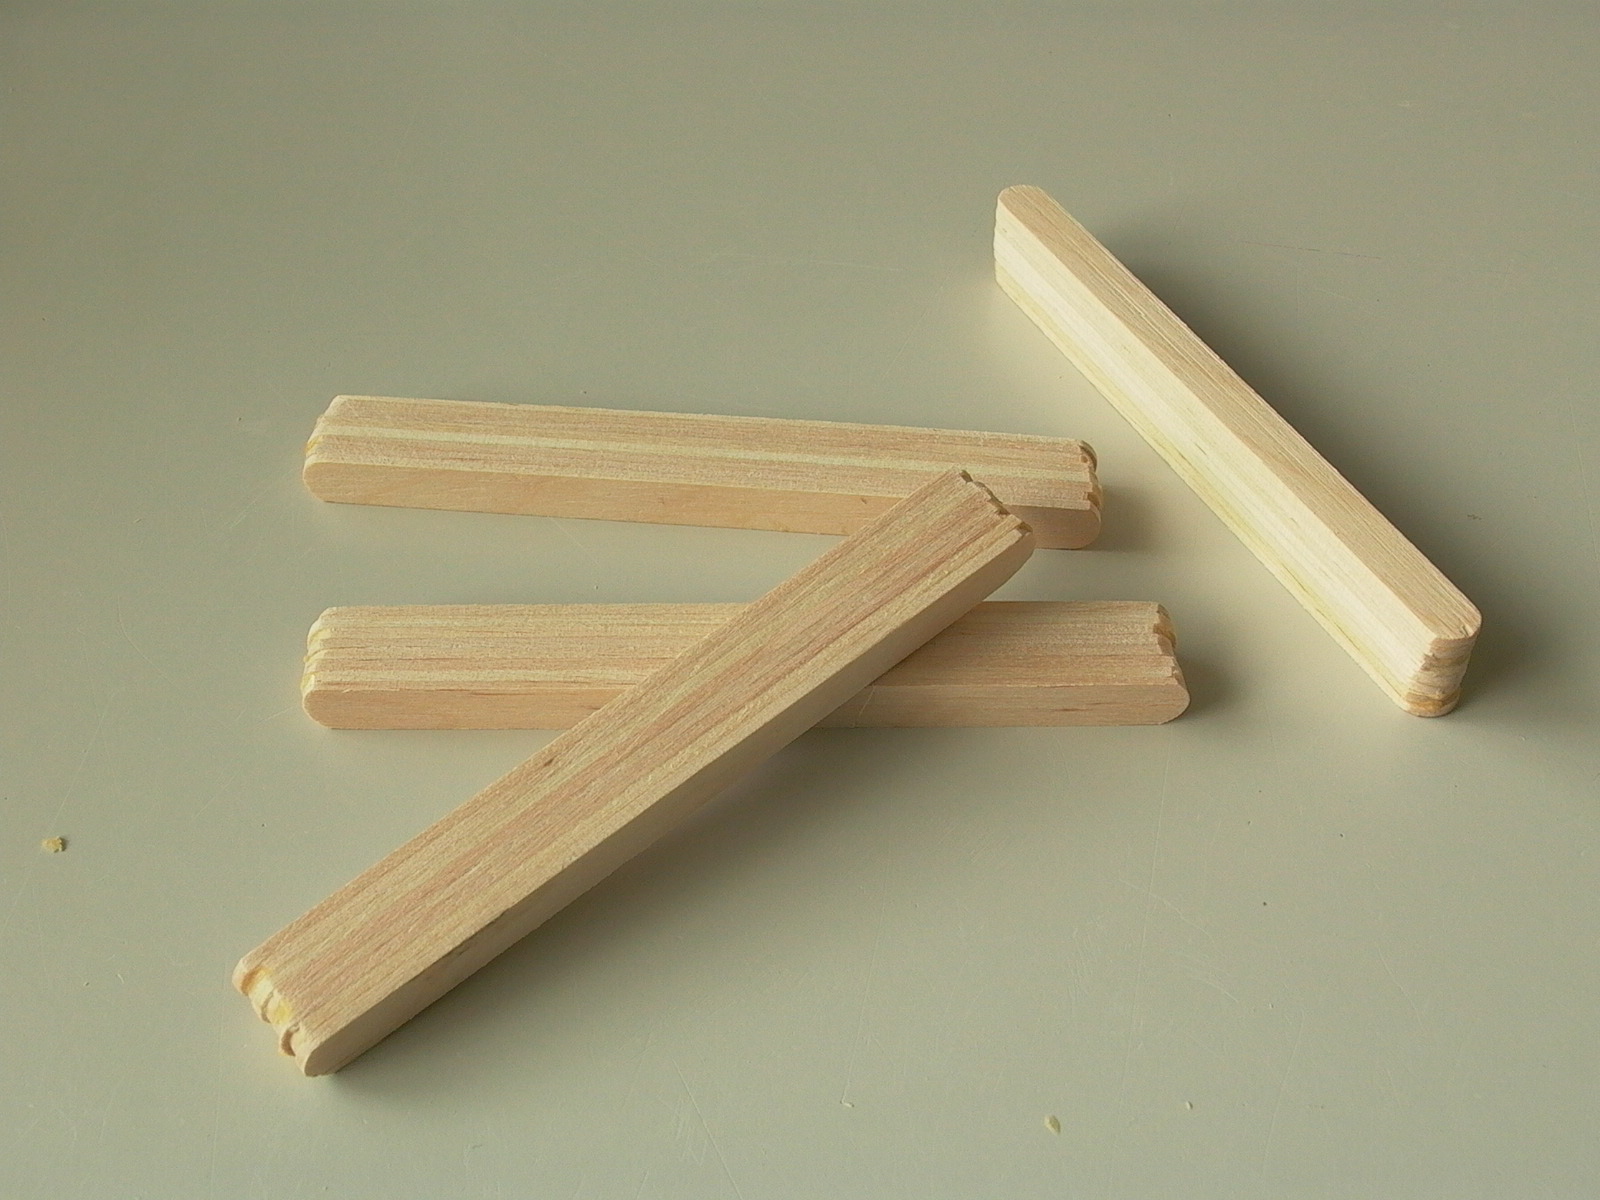
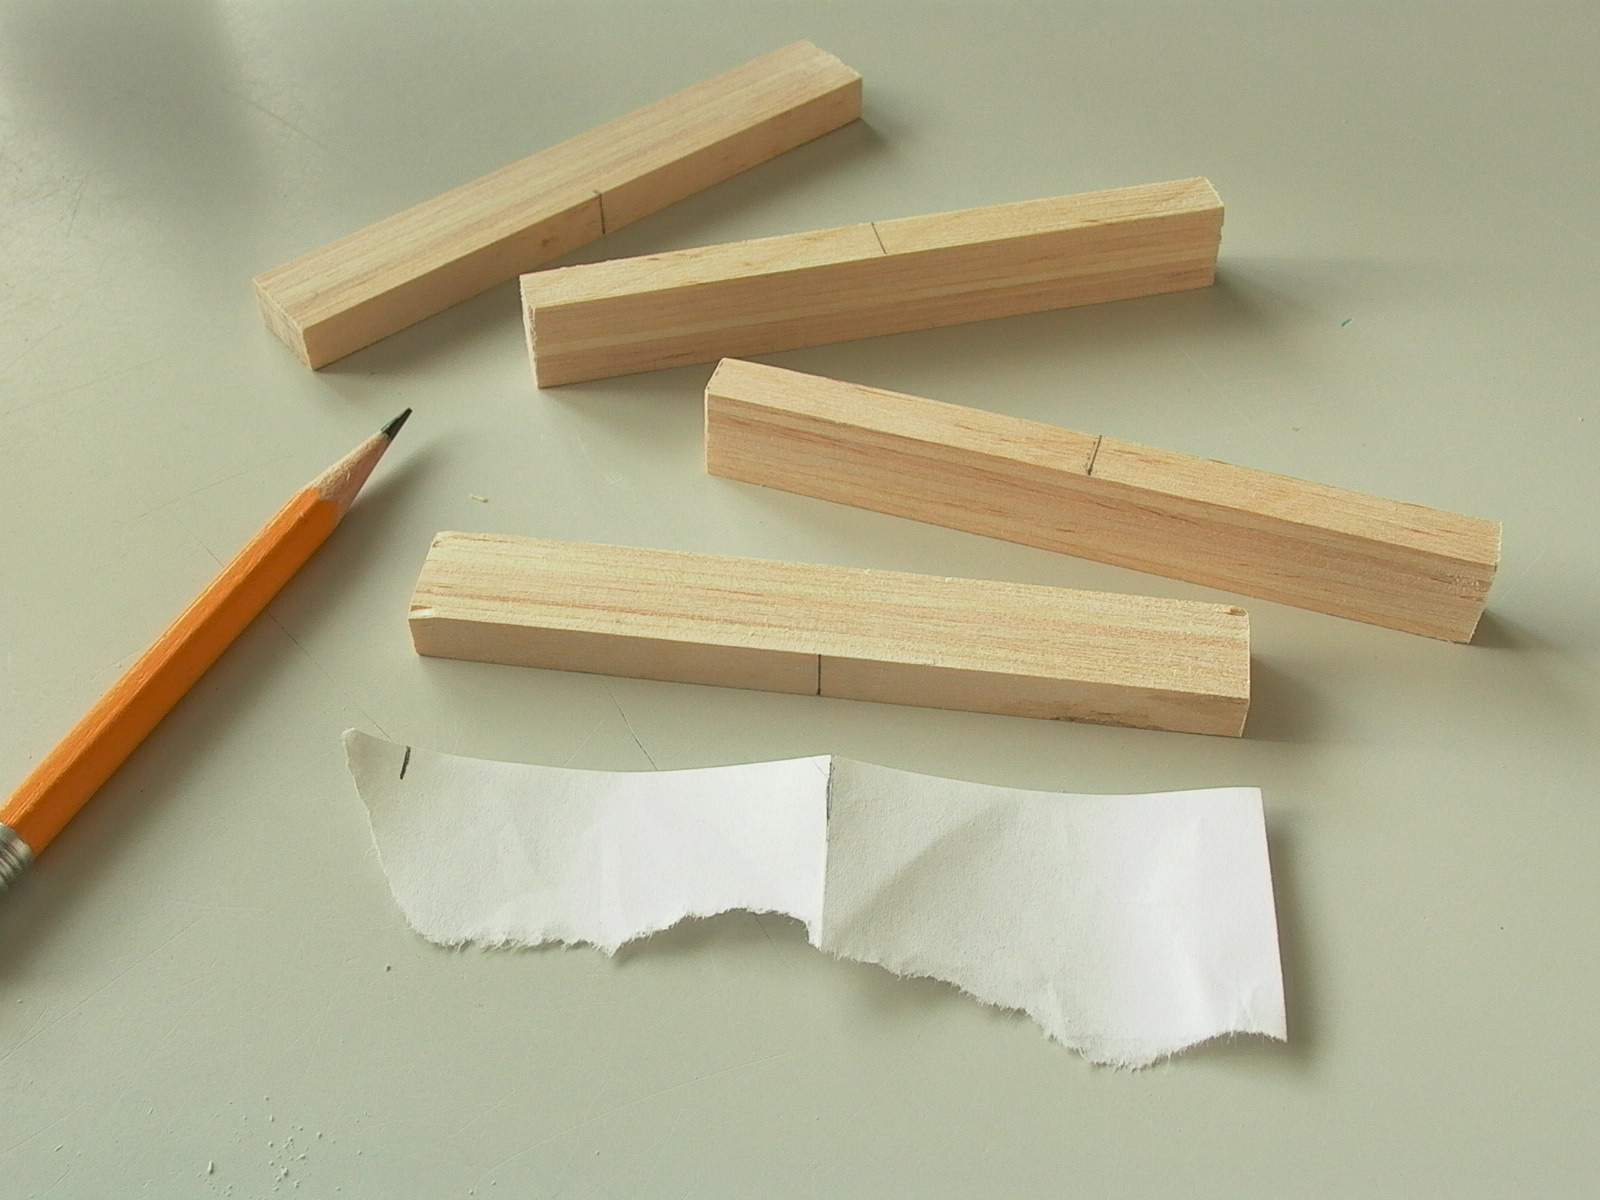
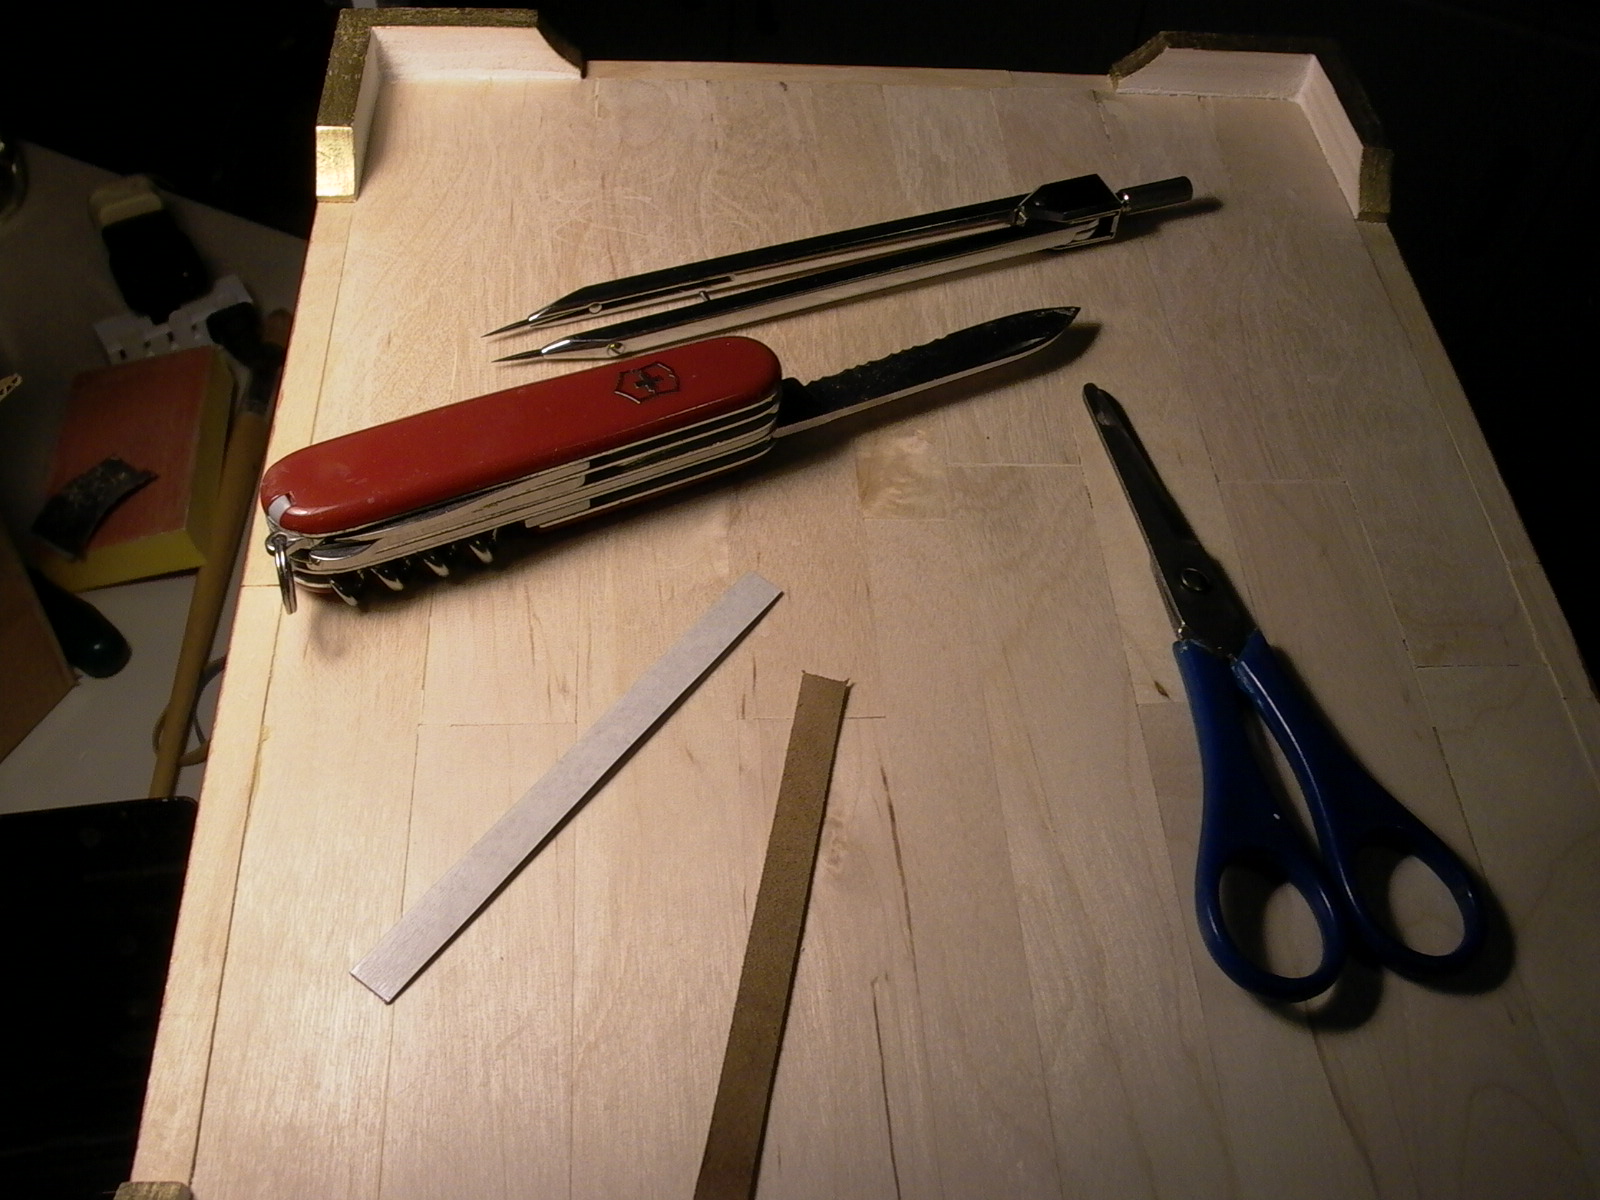
While the last step was drying, I started making the feet. Popsicle sticks were stacked and glued to desired height, then sanded (fig. 141) until all pieces were smooth and of same thickness (fig. 142). Round ends were sawed off and sanded to identical length. Center points were marked using a strip of paper the same length as the pieces by folding in half and marking the corresponding points (fig. 143), then they were cut at 45 degrees (fig. 144).
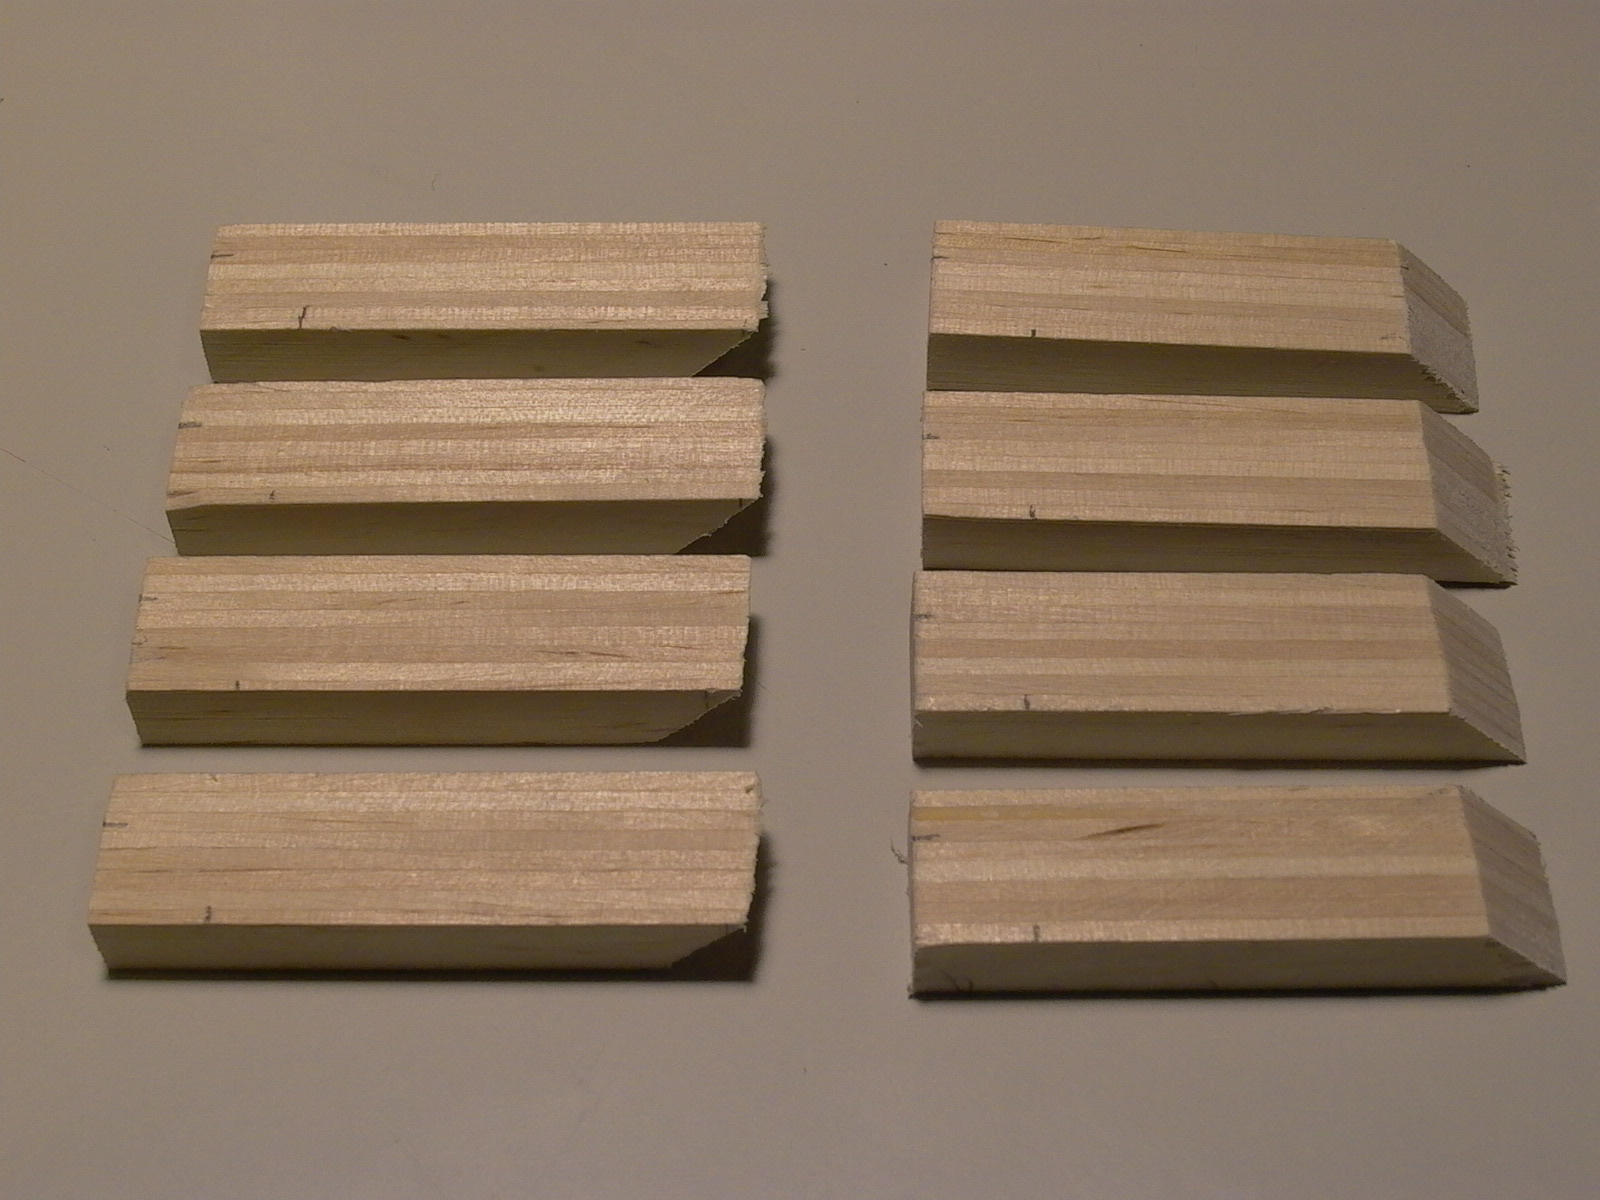

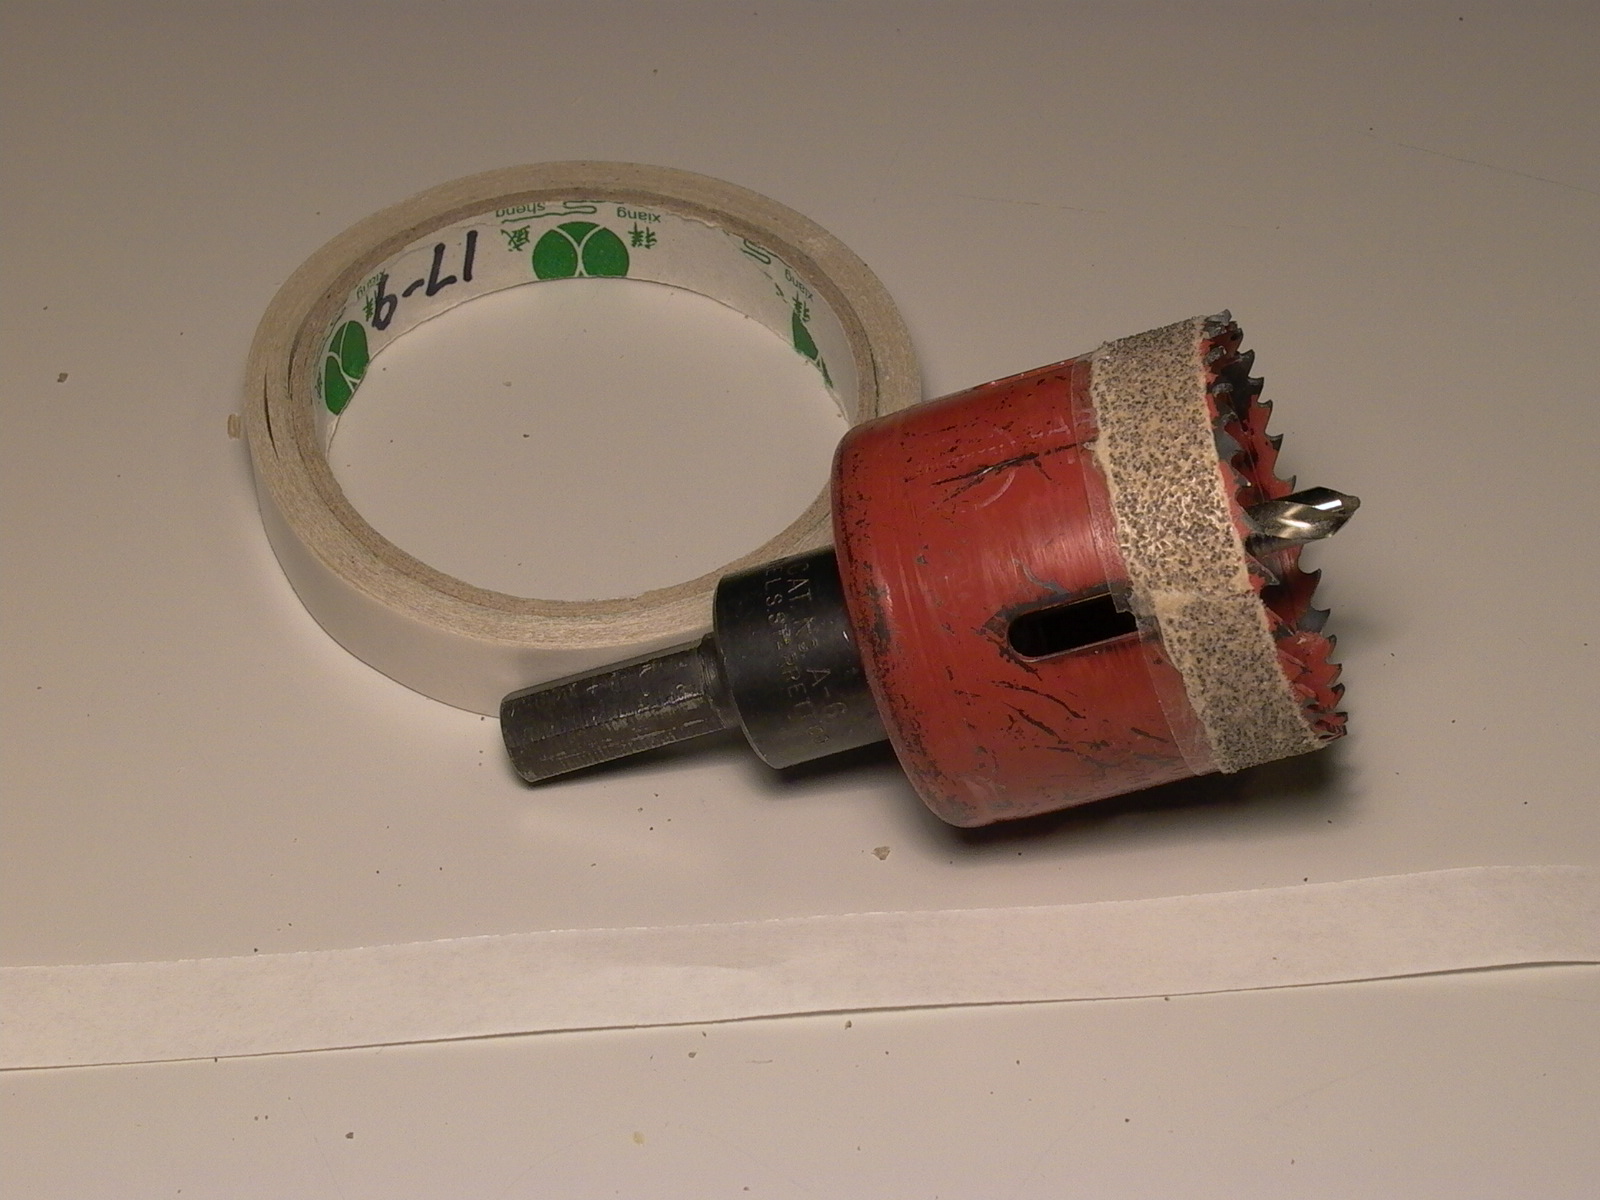
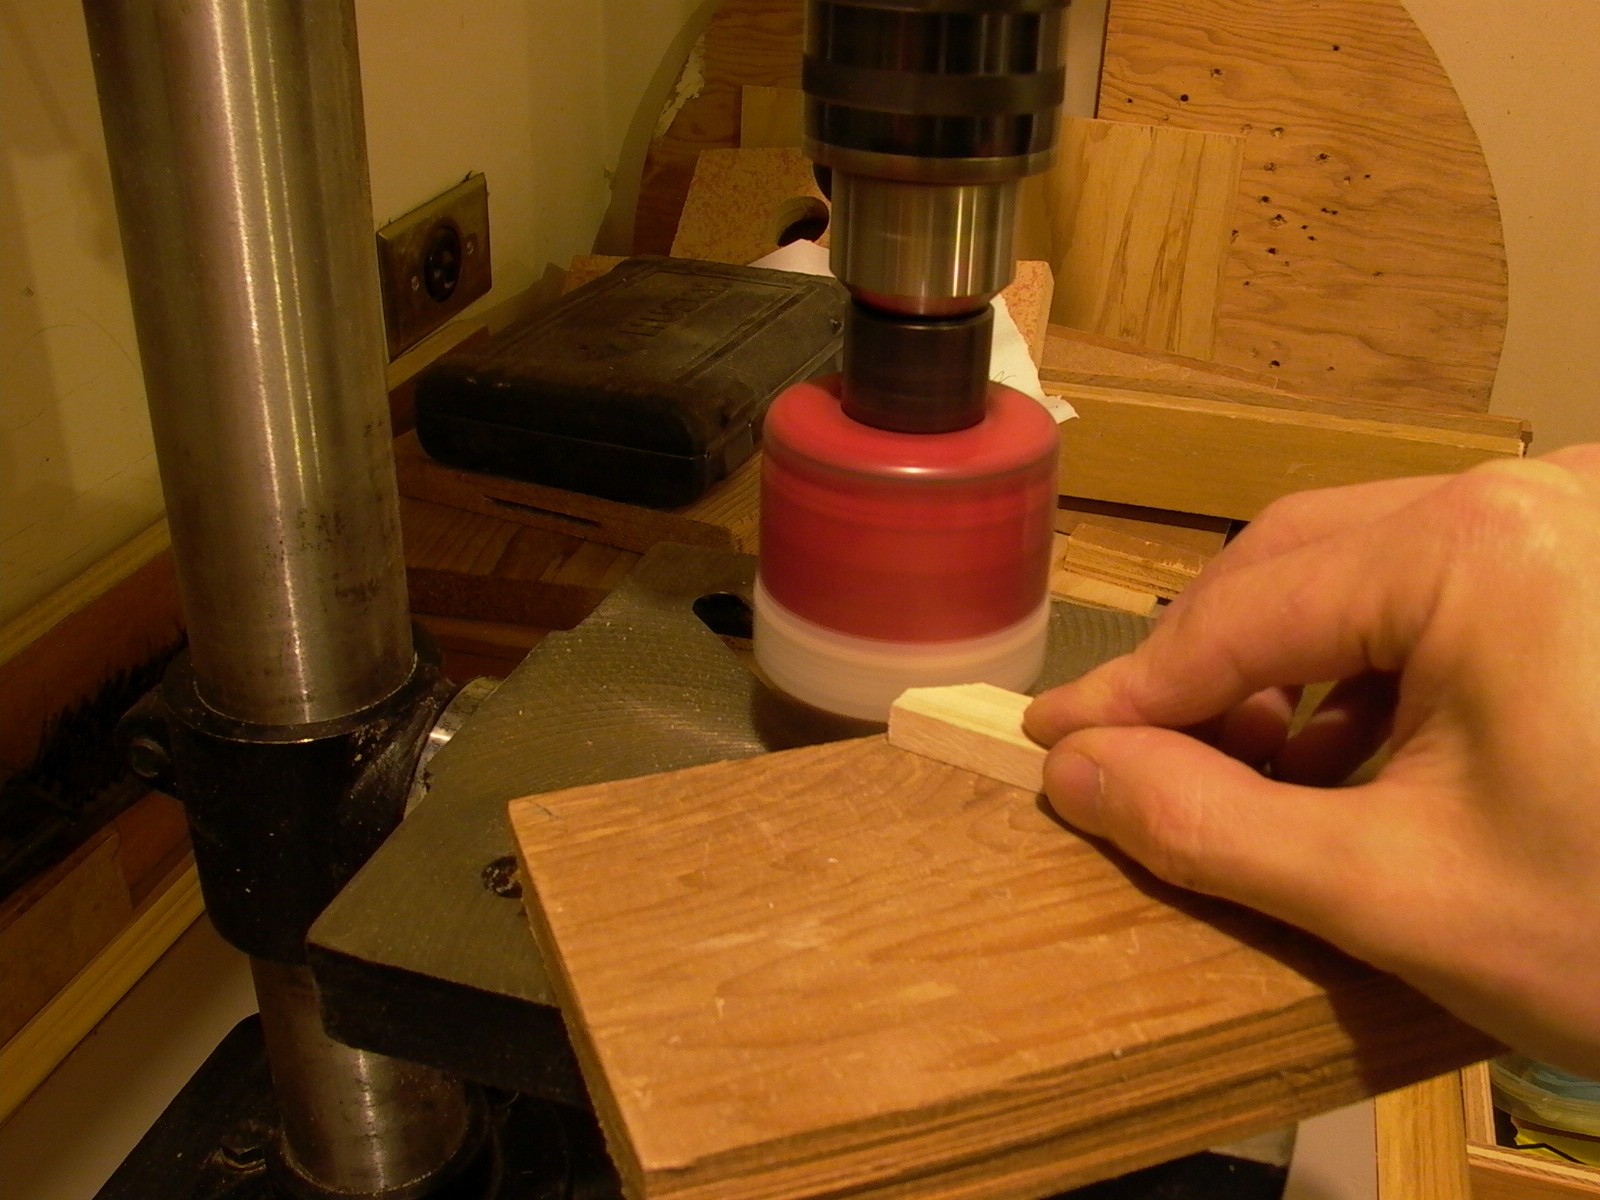
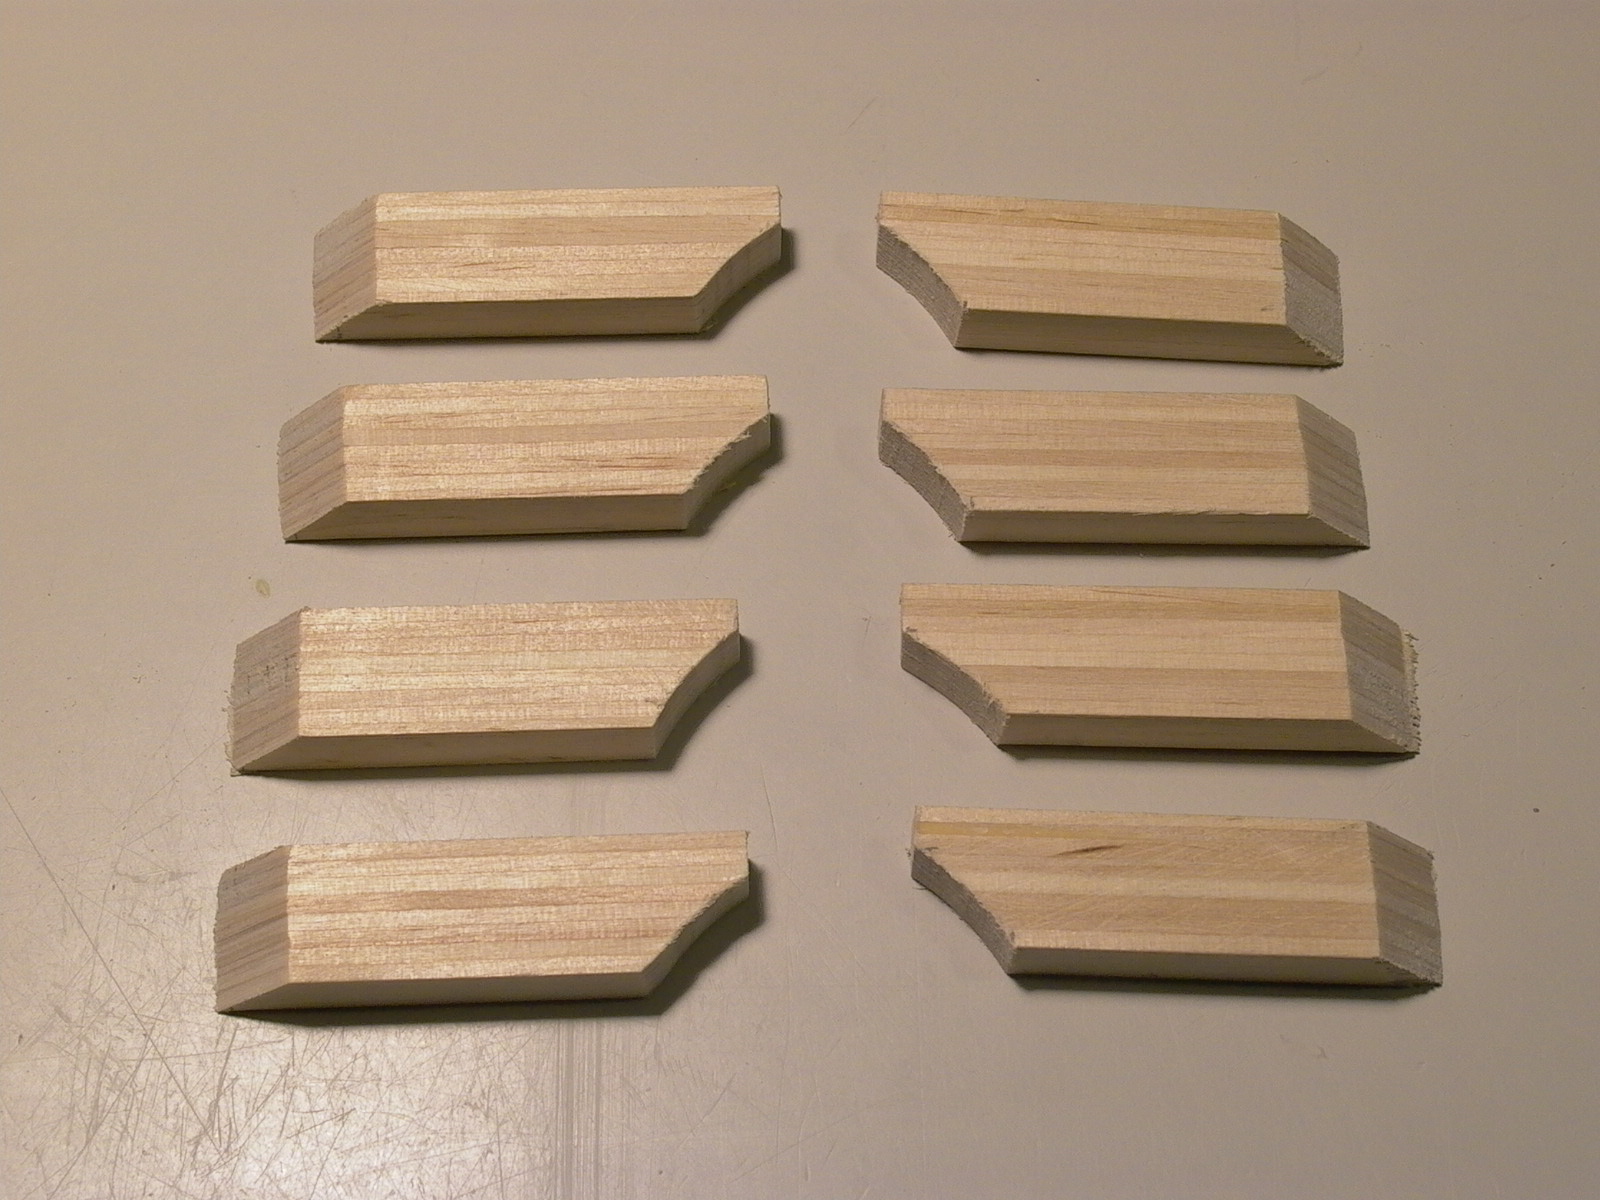
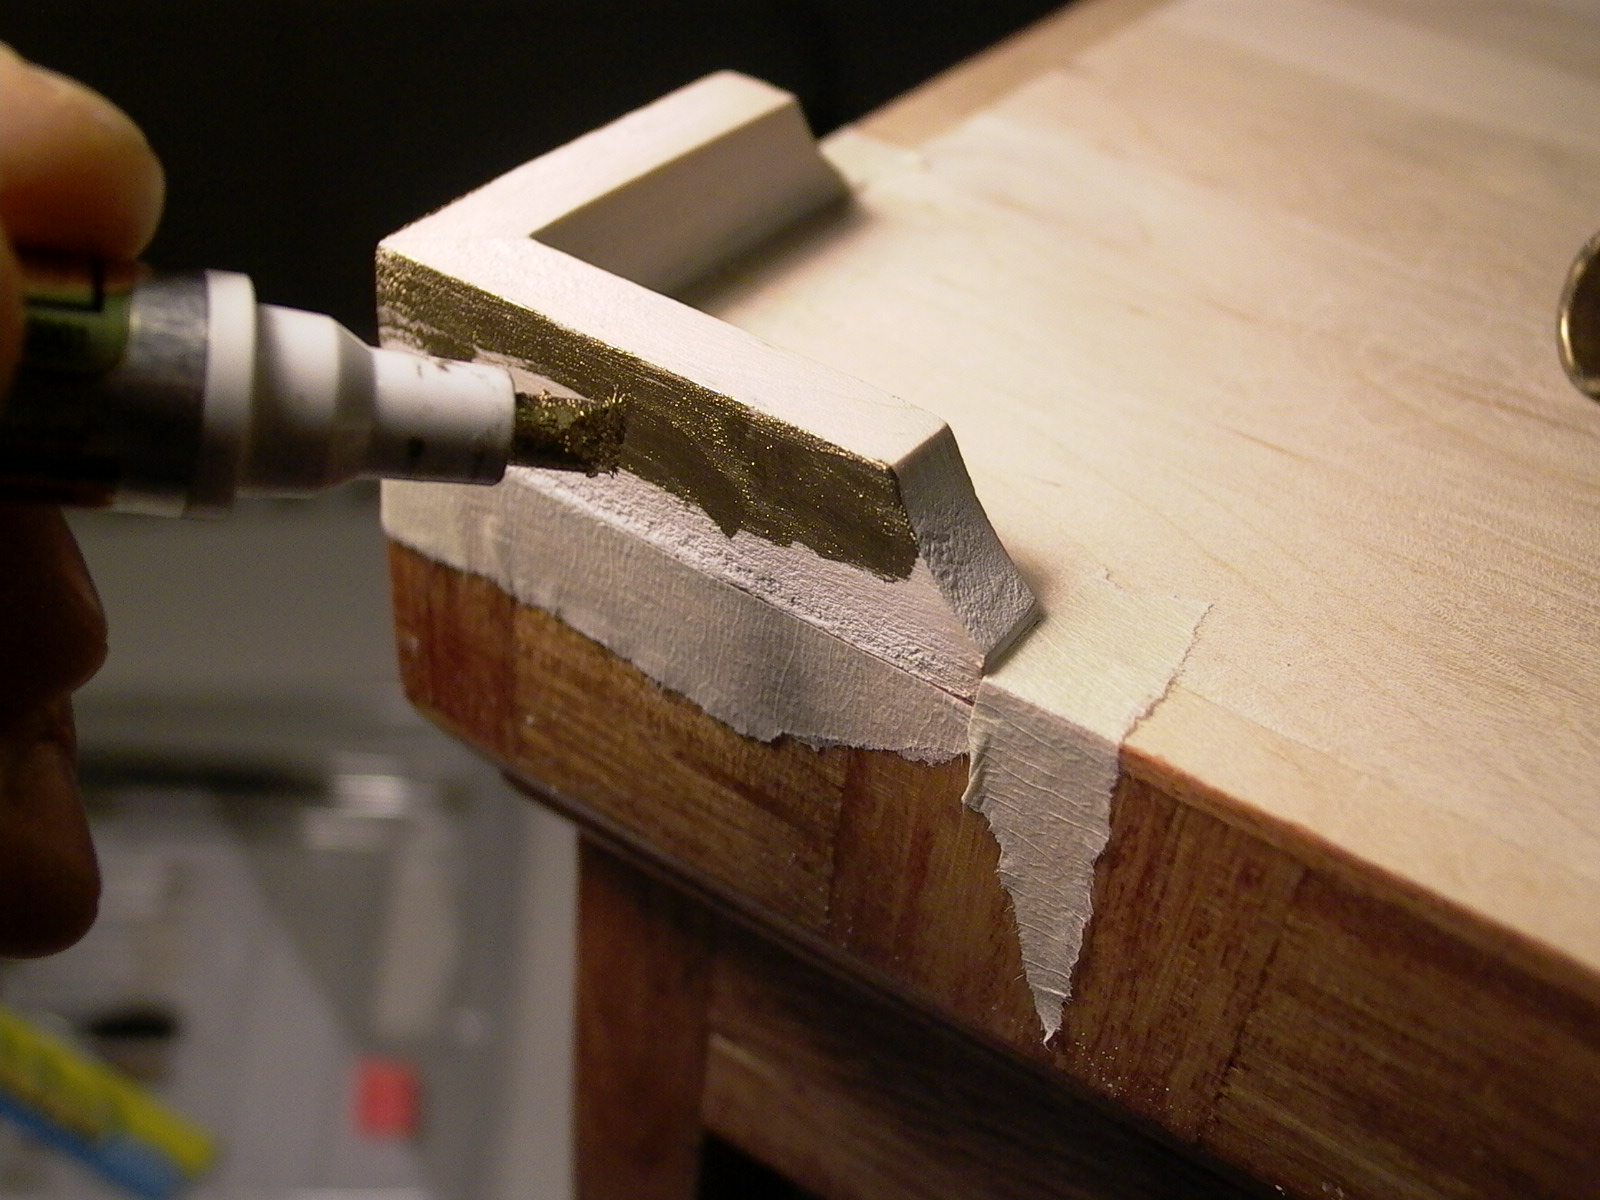
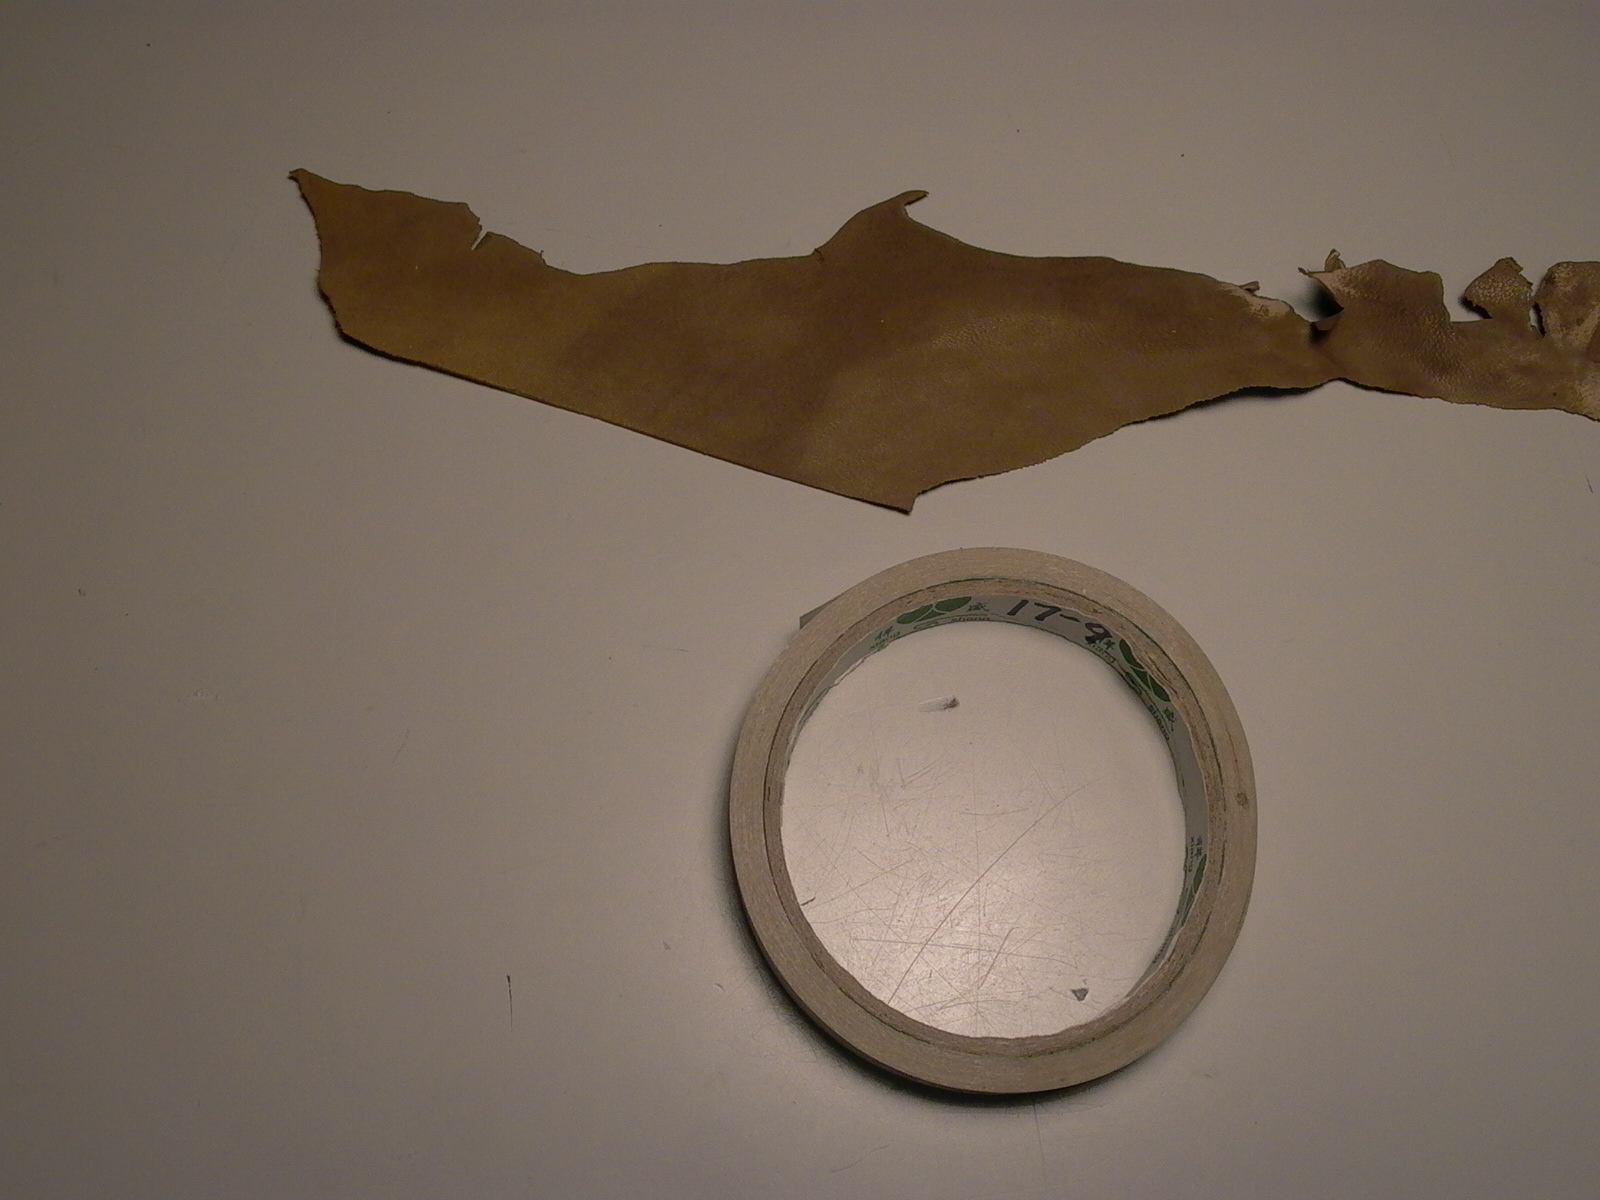
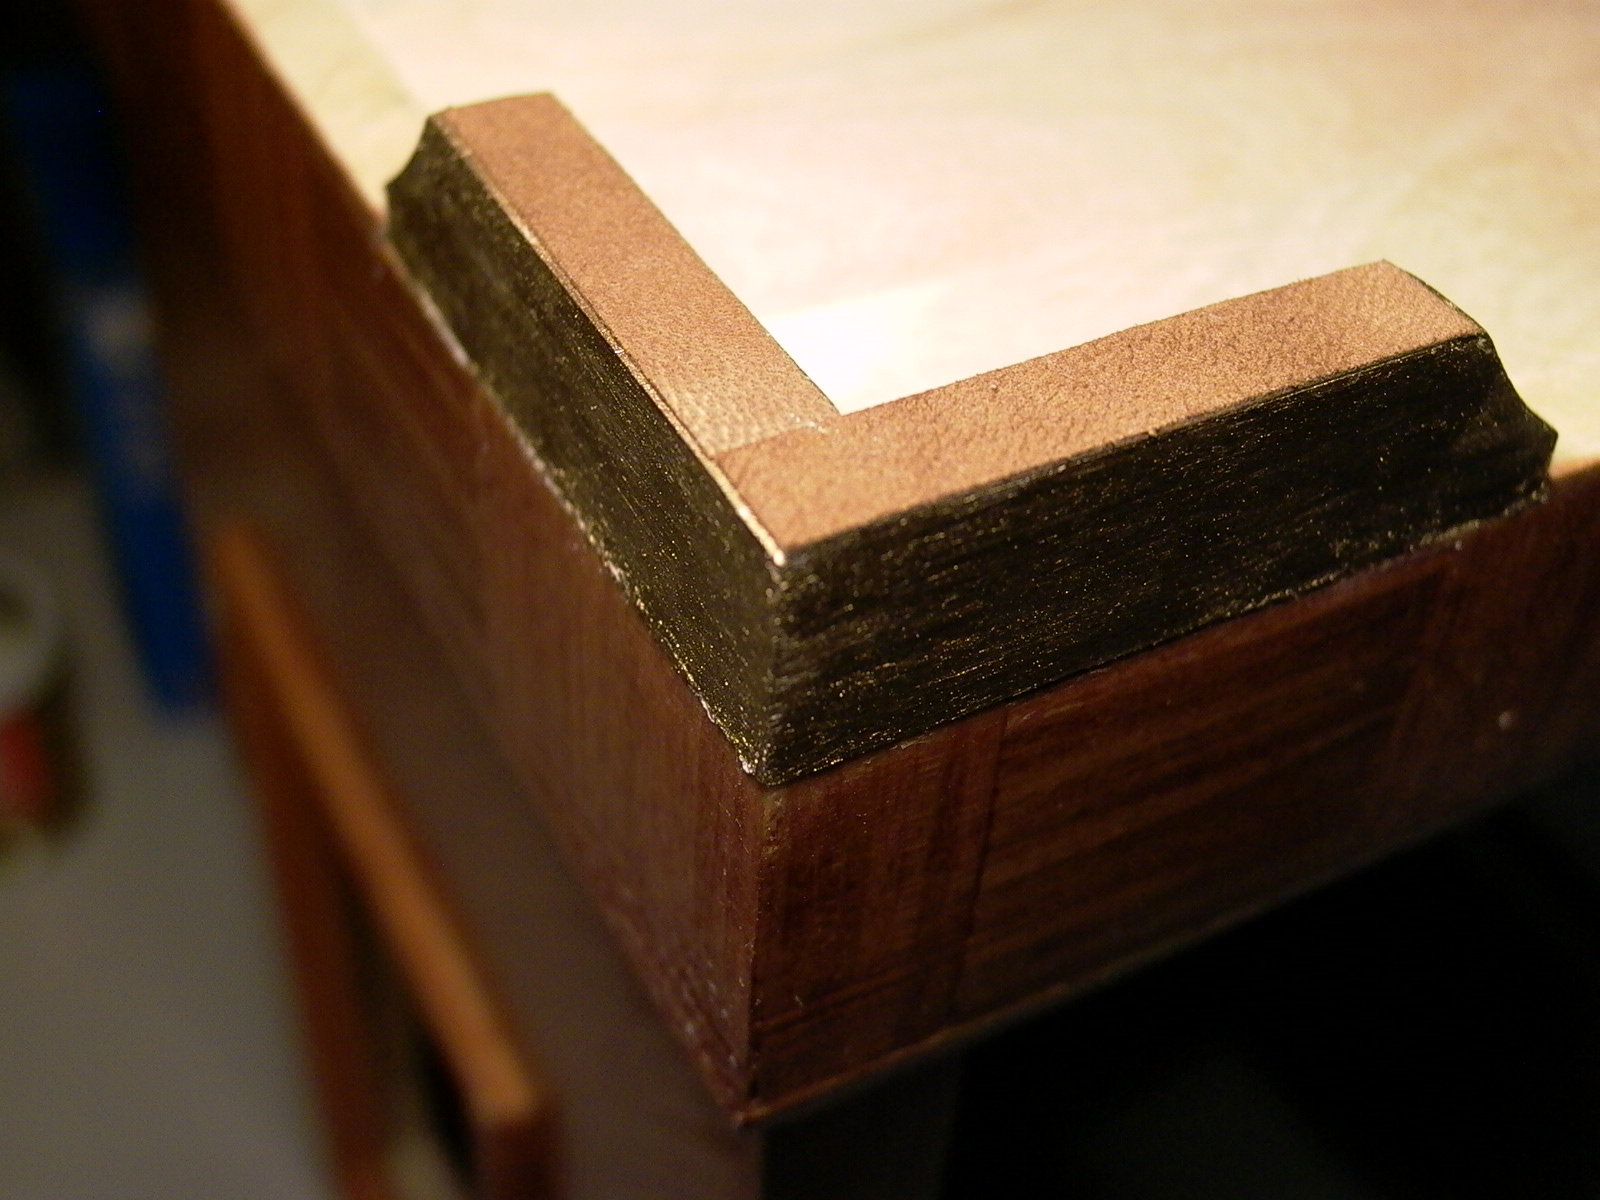
For decorative purposes, each piece would have one reverse-rounded corner at the end opposite the 45 degree cut. Sanding with a drum on a drill press would be the easiest way to make the curves perfect. If a sanding drum of appropriate size is not available, one can be made by taping a strip of P60 sand paper around a door drill using double sided tape (fig. 145-147). Each strip of sandpaper is good for two reverse-rounded corners of this size before it needs to be replaced. Use WD-40 or similar oil to remove the glue, the clean off the oil with rubbing alcohol before replacing the strip. After sanding, the corner pieces should look like this (note the DIRECTION of the angles with respect to the sanded corners!) (fig. 148):
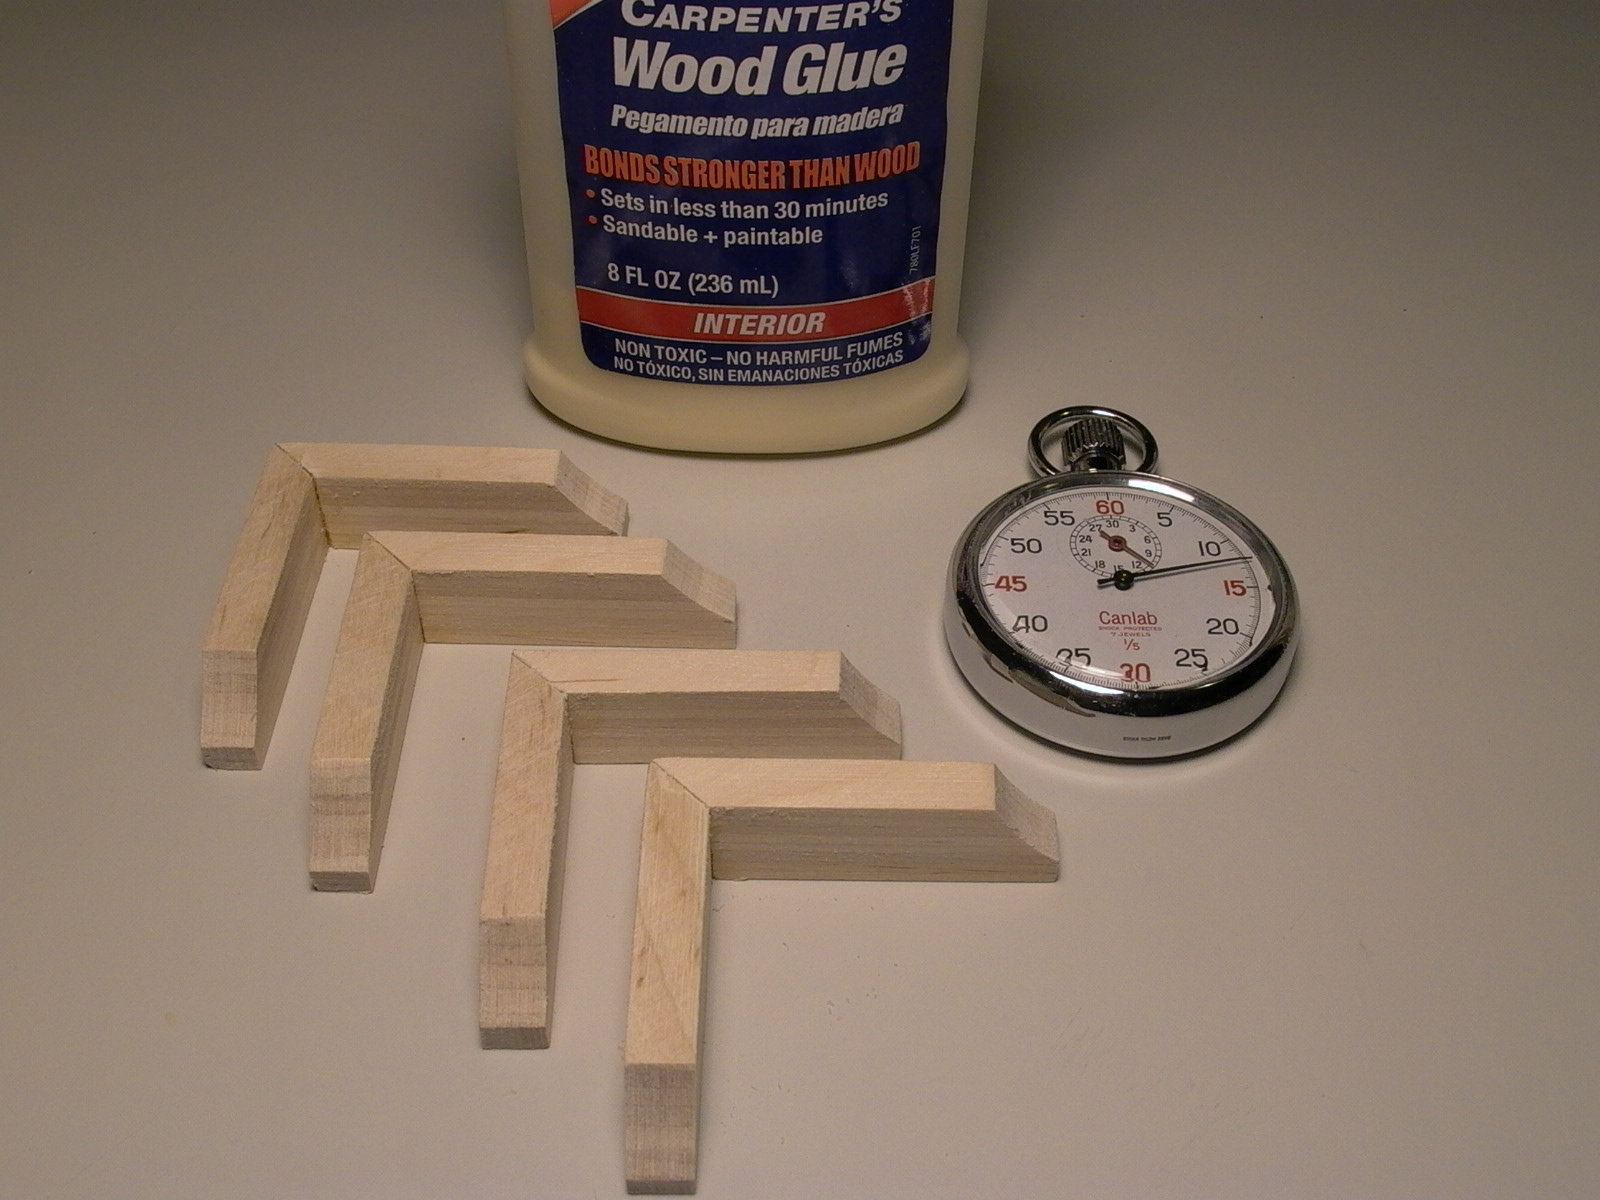
Angled corners were then glued and allowed to dry overnight (fig. 149). A square was used set the pairs in place as they were glued.
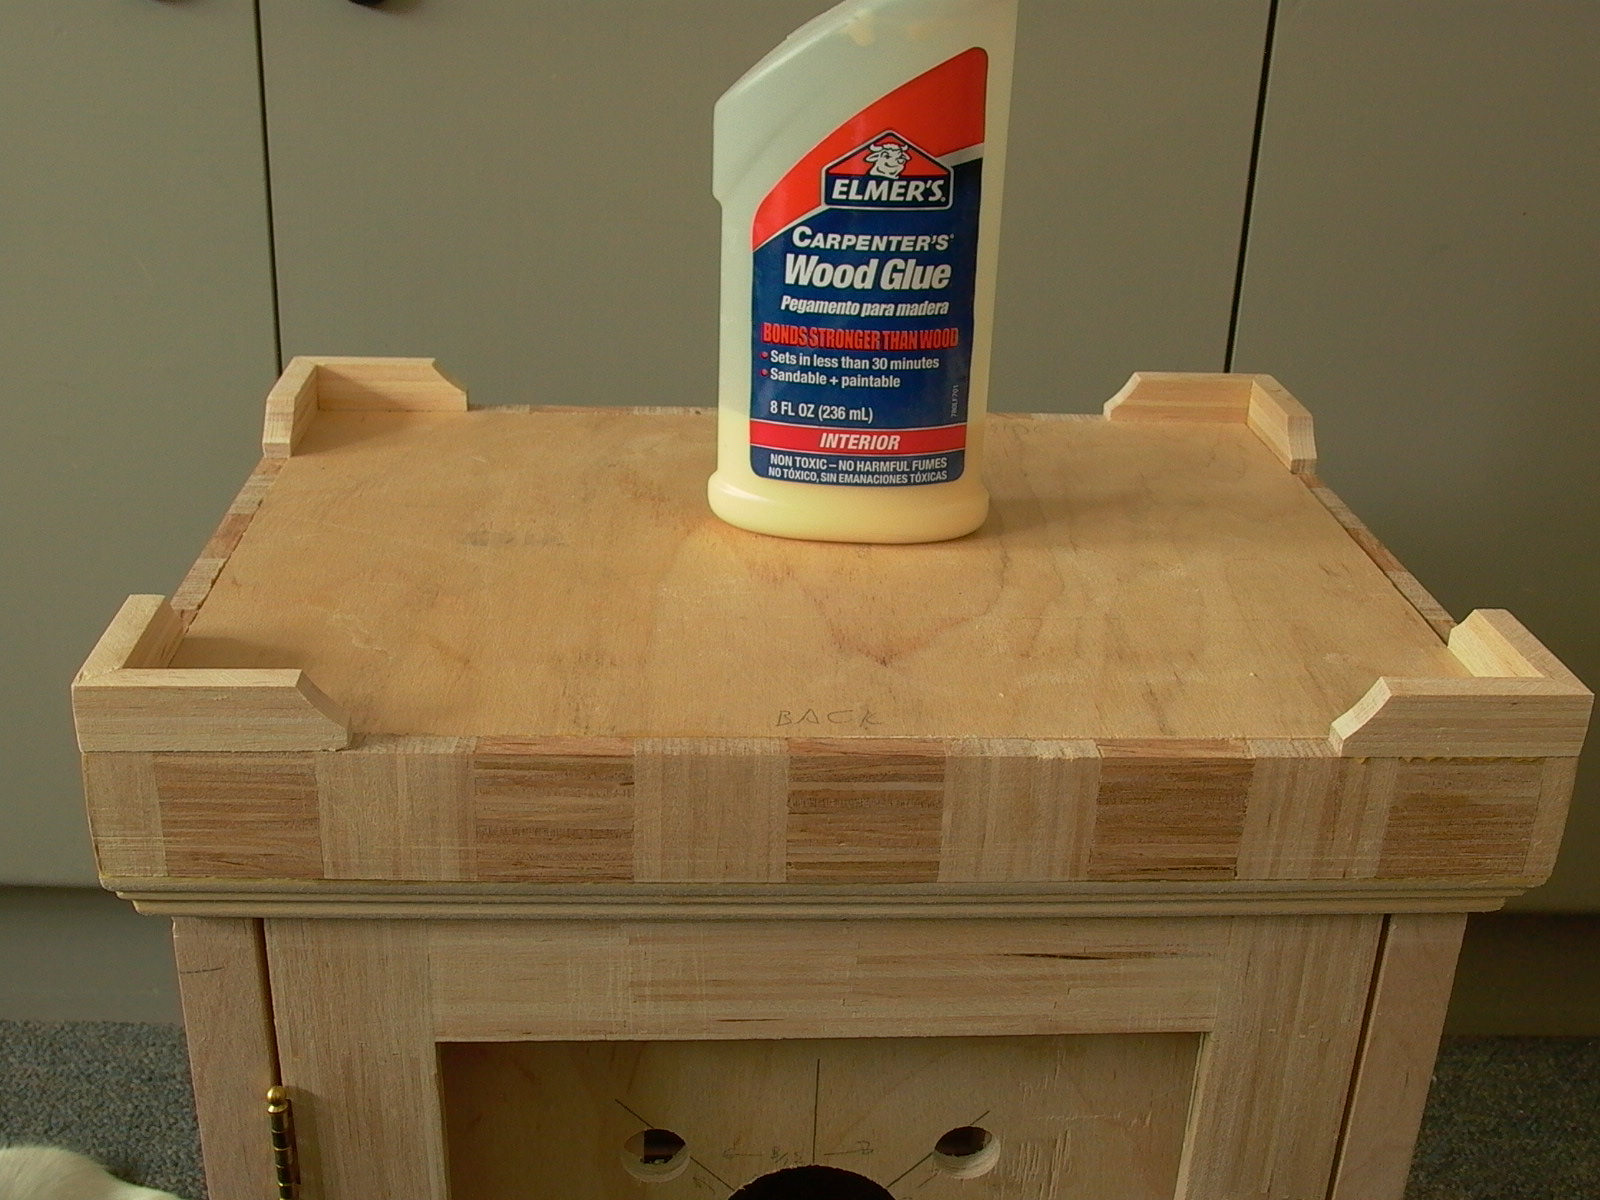
The following morning, the weight was removed from the bottom cover and feet were glued into place (fig. 150). I made sure corners aligned and sides were flush, then about 15 minute later, a light weight was placed on top (fig. 151).
If I could do this again, this step would be one of the last steps; I would not glue the feet until case has been stained and varnished, and feet are painted.
Finishing
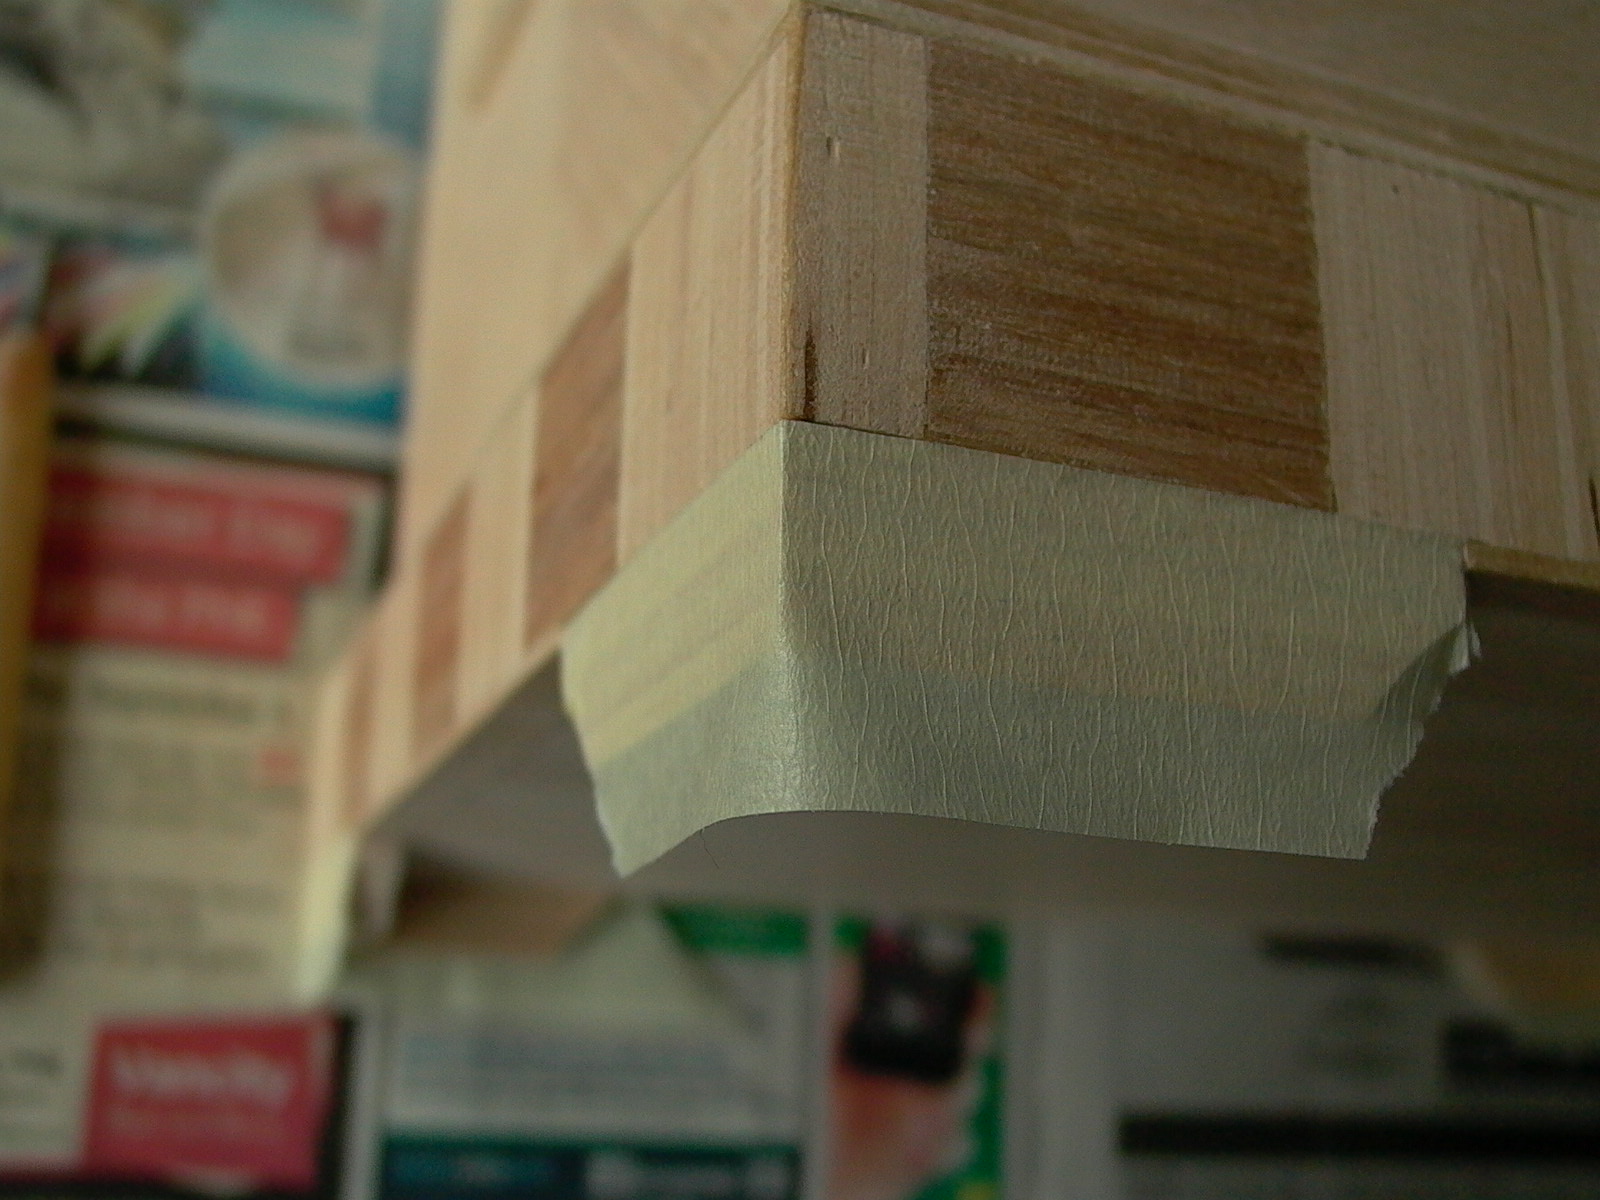
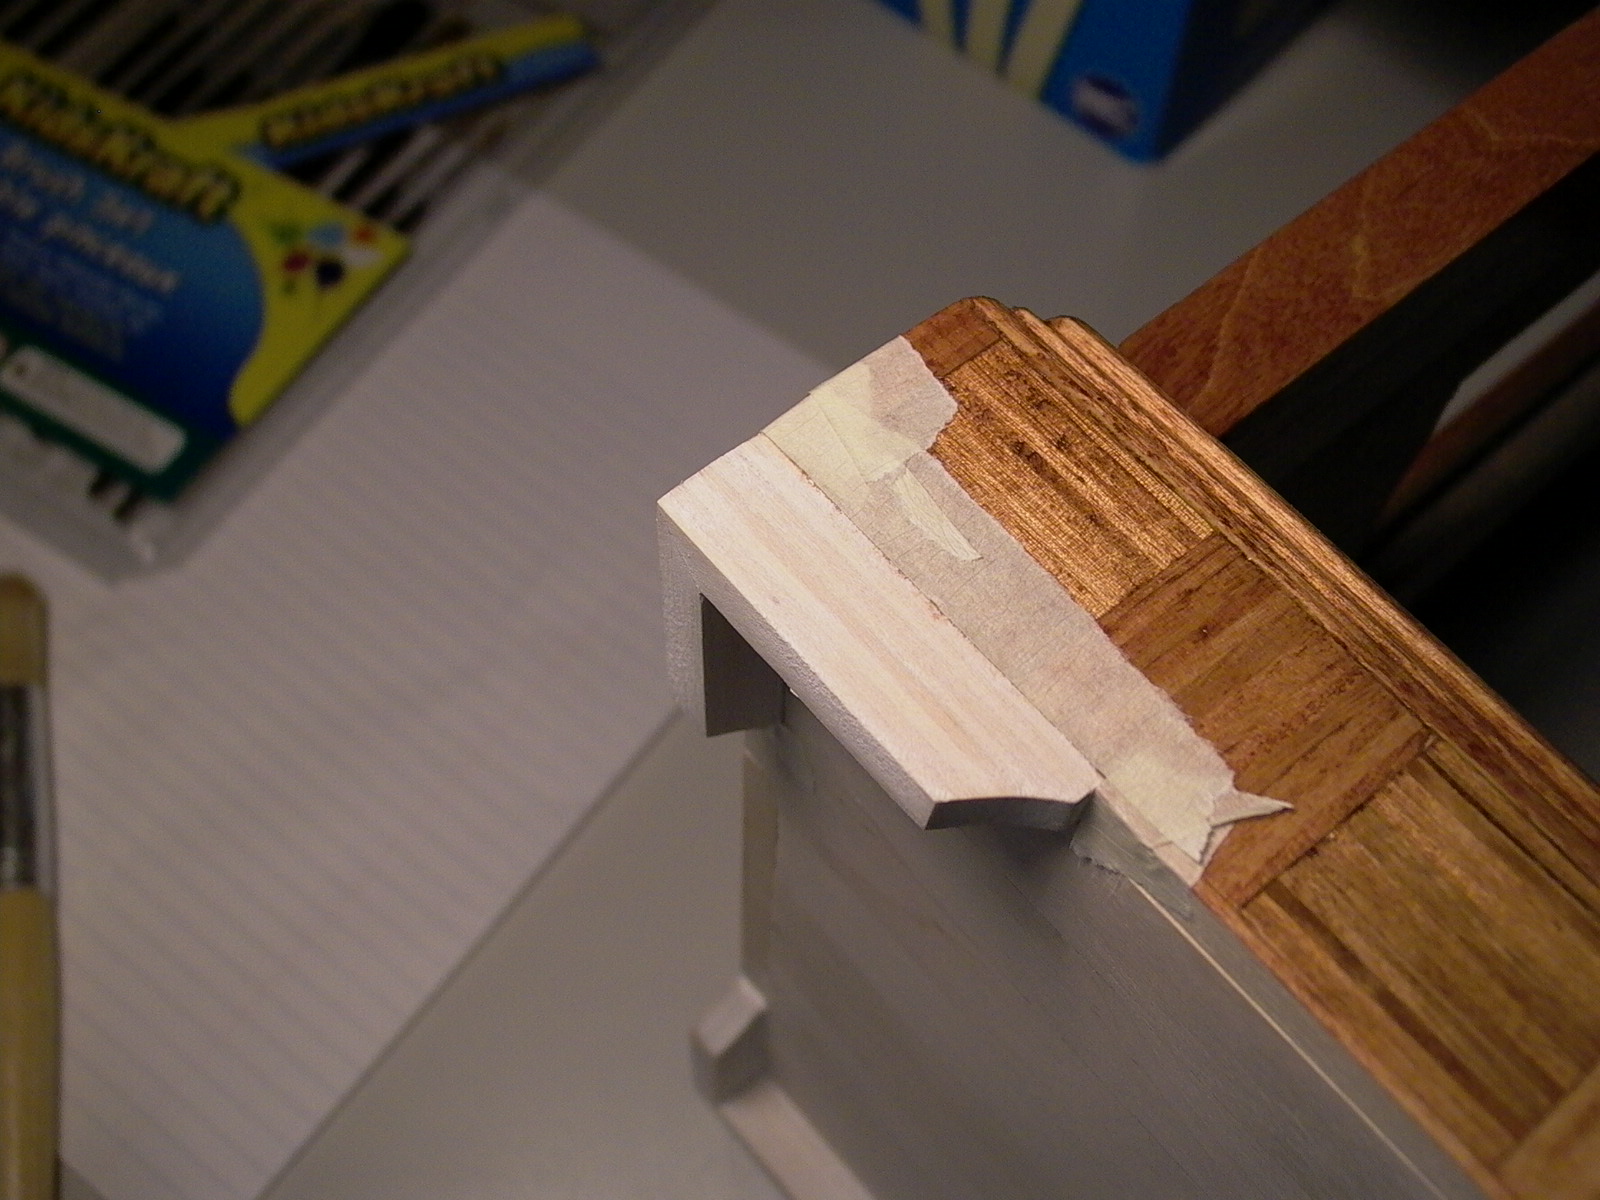
The project was now ready for the final steps. In preparation for finishing, the entire case was dismantled completely (fig. 152) and all the hardware remove. Feet were covered with tape (they will be painted gold later) (fig. 153) and all the parts were sanded until they were smooth. The exterior of the case was then stained using Minwax “Gunstock” (color) oil based stain. Two coats were applied on the outside using paper towel (be sure to wear gloves!) and left to dry while the inside and bottom were left unfinished.
After the stain has dried, inside walls (except where the veneers extend into) and floor of the case were covered with newspaper as those areas will remain bare wood. Then all the components were given a couple of coats of spray-on varnish according to the directions on the spray can. The following day, the case was reassembled (without the movement) and feet were coated with homemade gesso and painted gold using a Krylon 18K (brand) gold leafing pen (fig. 154 & 155).
To prevent the case from scratching the furniture, leather pads were used on the bottom of the feet. A piece of scrap goatskin used in bookbinding (fig. 156) was cut into strips (fig. 157) and double side tape was used to adhere the pieces to the bottom of the feet (fig. 158). The exposed side is actually the back side of the leather.
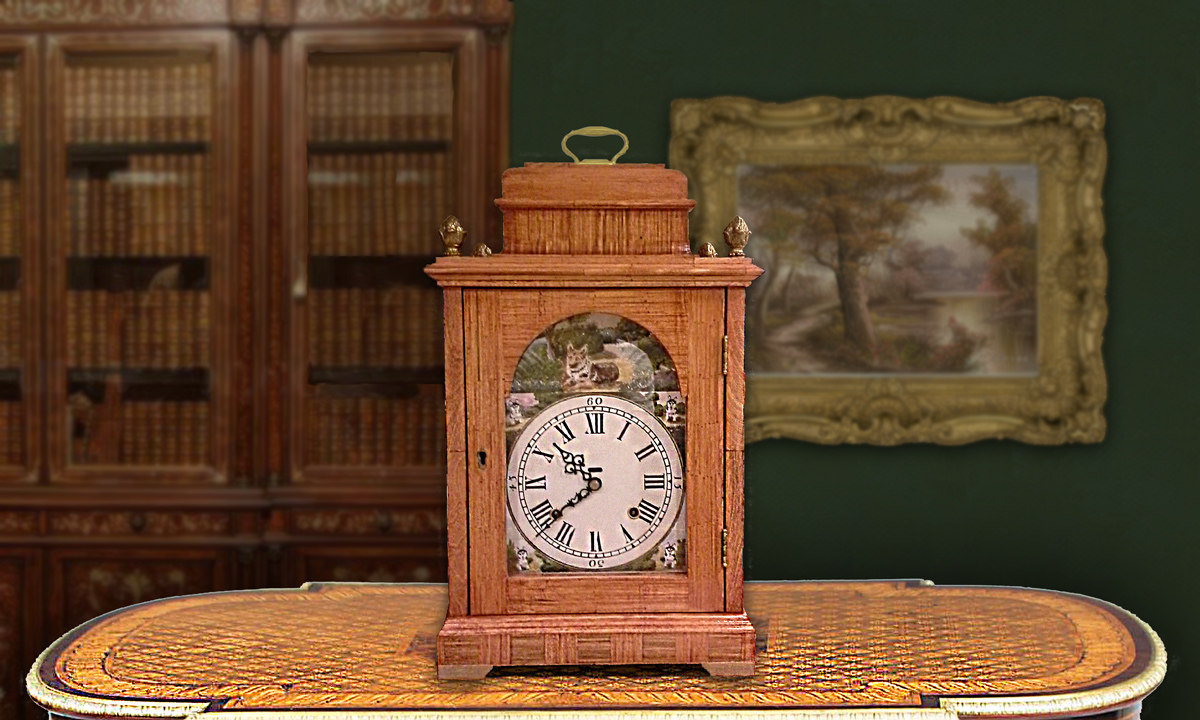
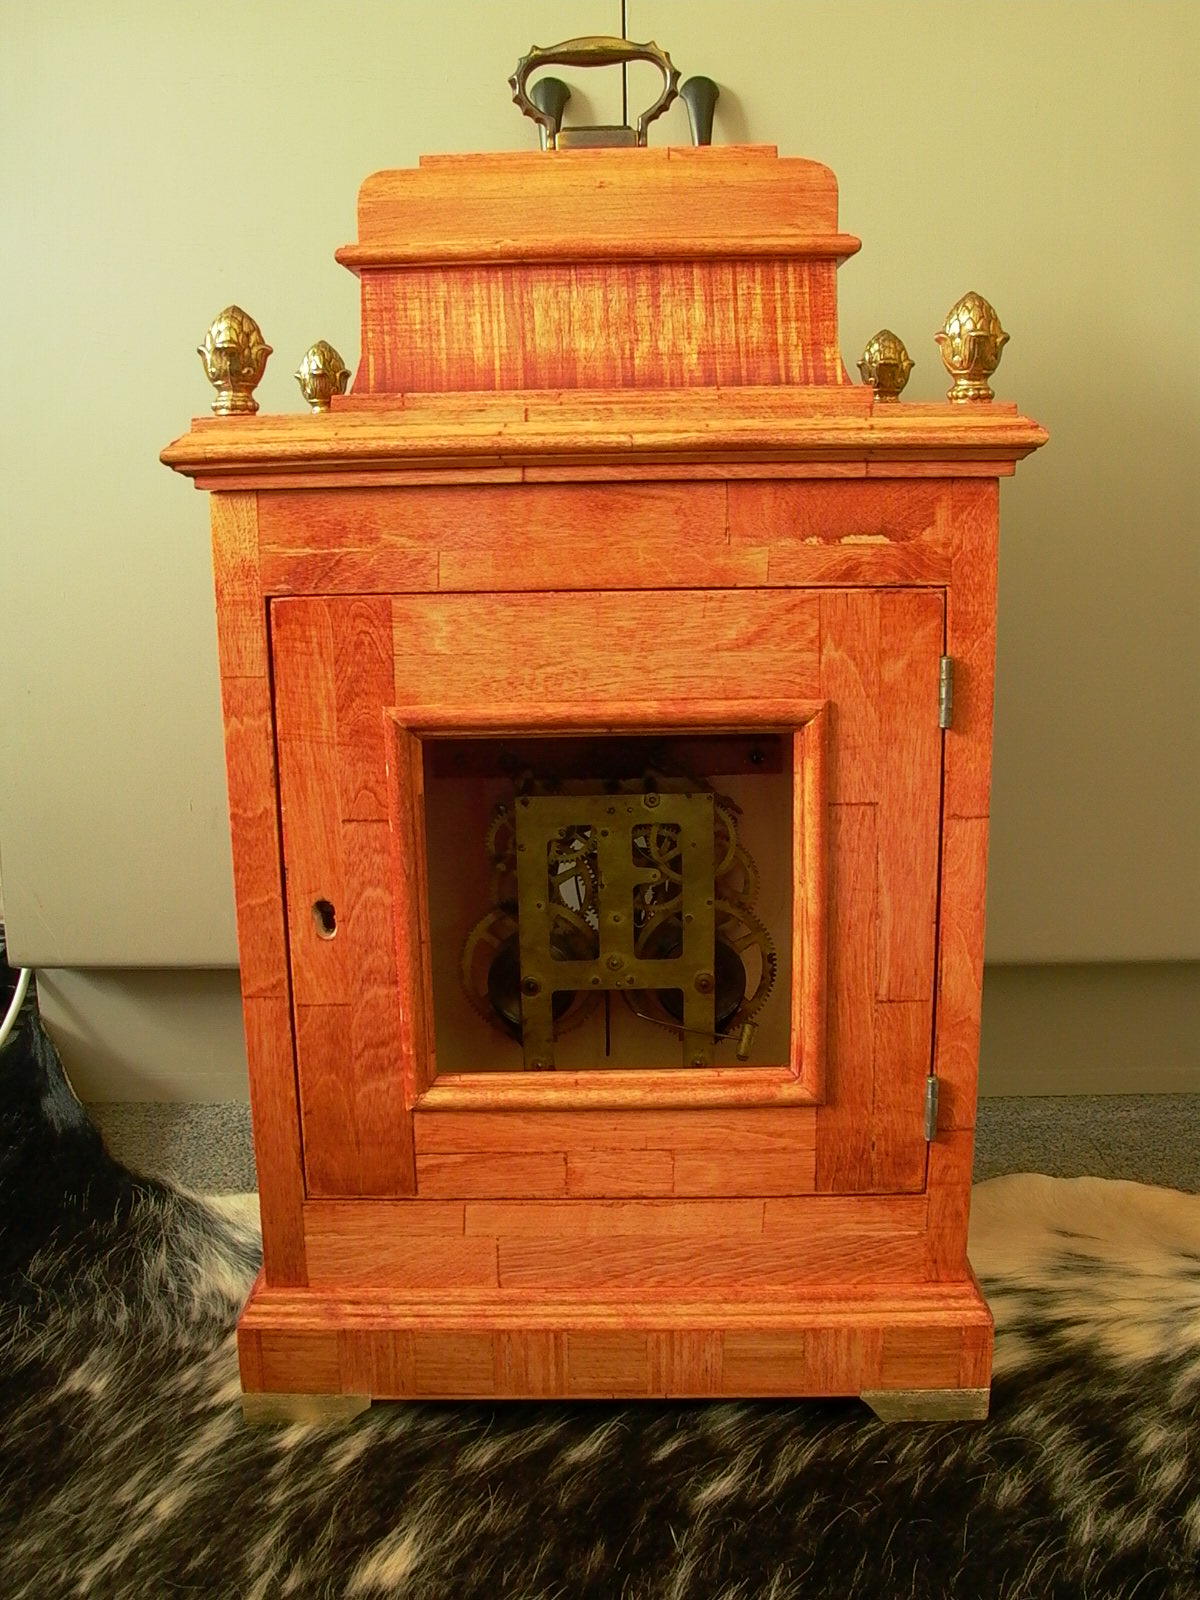
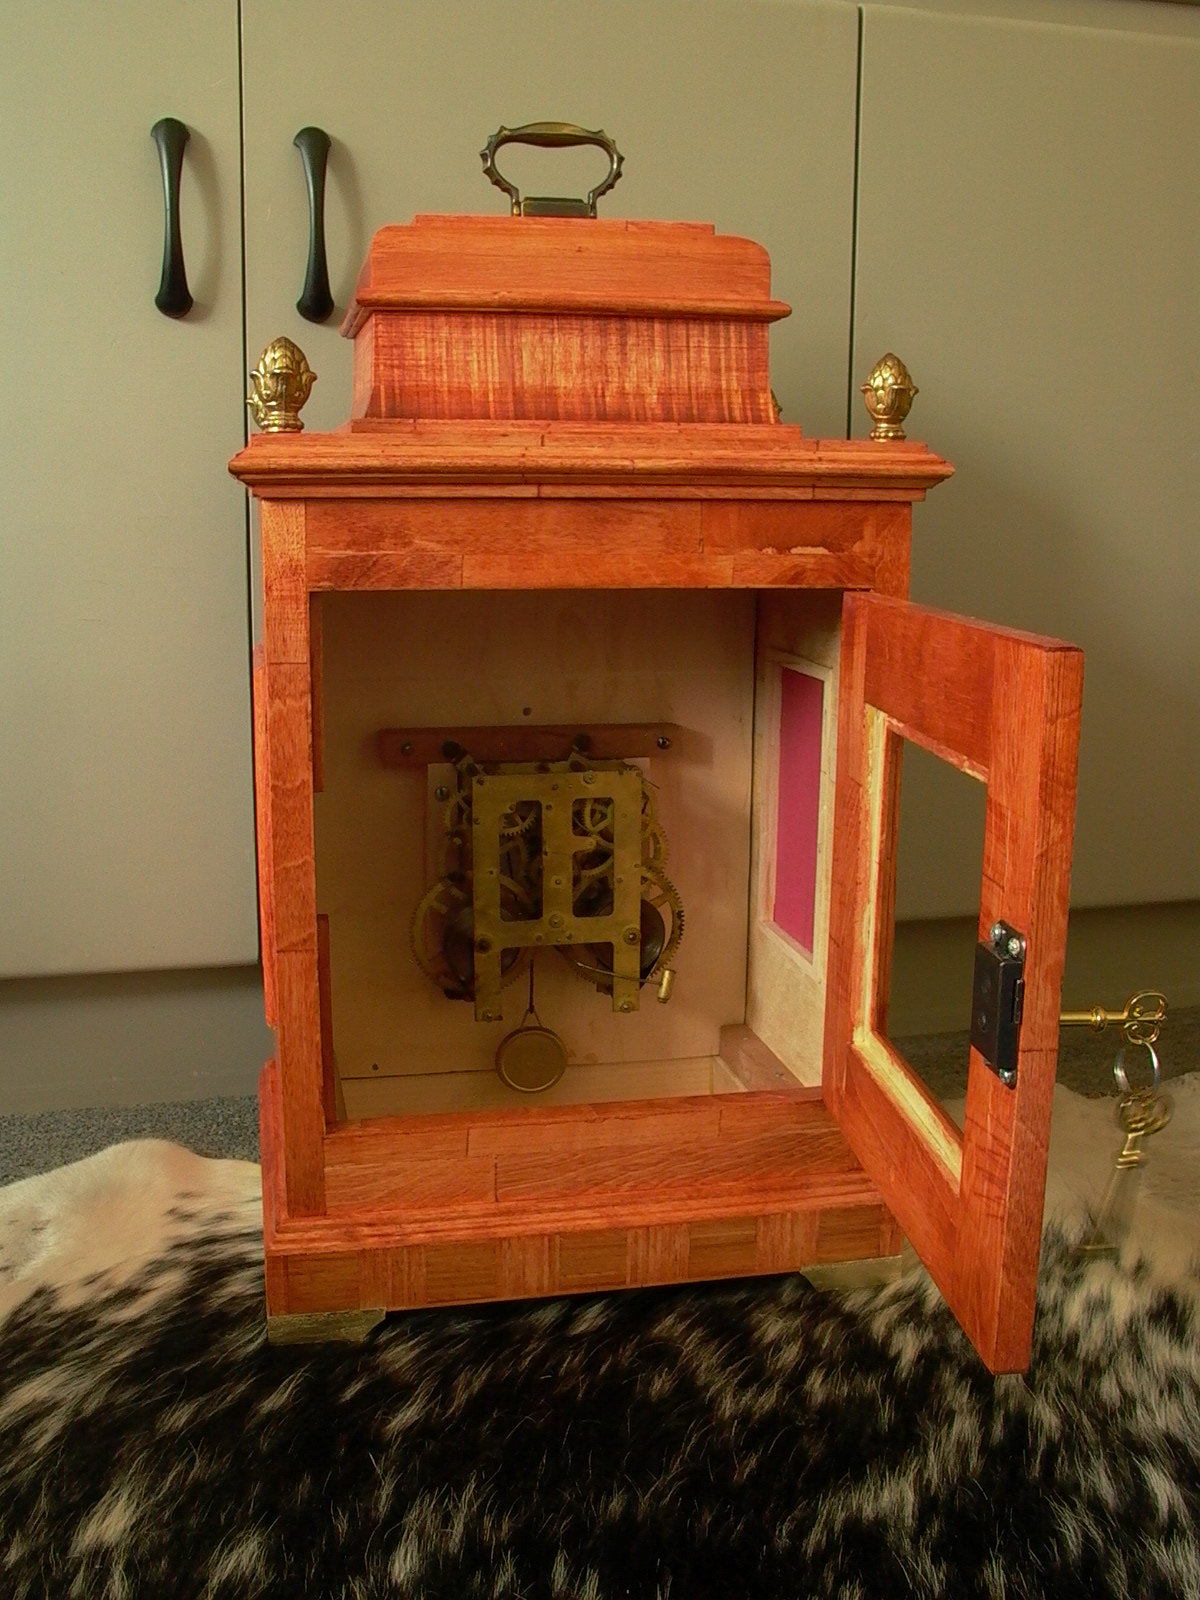
The case with the movement re-installed (below/fig. 159-161):
Installing the Glass
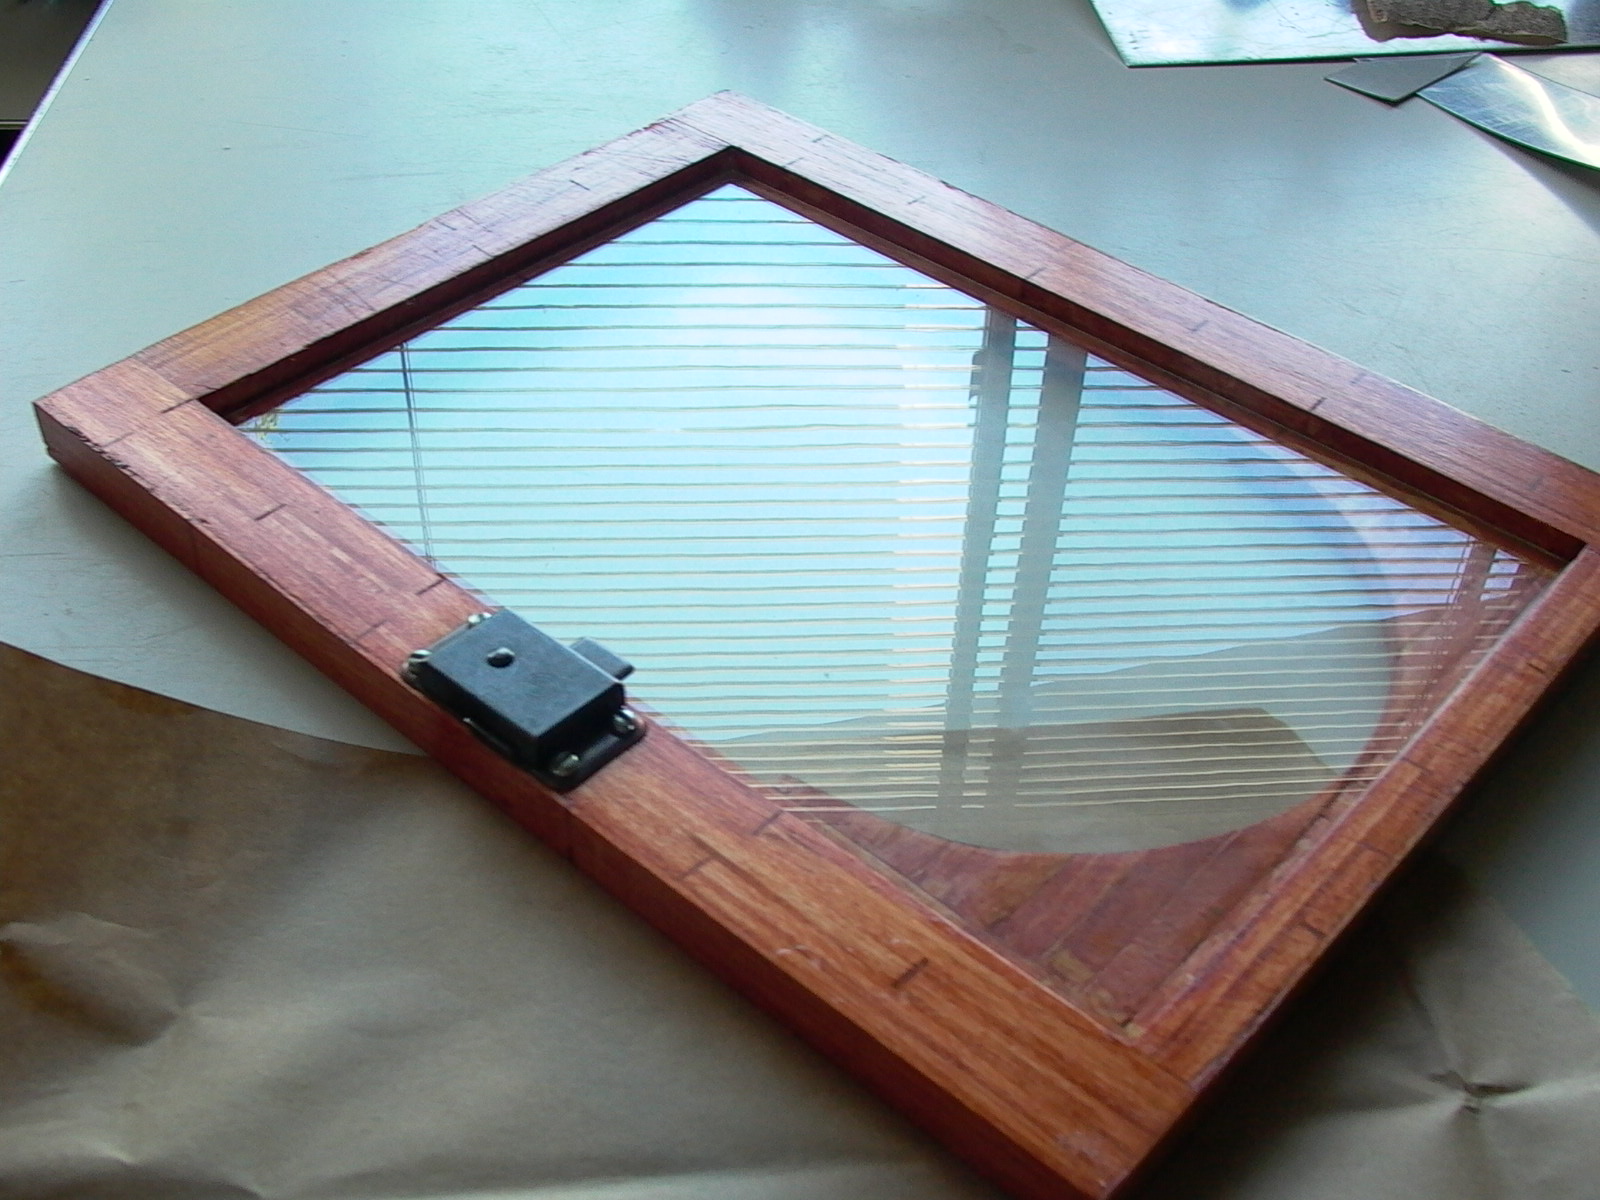
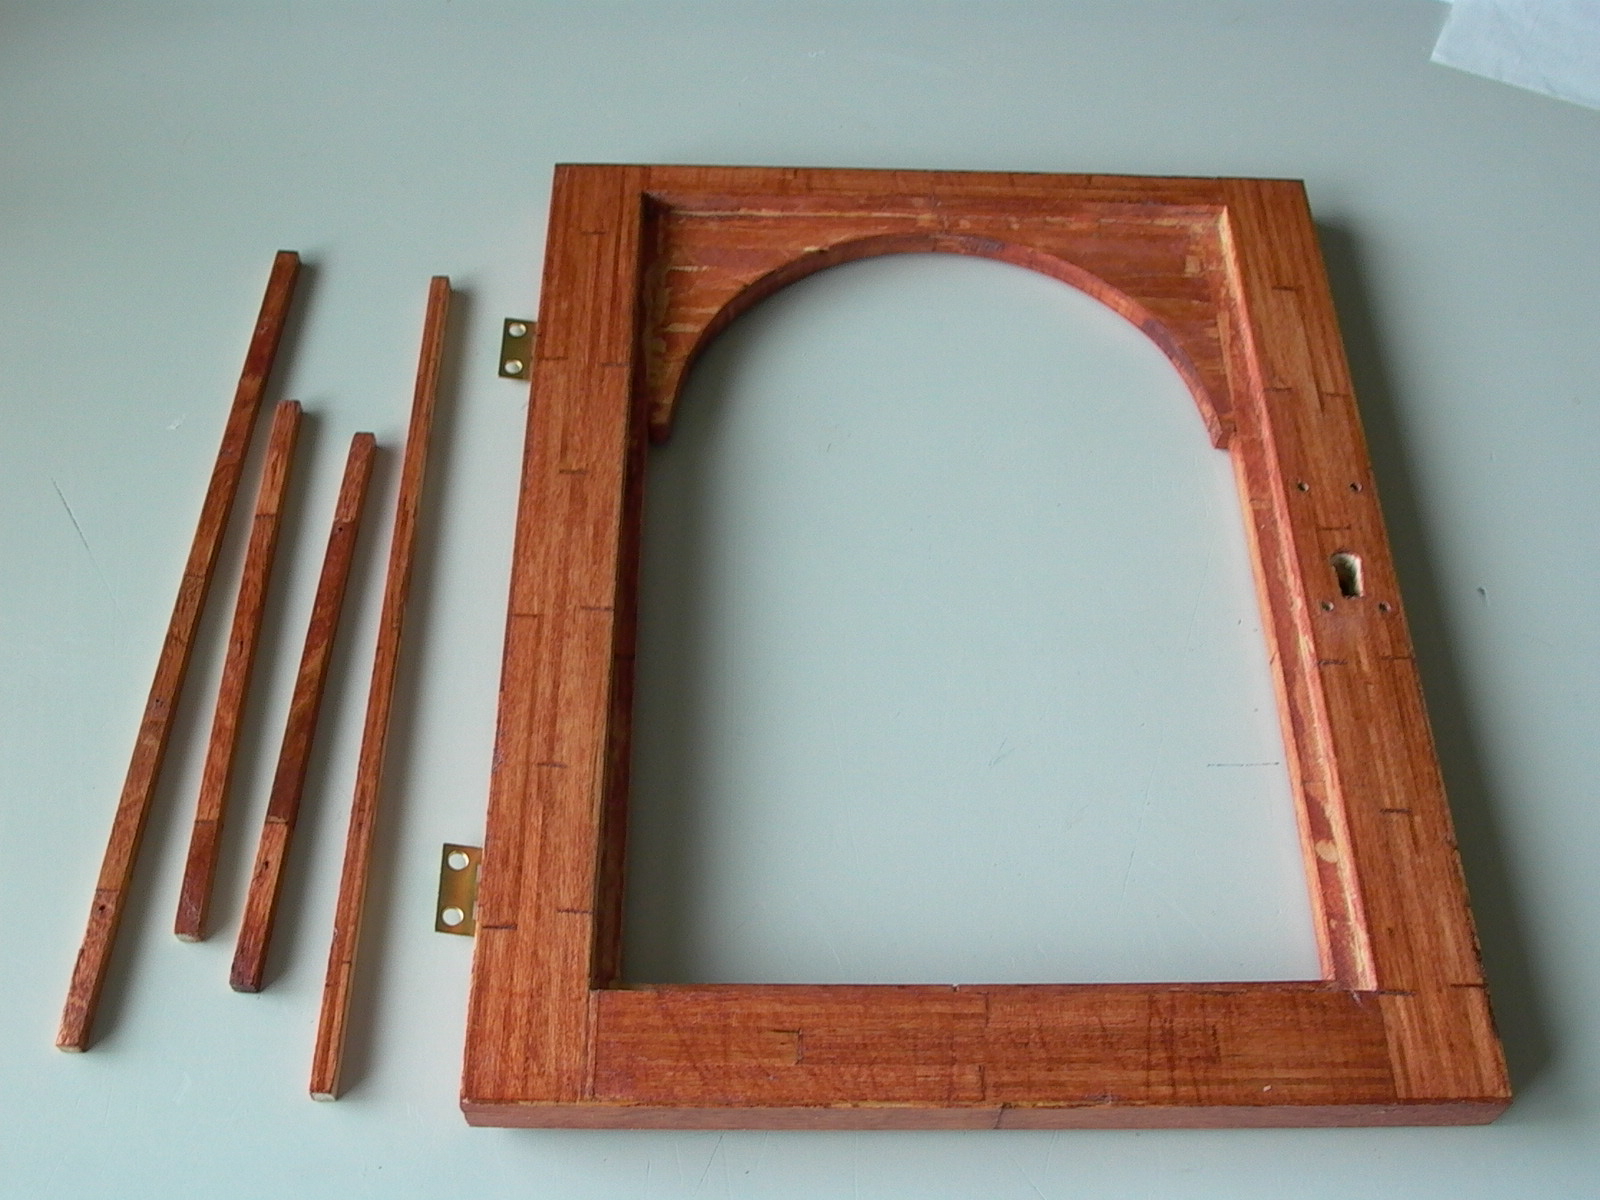
Once again, the front door was removed but this time, it was in preparation for installation of the glass window. At first, this step may seem difficult and expensive but in reality, this was one of the easiest steps. First measurements of the window were taken from the back. Then, I went to the nearest dollar store and purchased a cheap picture frame and took it to an art framing store to have the glass cut to size. The store did this for free (fig. 162).
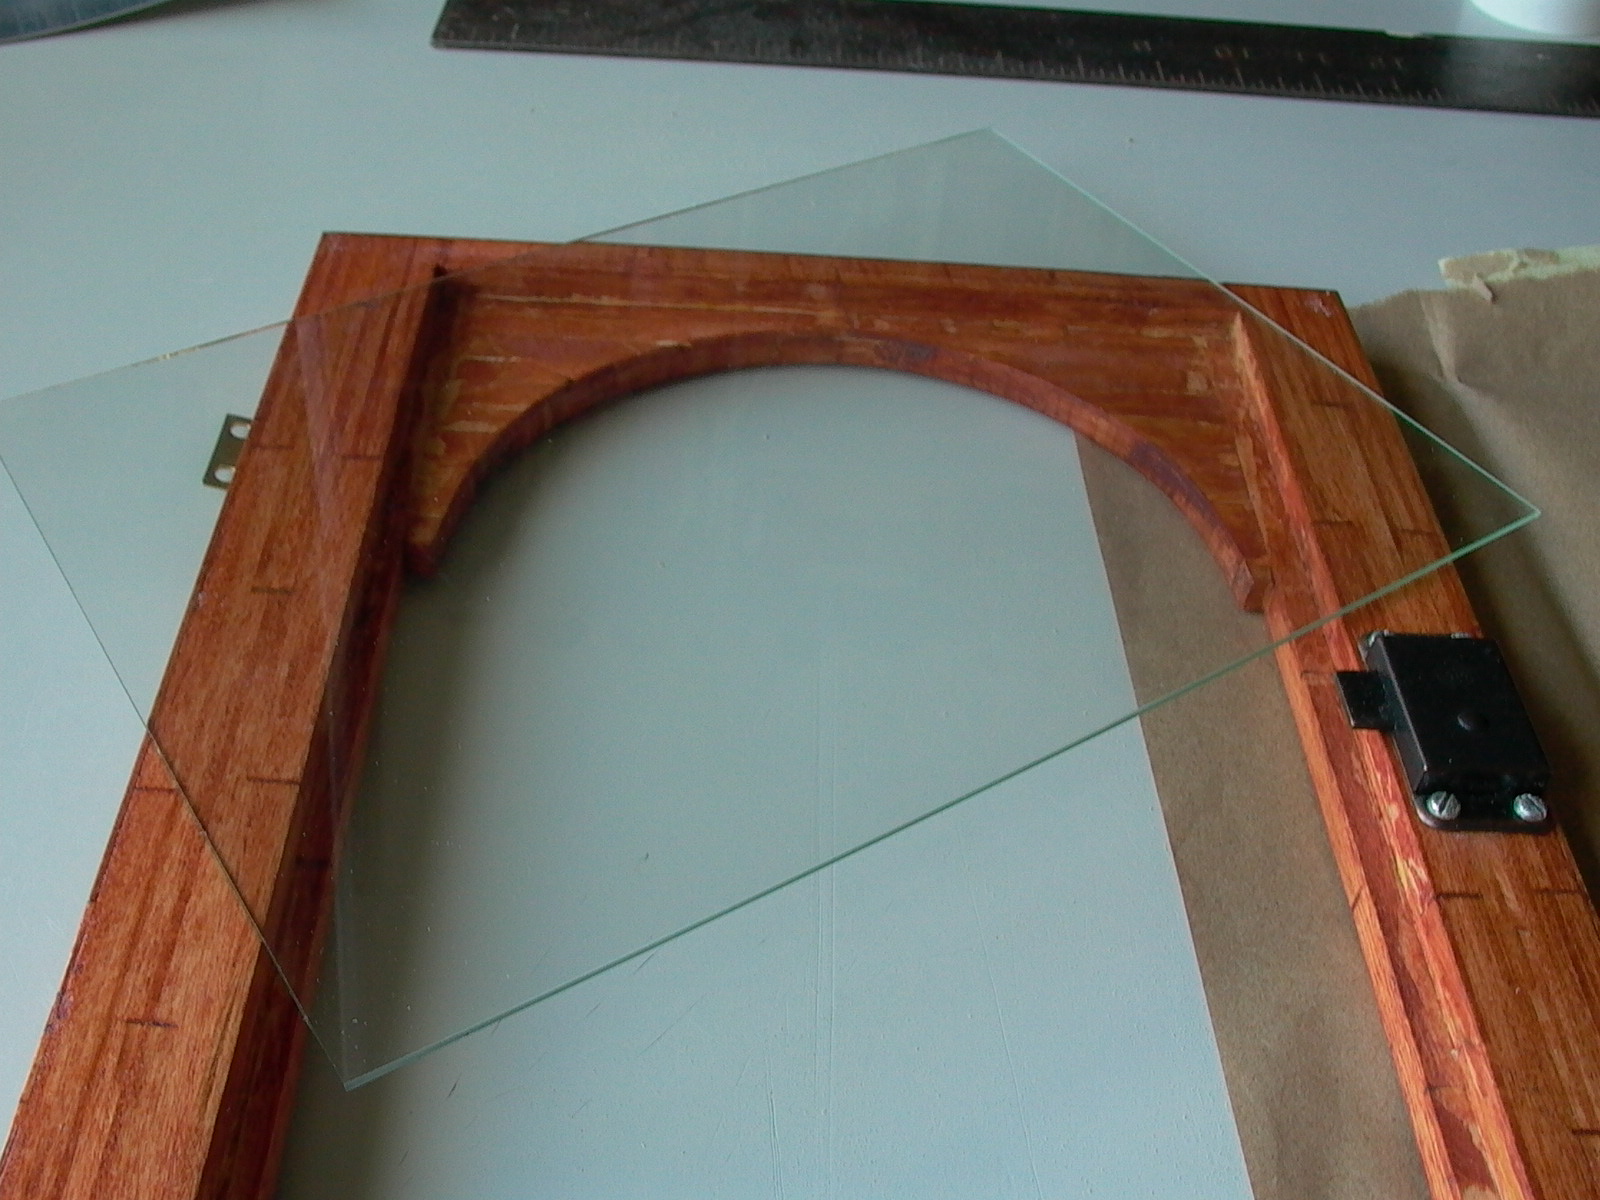
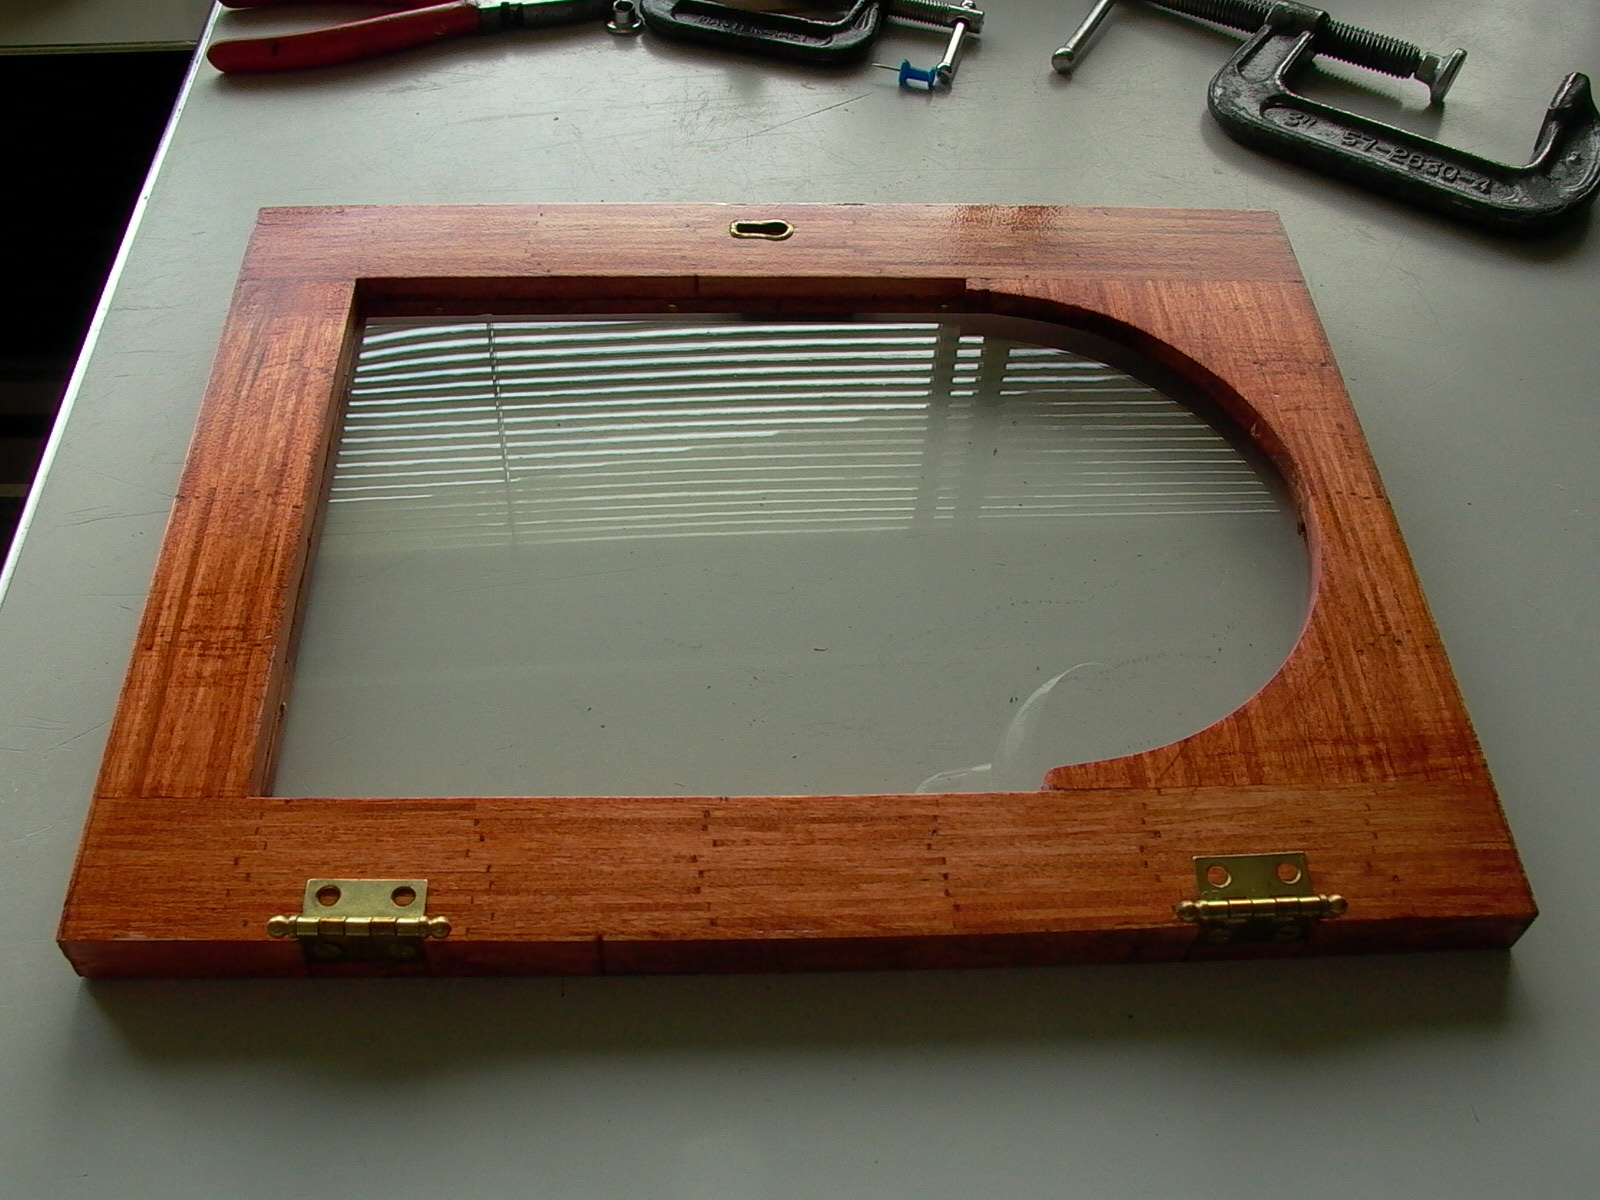
The glass fits perfectly (fig. 163):
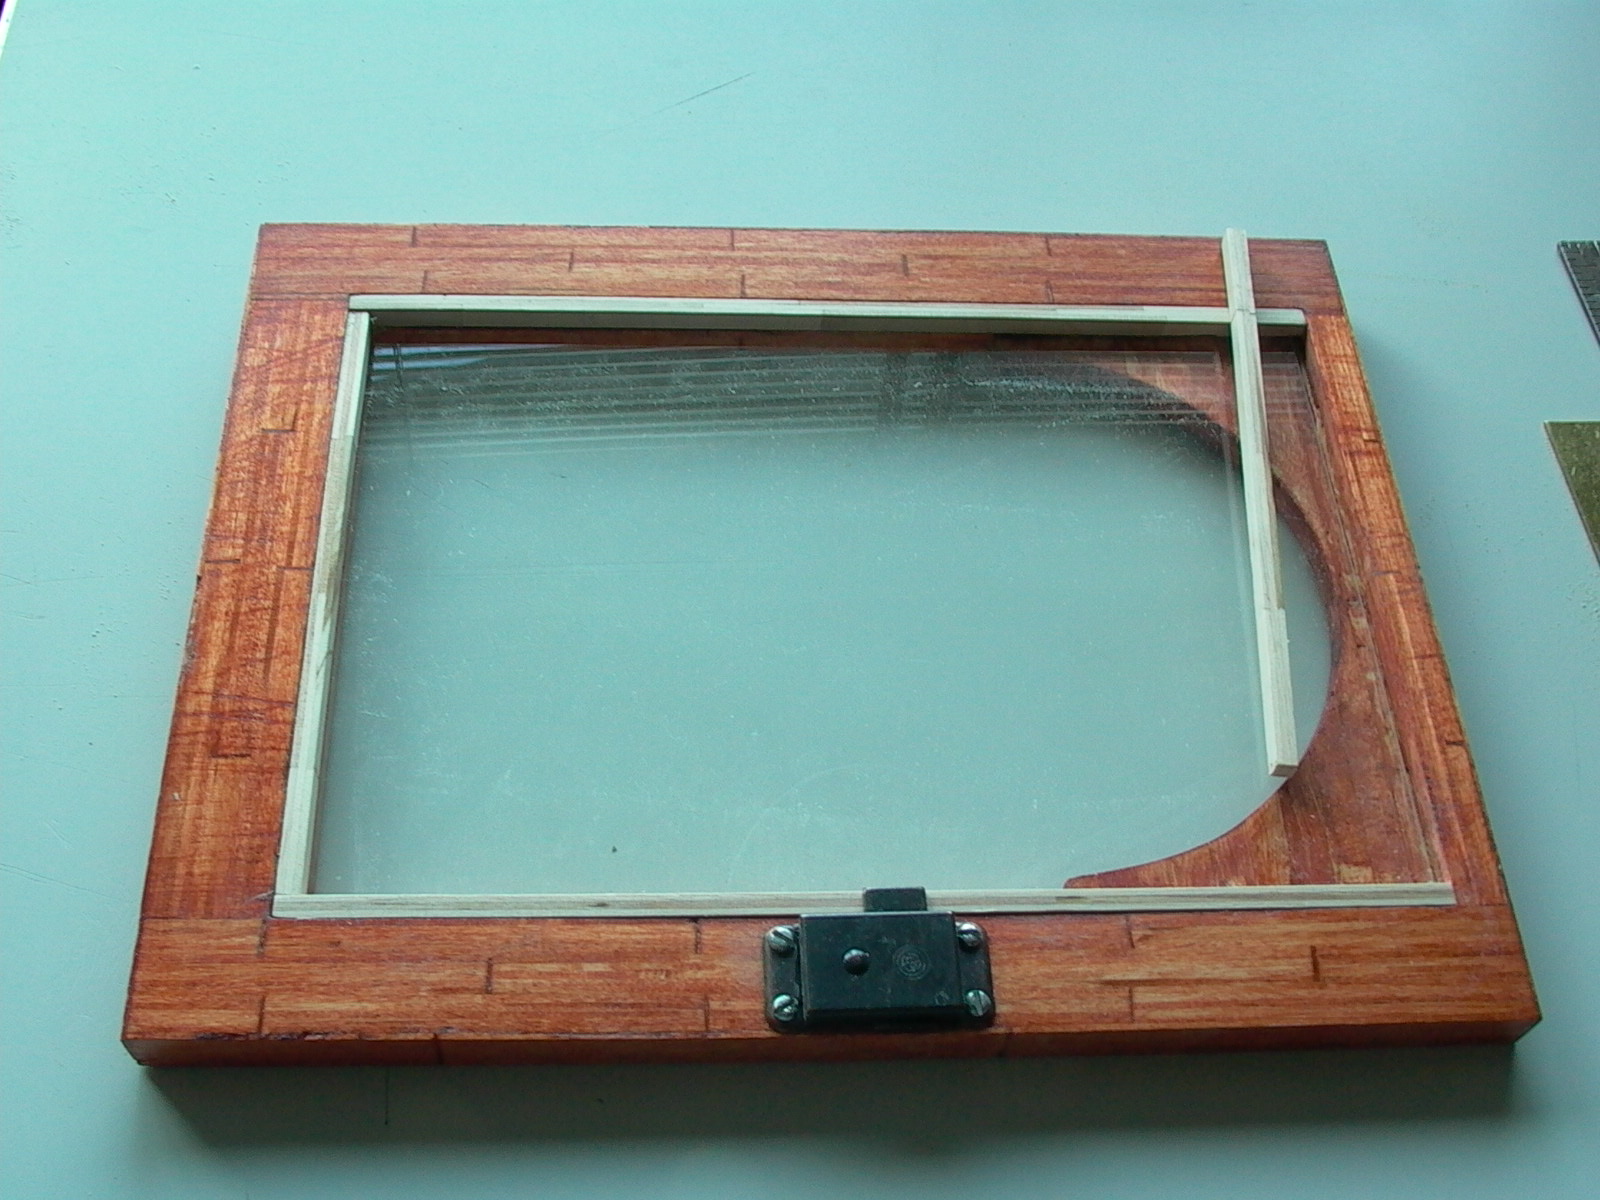
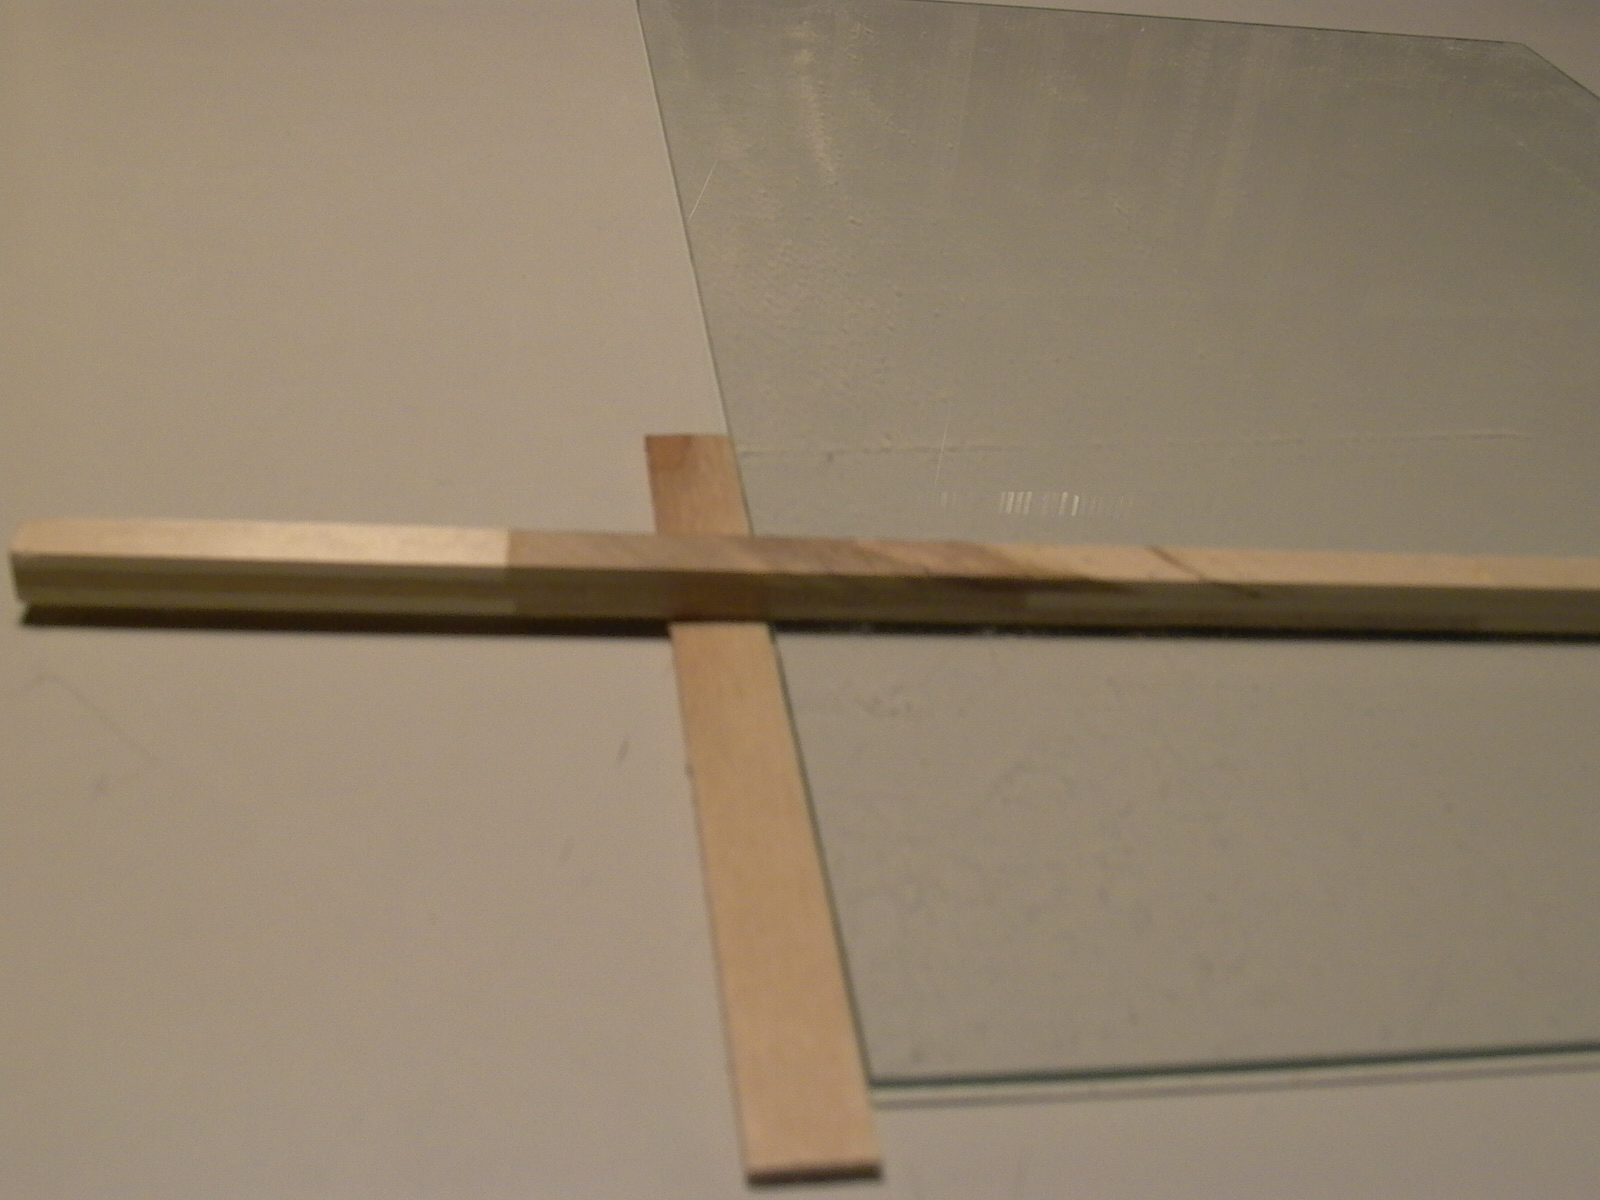
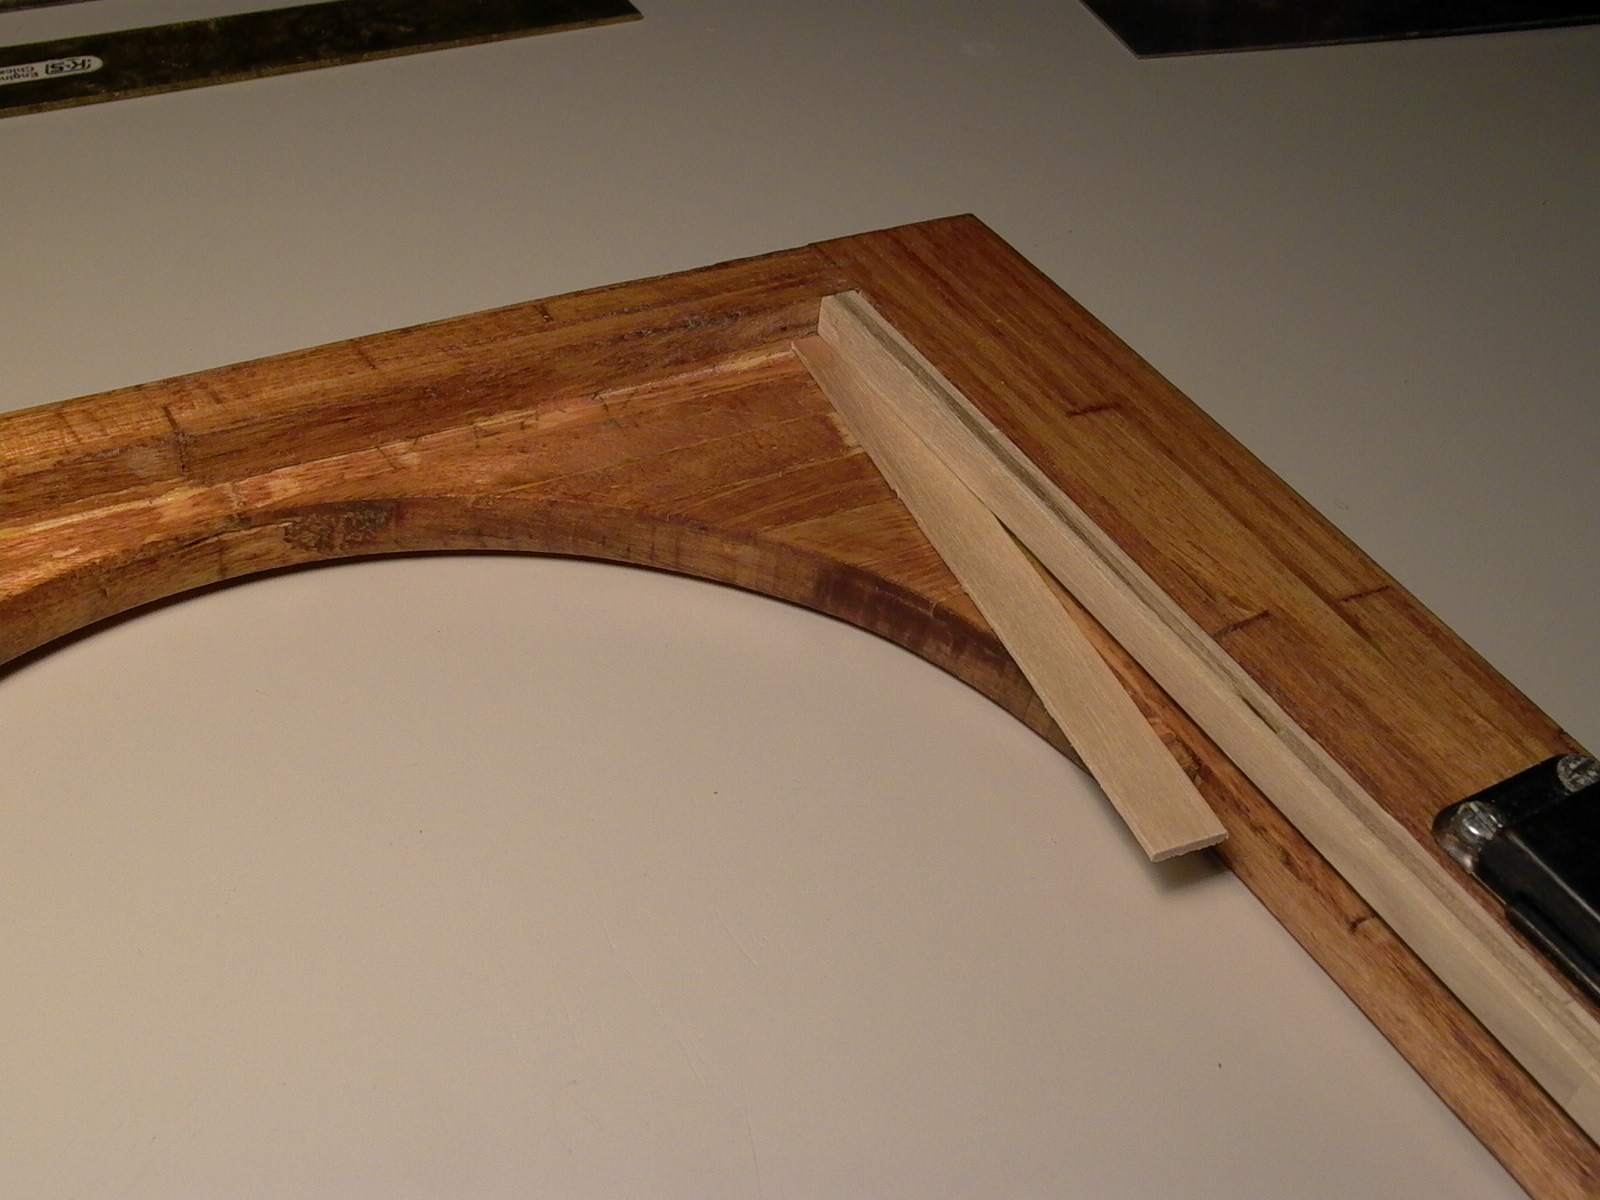
Strips of extended Popsicle sticks would be used to hold the glass in place. After the strips were made, they were trimmed to required length (fig. 164). The glass was removed and its thickness was measured to be about the same as that of a tongue depressor craft stick (fig. 165), which was used as a size reference for sanding to correct thickness so that it would be flush with the surface (fig. 166). The edge in which you can see the layers should face towards you.
The strips were then stained and varnished (fig. 167).
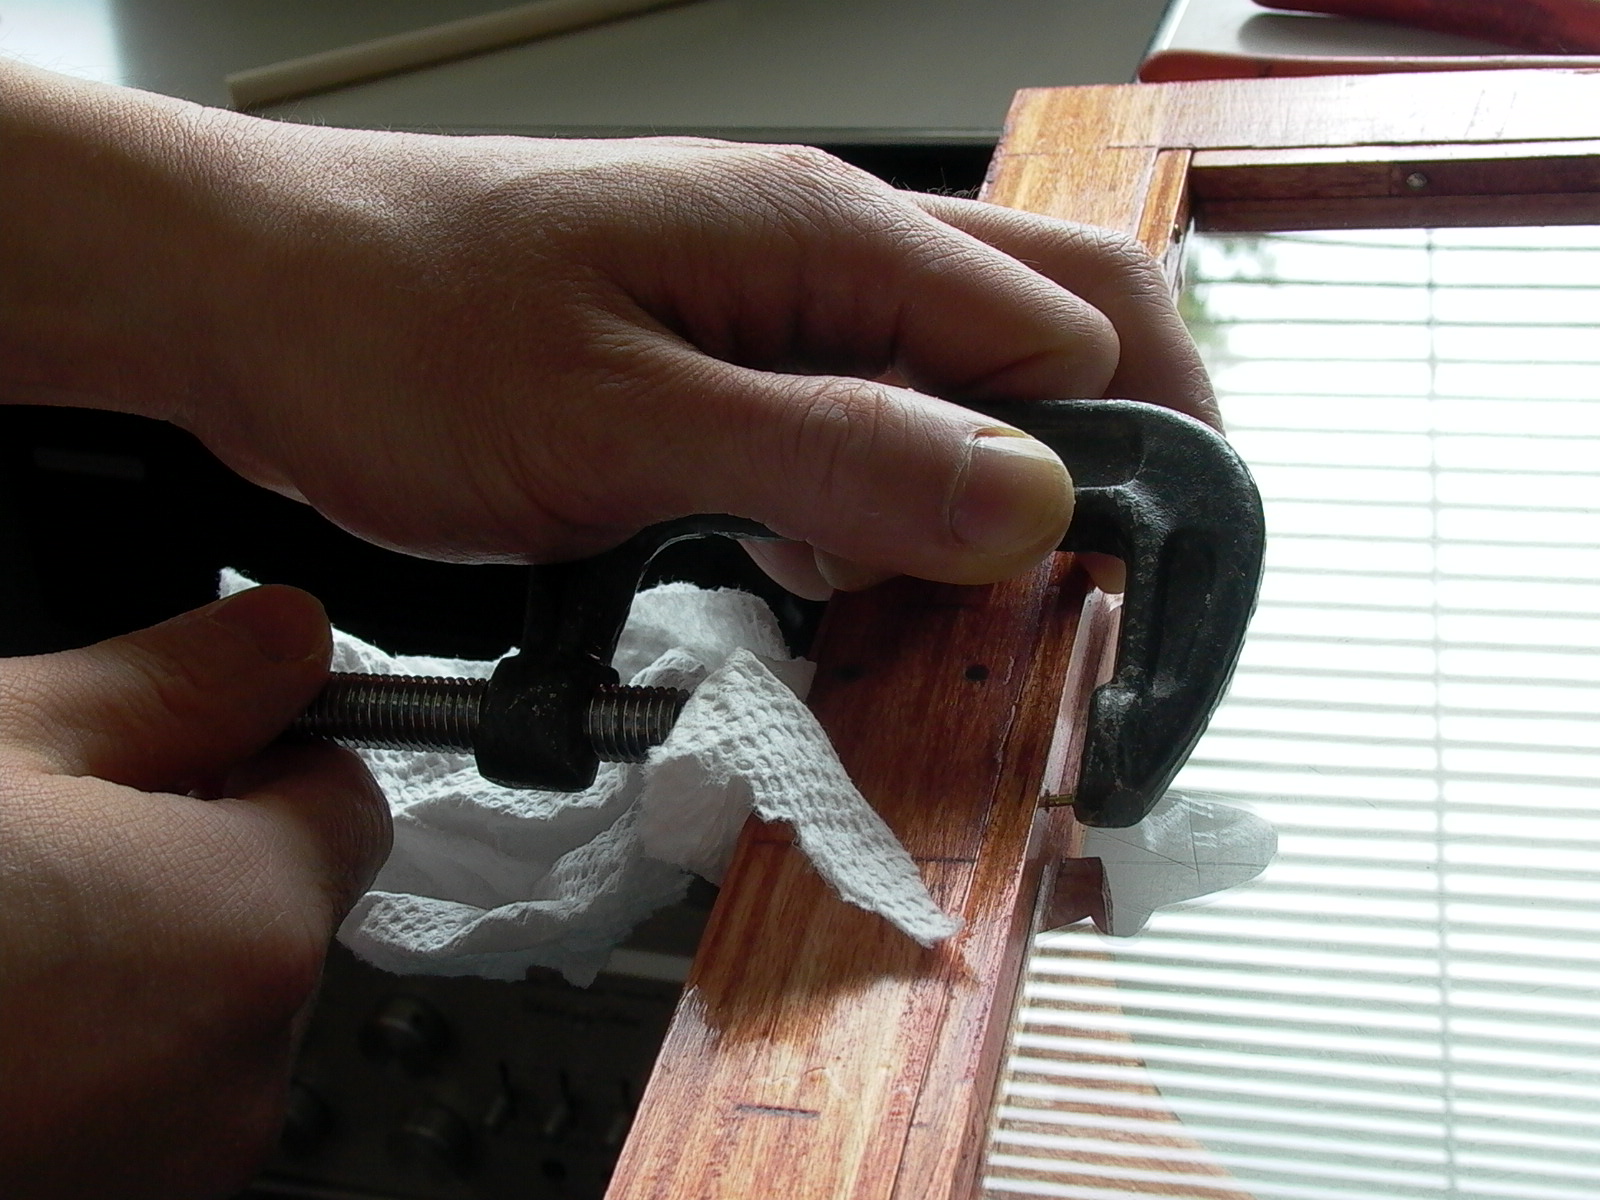
After the finish had dried, the glass put back in place and the strips in their appropriate spots. Instead of glue, short thin nails were used to hold the strips in place as this would allow for easy remove in case the glass breaks and need to be replaced. However, a hammer could not be used because of the glass; thus, a clamp was used as a screw press to push the nails into the wood (be sure to protect the finish with a cloth or paper towel”) (fig. 168). Once, all four strips were fastened, the glass was secured (fig. 169) and the door was reinstalled.