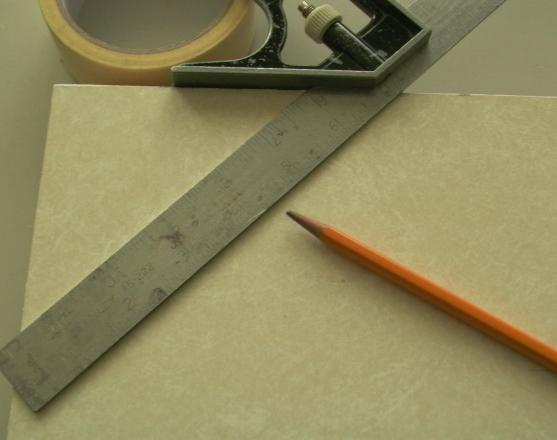
Before covering the rest of the board with a marble-print vinyl sheet, a decorative corner of matching cloth was added. The areas to be covered (near the four corner) were marked in pencil at 45 degrees (below left), and four triangular corner covers were cut from the cloth, each with enough area to cover a marked corner area plus a 1 wide bit of extra cloth extending over the edge (below right). The cloth covers were then glued with white glue (PVA glue) to the corners
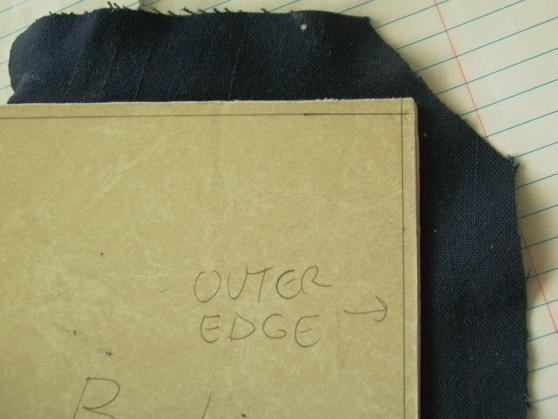
When the glue was dried, the corners of the cloth pieces were trimmed at a 45 degree angle (below), leaving 1/4 (or two board thickness) of cloth between the corner of the board and the trim lime. Note the border line along the side from the previous step, used to position the text block.
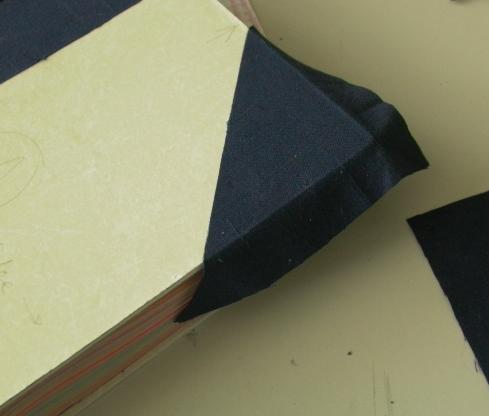
The tops were folded over and glued, followed by the sides.
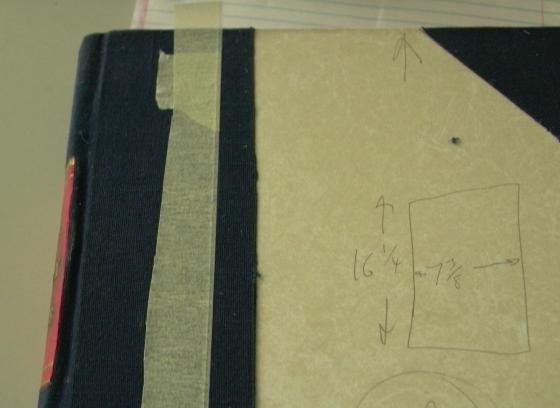
From a roll of vinyl covering material, two sheets of the same size were cut-out for use on the covers. As with the cloth, there should be 1 of extra material extending over the edges (as you can see from the graffiti in the photo below, an extra inch at the top and bottom brought the height of the sheet of 16.25). This covering material should cover the trimmed edges of the cloth, and not vice versa, in order to protect it from fraying. The inner border (spine side) of the area being covered was then marked with masking tape (below).
Corners were trimmed from the vinyl sheets and covering was set in place using the self-adhesive on the back. Edges were then folded over.
Finally, the other halves of the end sheets were glued to the insides of the front and back covers. End leaves for the covers were made from the same post board paper used for those of the text block. The height was the same as the text block (14 for this project), while the width was 0.5 narrower than width of the sheets (8 x 14 for a 8.5x 14 stack of sheets). Adhesive was sprayed onto the one side of one of the end sheets, and with the book cover open, the sheet was place on top of the text block, glue side up. Top, bottom and outside edges were carefully aligned; then cover was closed. Procedure was repeated for the other side.
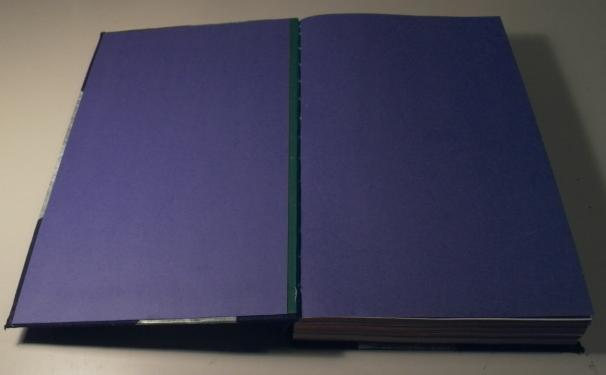
Above: The end leaves attached to the inside cover. The end leaves of this project differ from those of many hardcover books in that this book has separate sheets covering the text block (and forms a part of the text block) and inside cover. In many books, and end leaf covering the cover and text block is composed of one continuous folded sheet. However, books designed for rough frequent usage and/or made with provisions for future rebinding/repair do, in fact, use separate end sheets between the cover and text block.
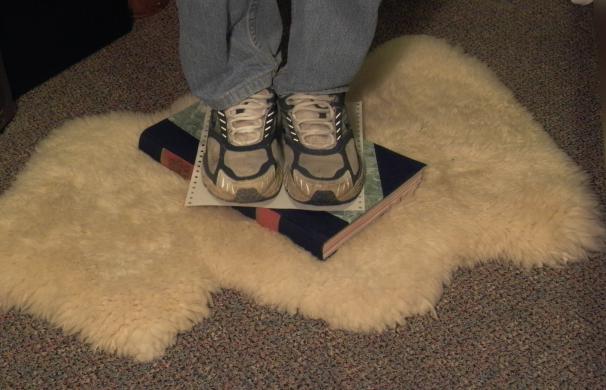
Above: Body weight was applied to ensure a tight adhesive bond. Distribute the force as evenly as possible, and be sure to protect your work from damage!
Back to the Bookbinding Introduction Page
Back to Projects Page
Home
Created on: May 29, 2008
Copyright (c) 2008 Alvenh
Channe.