Once the spine was finished, the cover was ready for attachment to the text block. On the inside of the covers, a line 1/8 from the edges was drawn along the sides (along the top, bottom, and outer edge), marking the area to be covered by the text block (see third picture in Step 6).
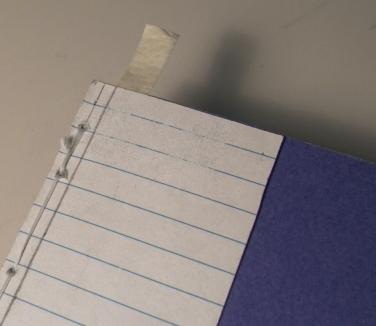
On the adhesive strip of the text block, a line at a distance of 1/8 from the stitch line (1/4" from the edge) was drawn, indicating where the inner edge of the cover board will be positioned. Because you will not be able to see the line when backing is peeled, masking tape flags should be used to mark the end points of the line (below)
With the cover open, outside facing down, protective backing was removed from one of the strips of tape on one side of the text block, exposing the adhesive (be careful when ripping through the stitching). The text block was then held with the exposed adhesive facing down and using the pencil lines (drawn around the outer edge of the inside of cover boards) as a guide, with stitched side towards spine, the text block was set down and positioned such that an imaginary line connecting the masking tape flags line-up with the inner edge ("spine side") of the cover board (practice positioning the text block several times before peeling the backing). If all goes well, the top, bottom and non-stitched side of the text block should line-up reasonably well with the pencil lines on the cover (of course, it is not possible to line up perfectly, even if the book is machine-made). I was satisfied with the positioning, so pressure was applied along the adhesive (on the outside of the cover).
While the half-finished book was open, the remaining protective backing peeled. With the exposed adhesive facing up, the cover was carefully closed and positioned so that once again, the inner edge of the cover board lined-up with an imaginary line connecting the masking tape flags.
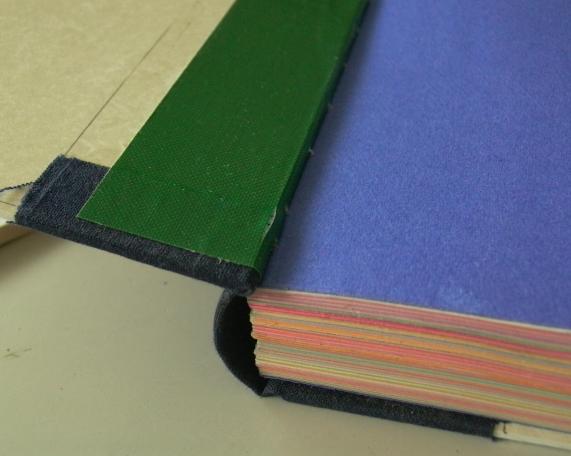
Once the text block was attached (above), the rest board was ready to be covered.
Next
Step: Finishing Up
Back to the Bookbinding Introduction Page
Back to Projects Page
Home
Created on: May 29, 2008
Copyright (c) 2008 Alvenh
Channe.