Back
to the "Projects" Page
Home
At this point, the text block is ready for sewing. If bookbinding thread is used, there is no need to double the thread and length should be:
(number of sections + 1) x (height of spine + few inches)
If ordinary sewing thread is used, it will need to be doubled the above length. Either way, in most cases, the thread will be very, very long. A large needle was used for the sewing.
Note: the number of sections refer the number of "signatures" (groups of 8 or 16).
In determining whether to begin sewing with the
first or last section, notice how the drilled holes were angled off.
As you insert the needle into the holes from bottom up, with spine towards
you, the needle points up and away from you. Thus, if drilling down
from first through to the last section, and the holes angle towards fore-edge,
begin sewing the first section. If the holes angle towards the spine,
begin with the last section.
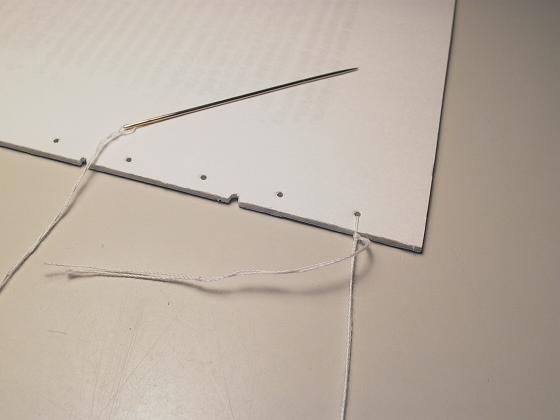
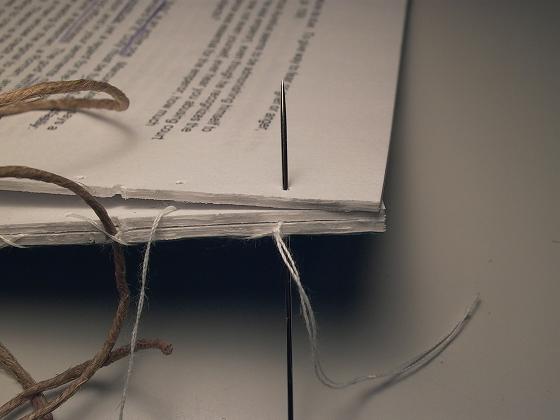
When a section was selected to be sewn first,
it was placed on the table with blue cover sheet facing down. Seated
in front of the spine, the first terminal hole on the right was threaded,
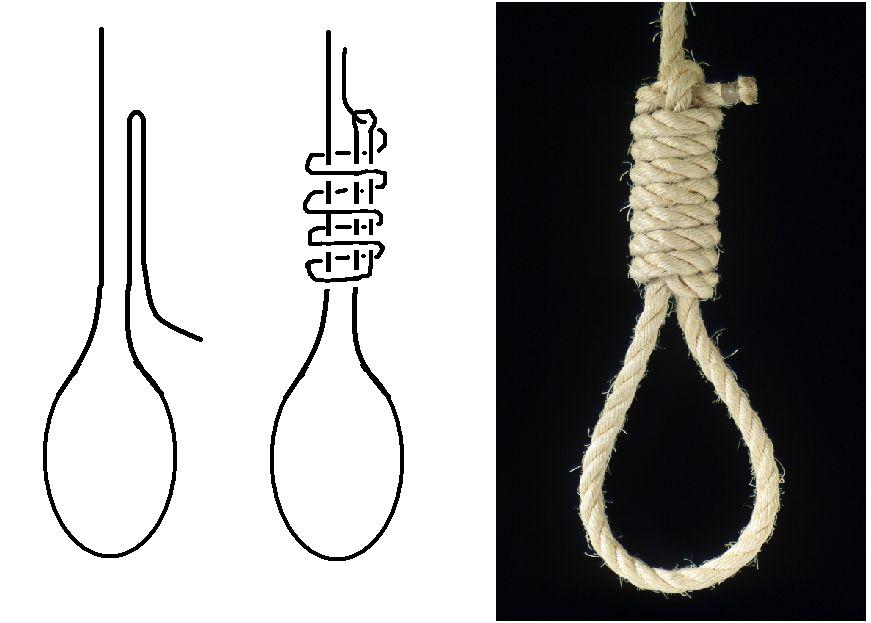
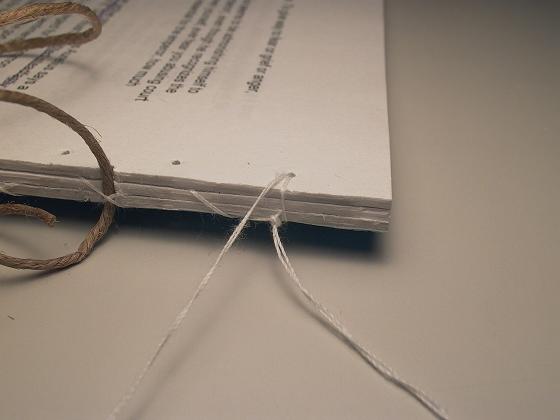
to which the end of the tread was secured with a hangman knot (below).
See below (right) for a schematic of the hangman noose. Only one
or two coils are needed and not several as the noose is not used for execution.
Keep in mind, however that it is a dangerous knot that should never
be played with.
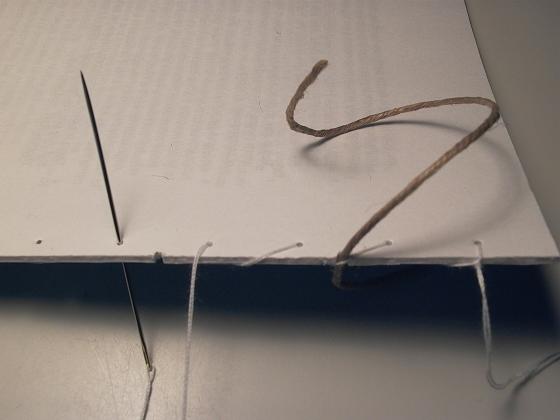
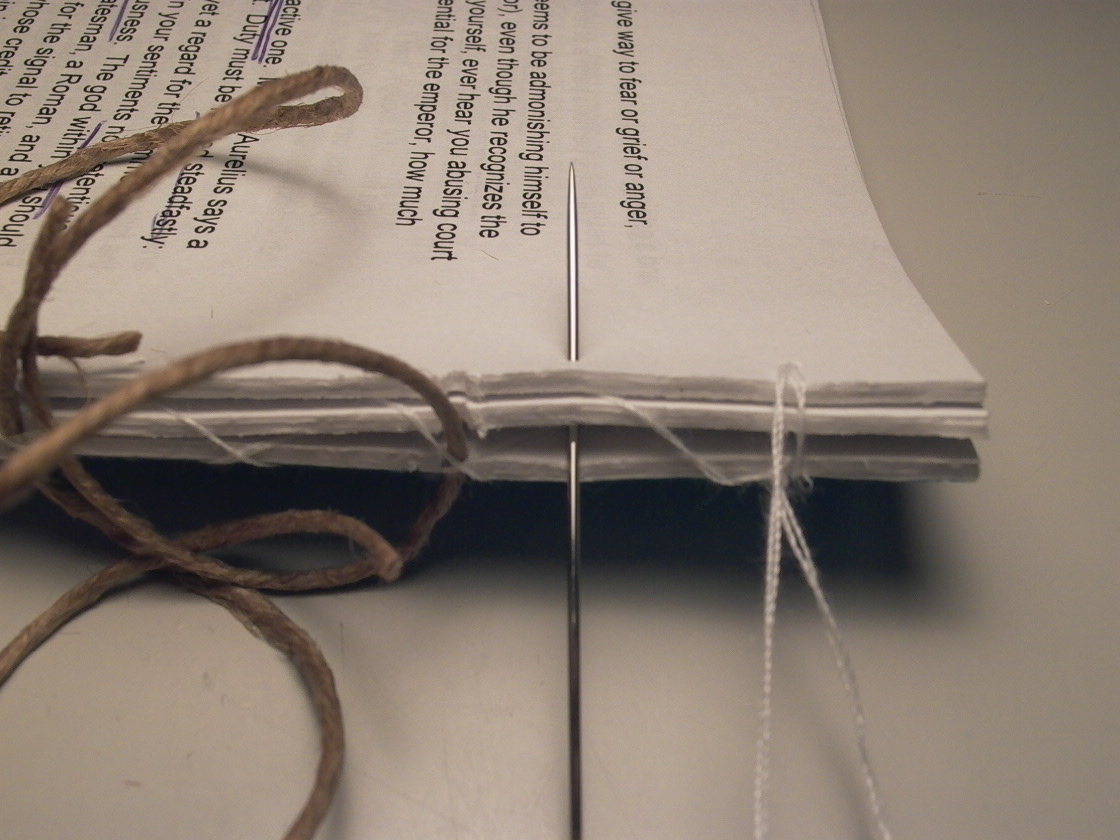
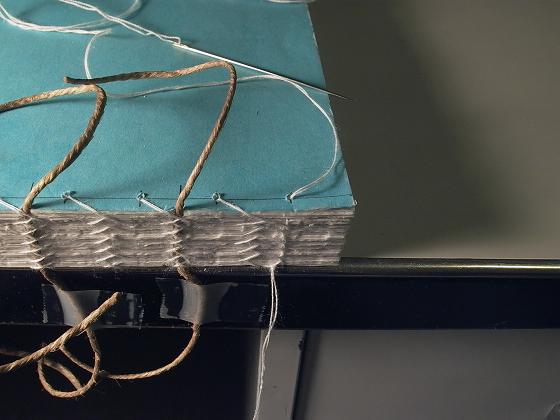
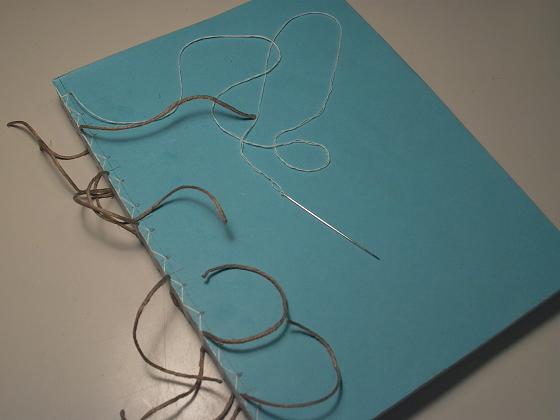
Bring the needle up the next hole (from bottom up), pull thread all the way out, and warp around the outside once by simply threading the needle up the third hole and repeating the procedure, working its way towards the terminal hole on the left (below). As you reach a groove, insert piece of twine and tape the bottom end of it to the edge of the work table.
When the terminal hole is reached, place the next section on top (before you thread through the terminal hole) and thread needle through both sections (below).
To tie the sections together, pull the thread all the way out and thread through the same terminal hole from bottom up, in through the previous section and out the newly added one. Then, continue sewing by threading up the next hole through both the previous section and new one. Wrap around by pulling the thread out and threading up the next hole, repeating the process until you have reached the terminal hole on the right at where you have started. Then, before threading the terminal hole, place the third section on top and thread through all three sections (below).
Tie all three sections by looping around once (above). As before, bring the needle up the same terminal hole but this time, through all three sections. Now, to secure the rest of the third section, bring the needle up, in through the next hole of the previous section and out through the new hole, wrapping around the two sections in total. The previous section is lifted in order to allow enough room to insert the needle (below). It is a good idea to wear a metal thimble to protect your fingers as you push the needle through the holes.
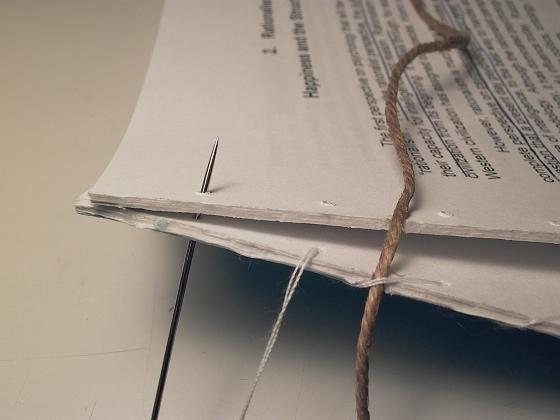
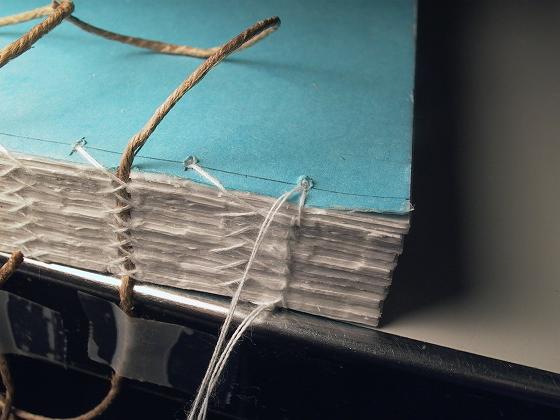
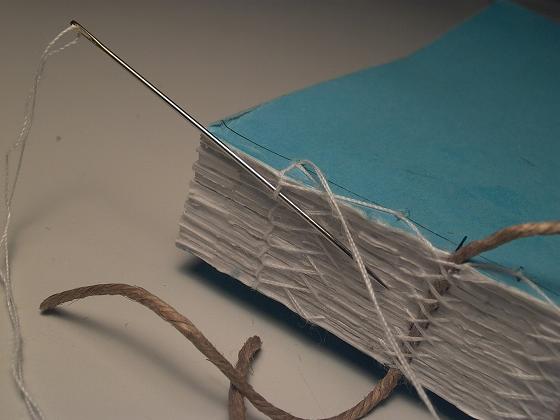
Work your way to the terminal hole on the left, wrapping both the last section and the current one. Before threading the last hole, place the fourth section on top and thread through all three sections (the previous section, one you just finished, and the newly added one). Tie the three sections with a loop as before and continue sewing, wrapping the previous section and the new one (two sections) together by lifting the previous section and threading up into the old hole and out through the new one, again working toward the terminal hole. Continue to sew in this manner as you add sections (below)
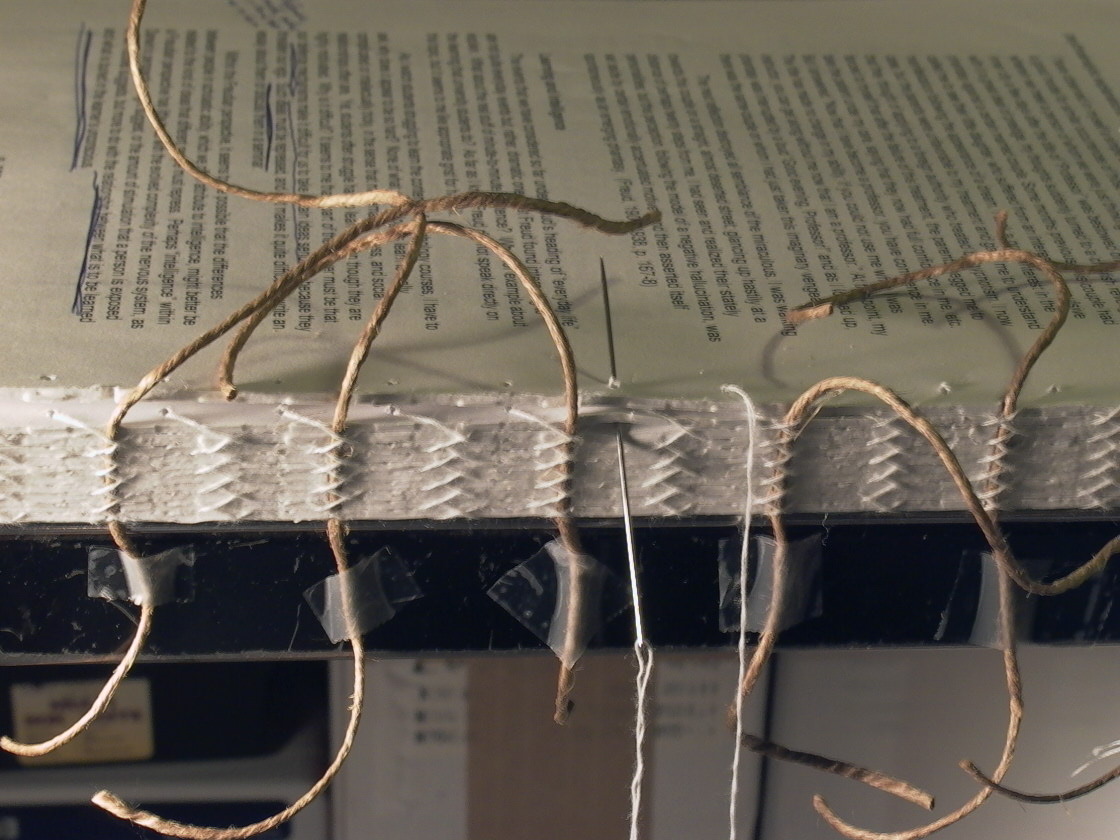
until the needle emerges out of the last hole of the last section (below).
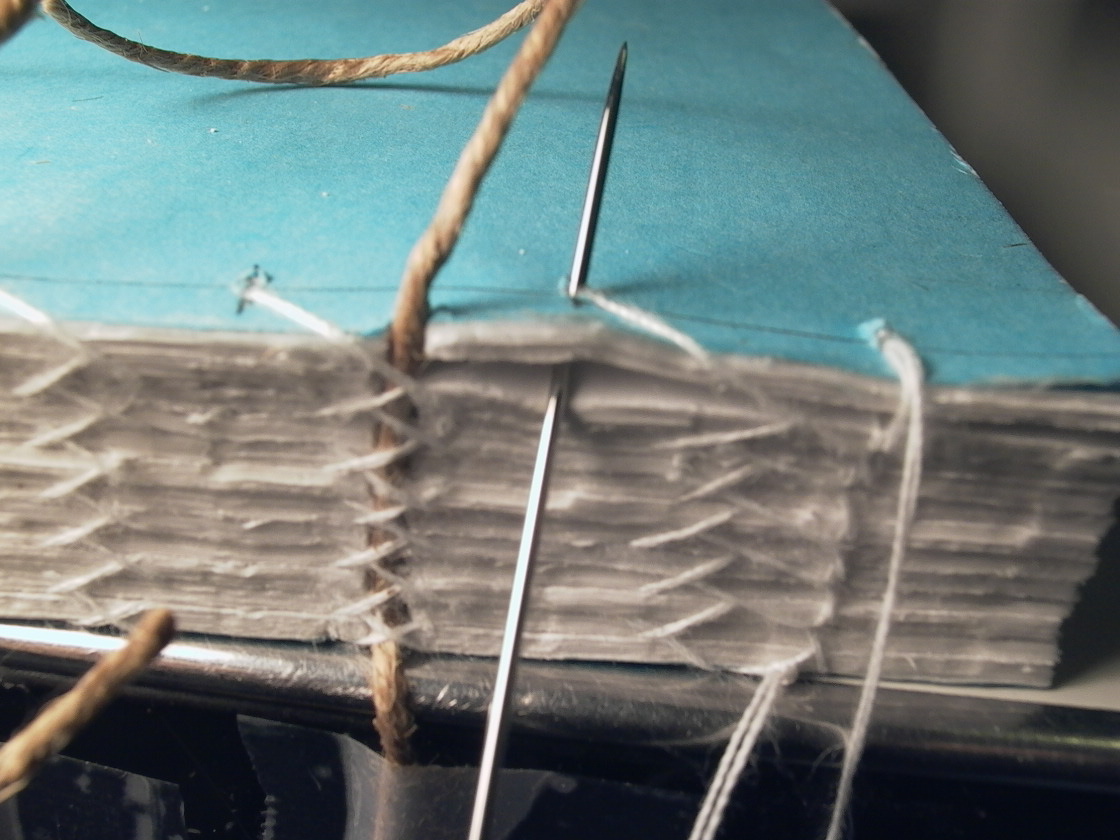
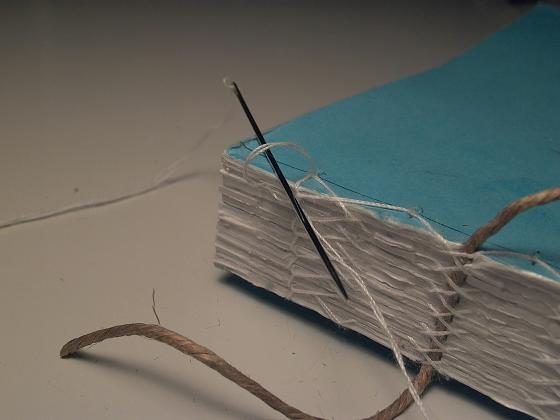
After threading the last hole of the last section, its time to thread back once so that the whip stitch forms a zigzag pattern. Pull thread all the way out and tie to previous section by lifting both the topmost section and the one underneath and threading up through both its terminal holes, looping a total of two (NOT three) sections together (below).
Then lift the last section only (just the topmost one) and thread up the next hole, looping only the last section (below).
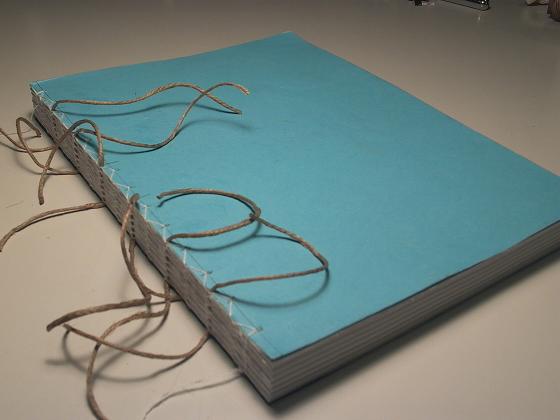
After emerging out of the terminal hole on the other side, loop around the section once (below).
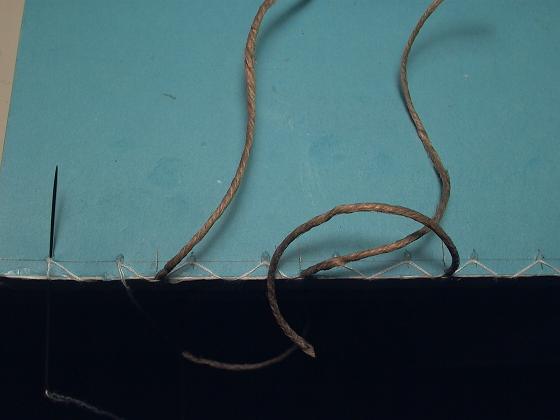
Before cutting the thread, the end should be secured with a lockstitch. To make a lockstitch, thread the needle through one of the terminal loops on the spine. Pull needle out and pull thread until a small loop is formed (below left), then thread the needle through the loop and secure with a knot by pulling thread all the way out (below right). Repeat one or two more times and cut the thread, leaving a few inches of tail. This completes the whip-stitching of the text block.
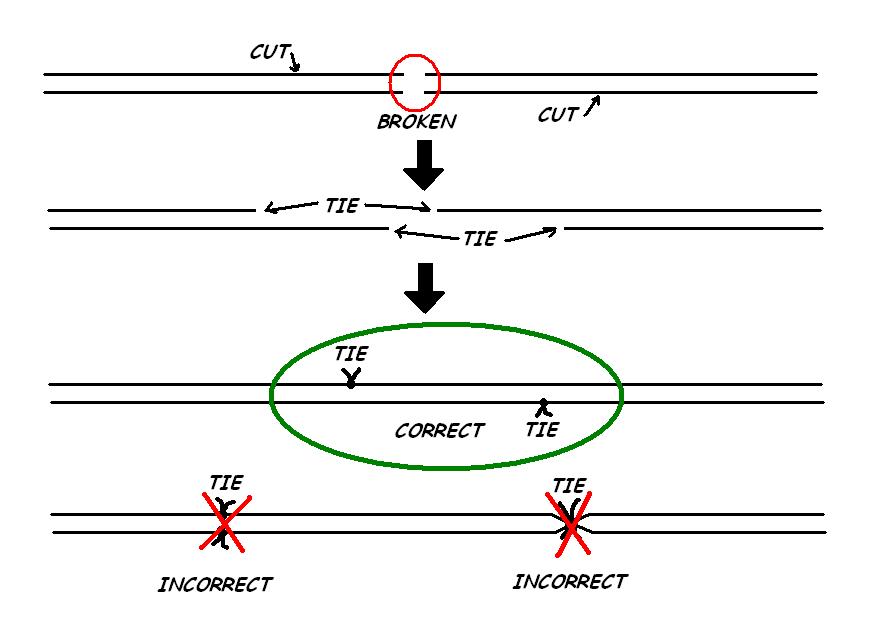
The closer the thread gets to the needle, the more holes it has to go through, thus the more likely it will fray. Therefore, the thread is expected to break at some point. If bookbinding thread is used, it may be simply tied back together. If double thread is used, the broken off ends should be cut about 1 leaving one shorted end and each tread tied individually (i.e. not all four together) so that the knots are not beside each other (otherwise it would be difficult to pull through a hole). In both cases, it may be necessary to pull the thread back out several holes to provide enough length to tie them back together. If the tread is heavily frayed, it may be a good idea to tie new thread rather than reuse what is broken-off.
Next Step: Preparing Whip
Stitched the Text Block for Bookbinding
Back to the Introduction
to Overcast Sewing
Back
to the "Projects" Page
Home
Created on: October 16, 2009
Copyright (c) 2009 Alvenh
Channe.