Back the to Bookbinding Introduction Page
UPDATE:
(Oct. 16, 2009)
Click here for a better method of sewing a textblock of loose leaves!!!
The pages of a hardcover book are usually formed by stacking and sewing together, individual booklets composed of six (6) to eight (8) sheets (up to 16 sheets or more if ultra thin paper is used) folded into groups of 12 to 16 page units called signatures (some magazines and soft cover books, such as academic journals are designed with provisions for hardcover binding and thus have pages arranged into signatures). Signatures are then sewn together into a single unit called a text block. Therefore, the text block, consisting of the pages (leaves) of the book, forms the main body of the book.
When binding a book, the first step is to build the text block. If you are rebinding or restoring an old hardcover book, the text block has already been built for you, though in some cases, re-sewing may be necessary. Because this project involves binding of loose leaves, I used a different approach in building the text block; therefore most of the techniques discussed here do not apply if you are restoring/rebinding an existing book or binding/building a new text block composed of signatures (refer to the Links section for more information).
End sheets (the papers between the inside of the covers and the text
block, with one side glued to the covers) are generally not part of the
text block. However, in this case, the text block included part of
the end sheets as well as an adhesive strip used to attach the unit to
the cover boards (explained later). I used colored cloth tape (previously
used in another project) for the adhesive strip.
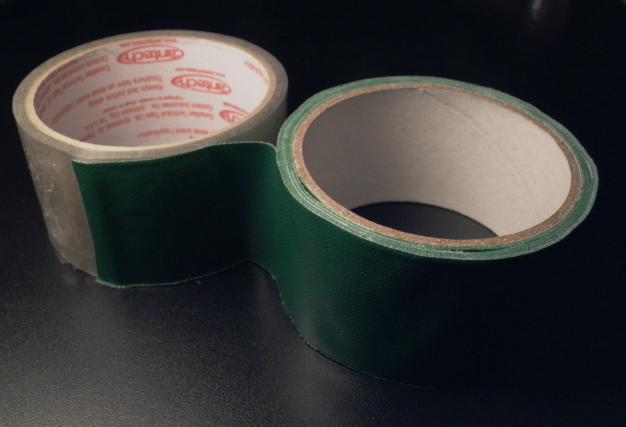
Because the tape needs to be pre-measured and cut to exact size for
later use, a protective backing was made for the tape (below left) by covering
the adhesive side of the green cloth tape with packaging tape of the same
width. The adhesive side of the green tape was taped onto the non-sticky
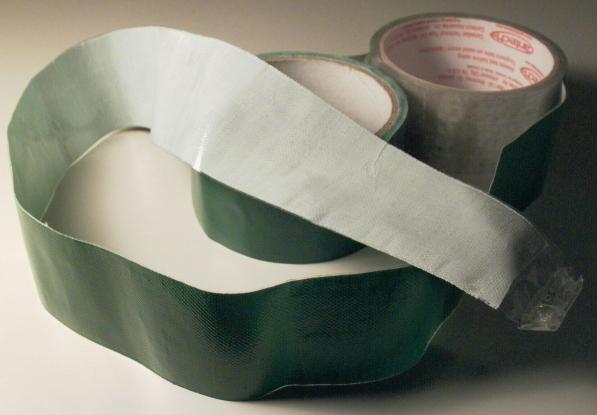
surface of the transparent tape (below center). At first, the length
of tape should be greater than the height of the text block. After
two strips of tape were created, the strips were taped down onto a sheet
of paper (below right) to cover the glue. DO NOT press hard on the
tape or the backing will be difficult to peel!
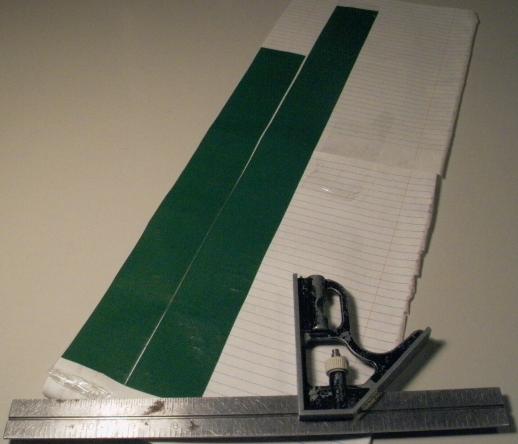
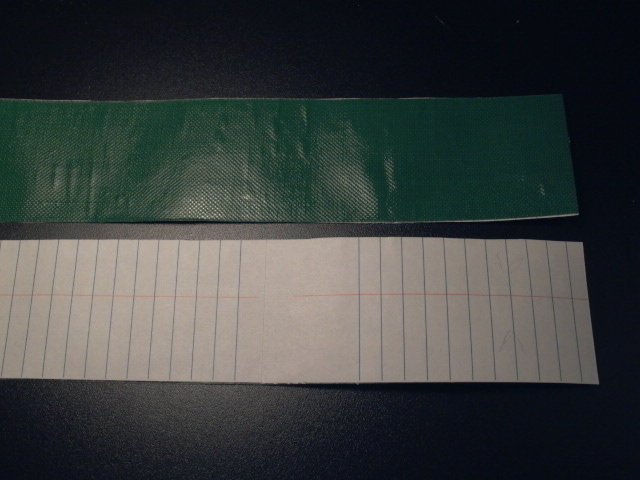
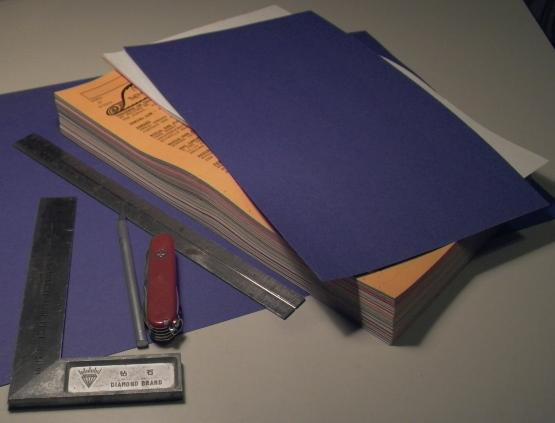
The strips of tape were then carefully cut from the paper (below) and trimmed to the same height as that of the sheets to be bound. In this case, legal size (8.5 x 14) sheets were being bound; therefore, each strip was trimmed to 14. The corners should be as square as possible.
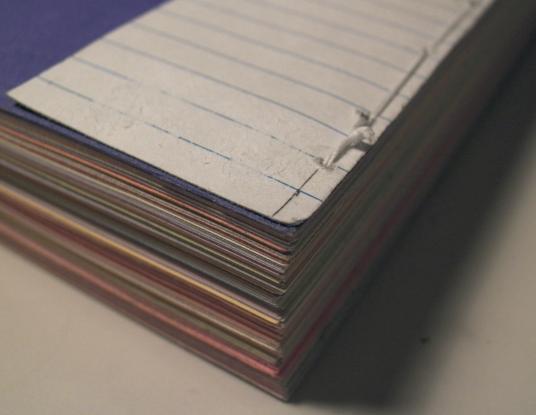
Loose leaves were checked to ensure that every sheet was in order. Along the left side of the top sheet (first page), a line was drawn down the page from top to bottom at a distance of 1/8 from the edge (below right). A point was marked at every inch along the line, plus another point at half an inch from the top and bottom of the page (15 dots in total). Pages to be bound were then stacked as neatly and evenly as possible and clamped (use a book press if you have one). A hole was drilled at every marked point along the line using a 1/16 drill bit (protect the table as you drill through!).
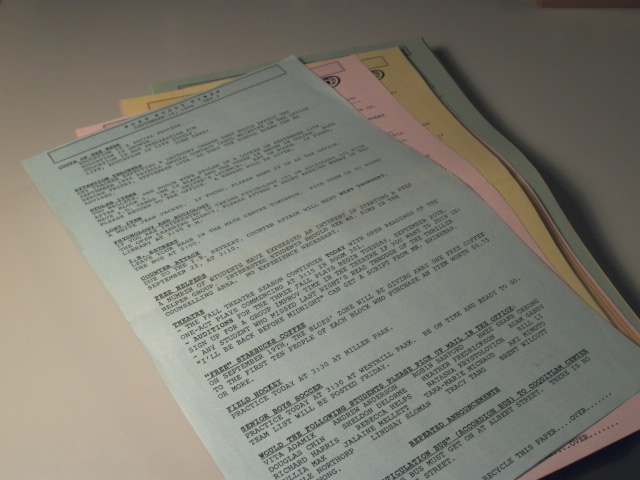
Two end sheets of the same size as the pages (8.5 x 14) were then made using colored poster board paper (below left). I added an extra blank page to the bottom and top of the stack. Mark the end sheets and tape like above and punch holes with a thumbtack. Enlarge with drill bit if necessary.
With holes aligned, components were stacked symmetrically in the following order from top to bottom: tape (protective backing facing up), end sheet, blank page (optional), stack of loose leaves, blank page (optional) end sheet, tape (protective backing facing down).
The text block is now ready for sewing. I used an upholstery/carpet/tent sewing needle. The length of the thread should be several inches longer than two times the number of holes times the thickness of the stack plus twice the height of the text block or ([2 x number of holes] x thickness) + (2 x height) + several inches. Of course, youll be using twice as much tread from the spool since the thread will be folded at the center and tied at the ends after it has been threaded through the needle.
Begin by threading though a terminal hole on either end of the line, leaving two inches of tail (you may tape it down if you wish). Thread through the next hole, and continue in an under-over fashion to the last hole, then weave back to the first hole. The ends of the thread should be on opposite sides of the text block. Thread back one hole. The ends of the thread should emerge from the same side of the text block from adjacent holes and can be tied down. This completes the text block.
Next
Step: Building the Cover
Back to the Bookbinding Introduction Page
Back to Projects Page
Home
Created on: May 29, 2008
Copyright (c) 2008 Alvenh
Channe.
Updated: October 16, 2009