Step 4: Labeling and Shaping the Spine
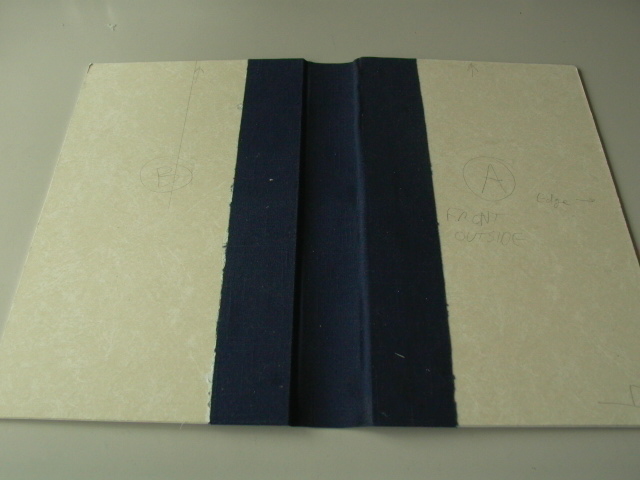
After drying the glue, the blank spine (above) was ready for decorating.
If you are rebinding a book for a library, a Tattle strip (magnetic alarm
tag) can now be attached on the inside of the spine. If you wish
to have a title or some other labeling on the spine, it should be added
before attaching the text block, while the cover is still flat. You
may wish to send the cover to a professional bindery for title stamping,
or if you want to do it yourself, check out Hugh
Sparks website for suggestions.
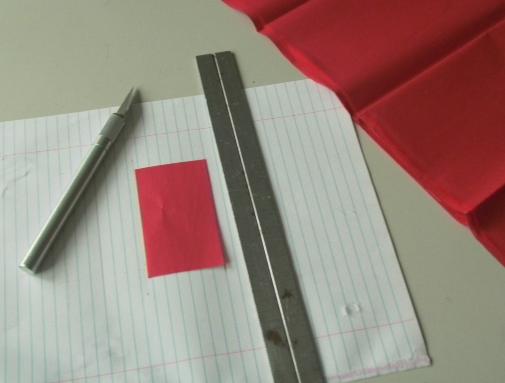
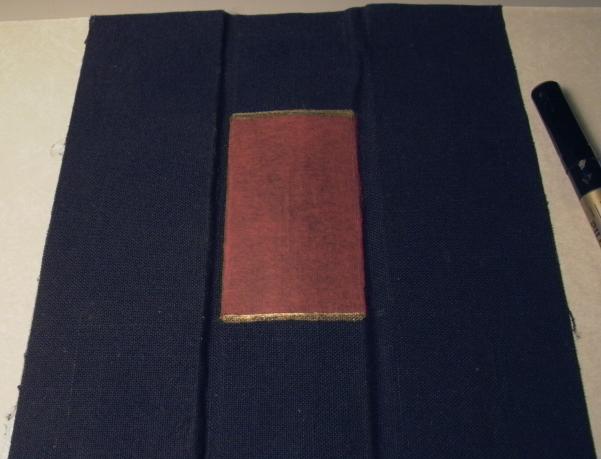
I did the labeling on a decorative paper mache patch on the spine (rather
than directly on the spine). Pieces of gift wrapping tissue paper,
three to four layers thick were cut to desired size (below left).
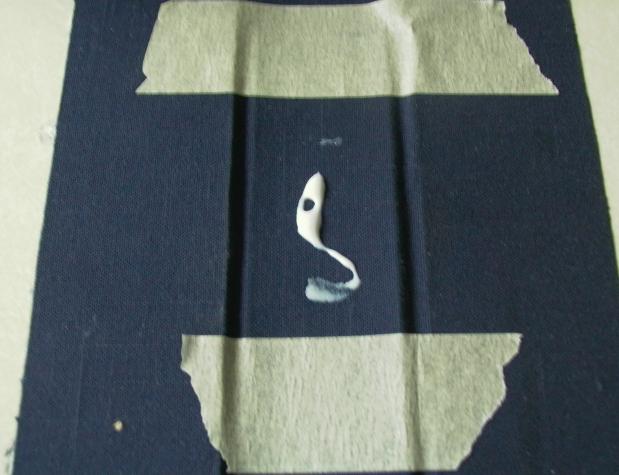
The area to be glued was marked with masking tape, and PVA glue was applied
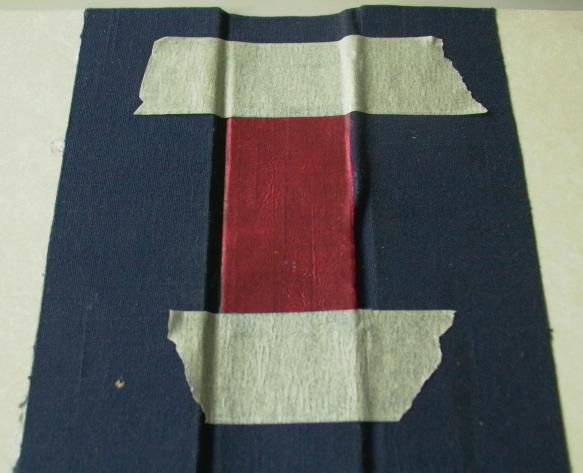
(below center) and evenly spread. The patch was then placed on top
of the glued area (below right), four layers at the same time, applying
ONLY vertical pressure. Several minutes later, the first two layers
were peeled off and discarded and the process was repeated once more when
the glue was almost dry.
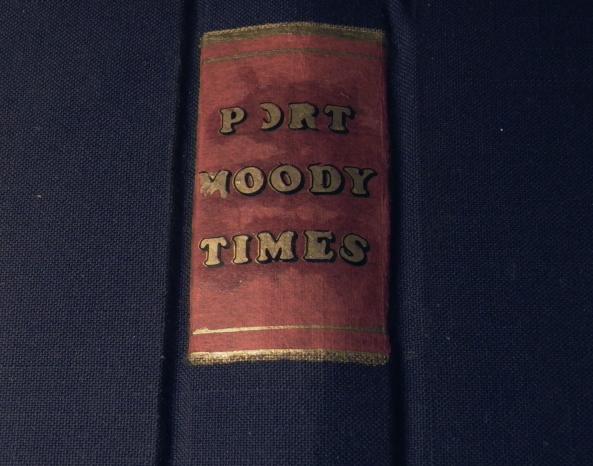
After gluing and drying the patch, the tape was removed and a decorative gold border was adding using a Pilot metallic paint pen (below).
Title was applied using scratch-on lettering (below), a method which I do not recommend as you can tell by the mess. Varnish was applied to keep the lettering intact. I intend to redo the labeling someday.
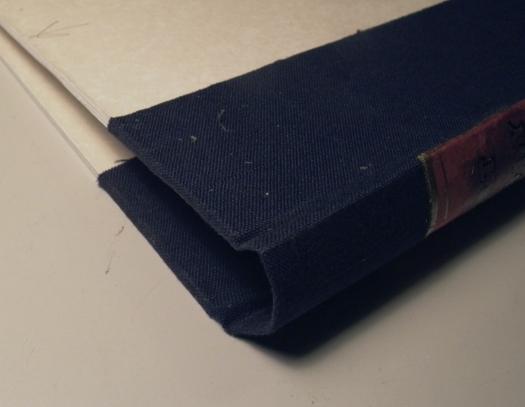
The spine was then rounded by pressing it against a section of pipe (below).
Next
Step: Attaching the Cover to the Text Block
Back to the Bookbinding Introduction Page
Back to Projects Page
Home
Created on: May 29, 2008
Copyright (c) 2008 Alvenh
Channe.