Building the Front Door
I started building the front door at about the about same time as the side boards. The door is composed of three layers, all built-up from Popsicle sticks. The front and back layers were made in a similar manner to that of the patterned layer of the side boards while the middle layer was just a single layer of Popsicle sticks face up, covering the entire surface of the back, to be sandwiched between the outer layers. If I recall correctly, the purpose of the middle layer was just to add thickness as the outer patterned layers, when sanded and flattened, can be quite thin.
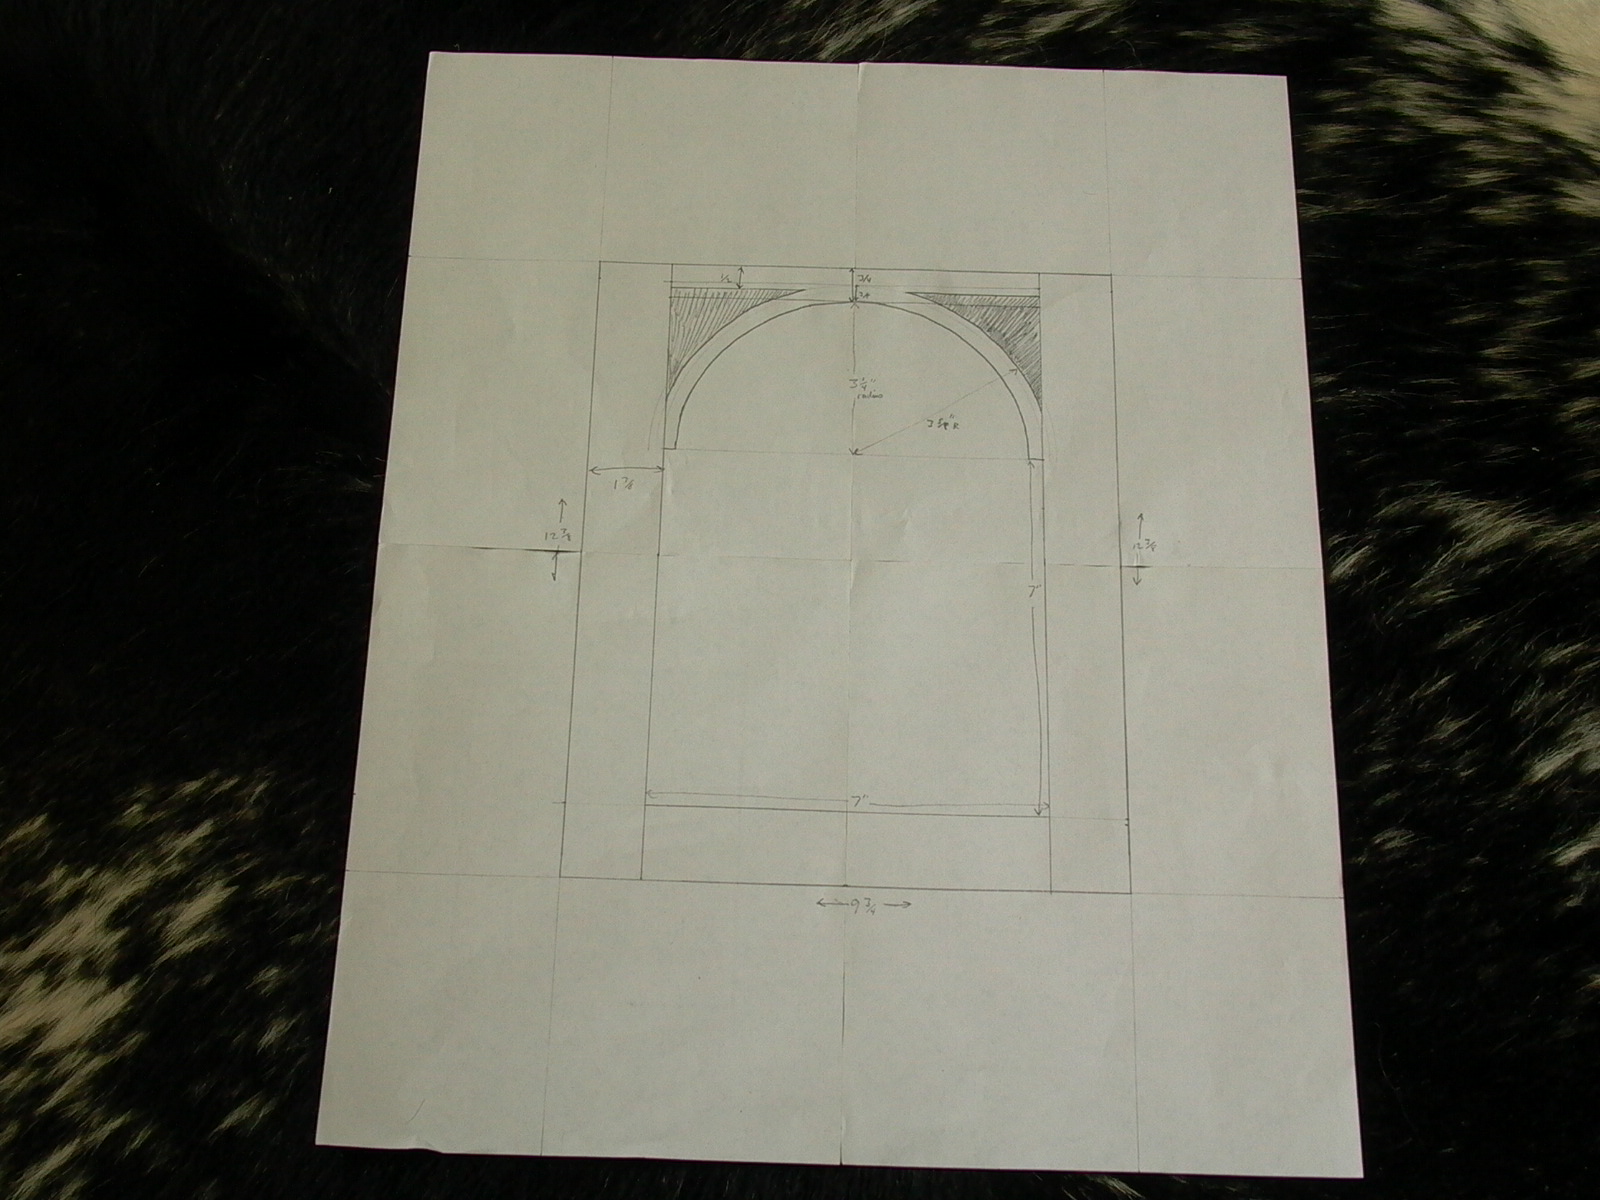
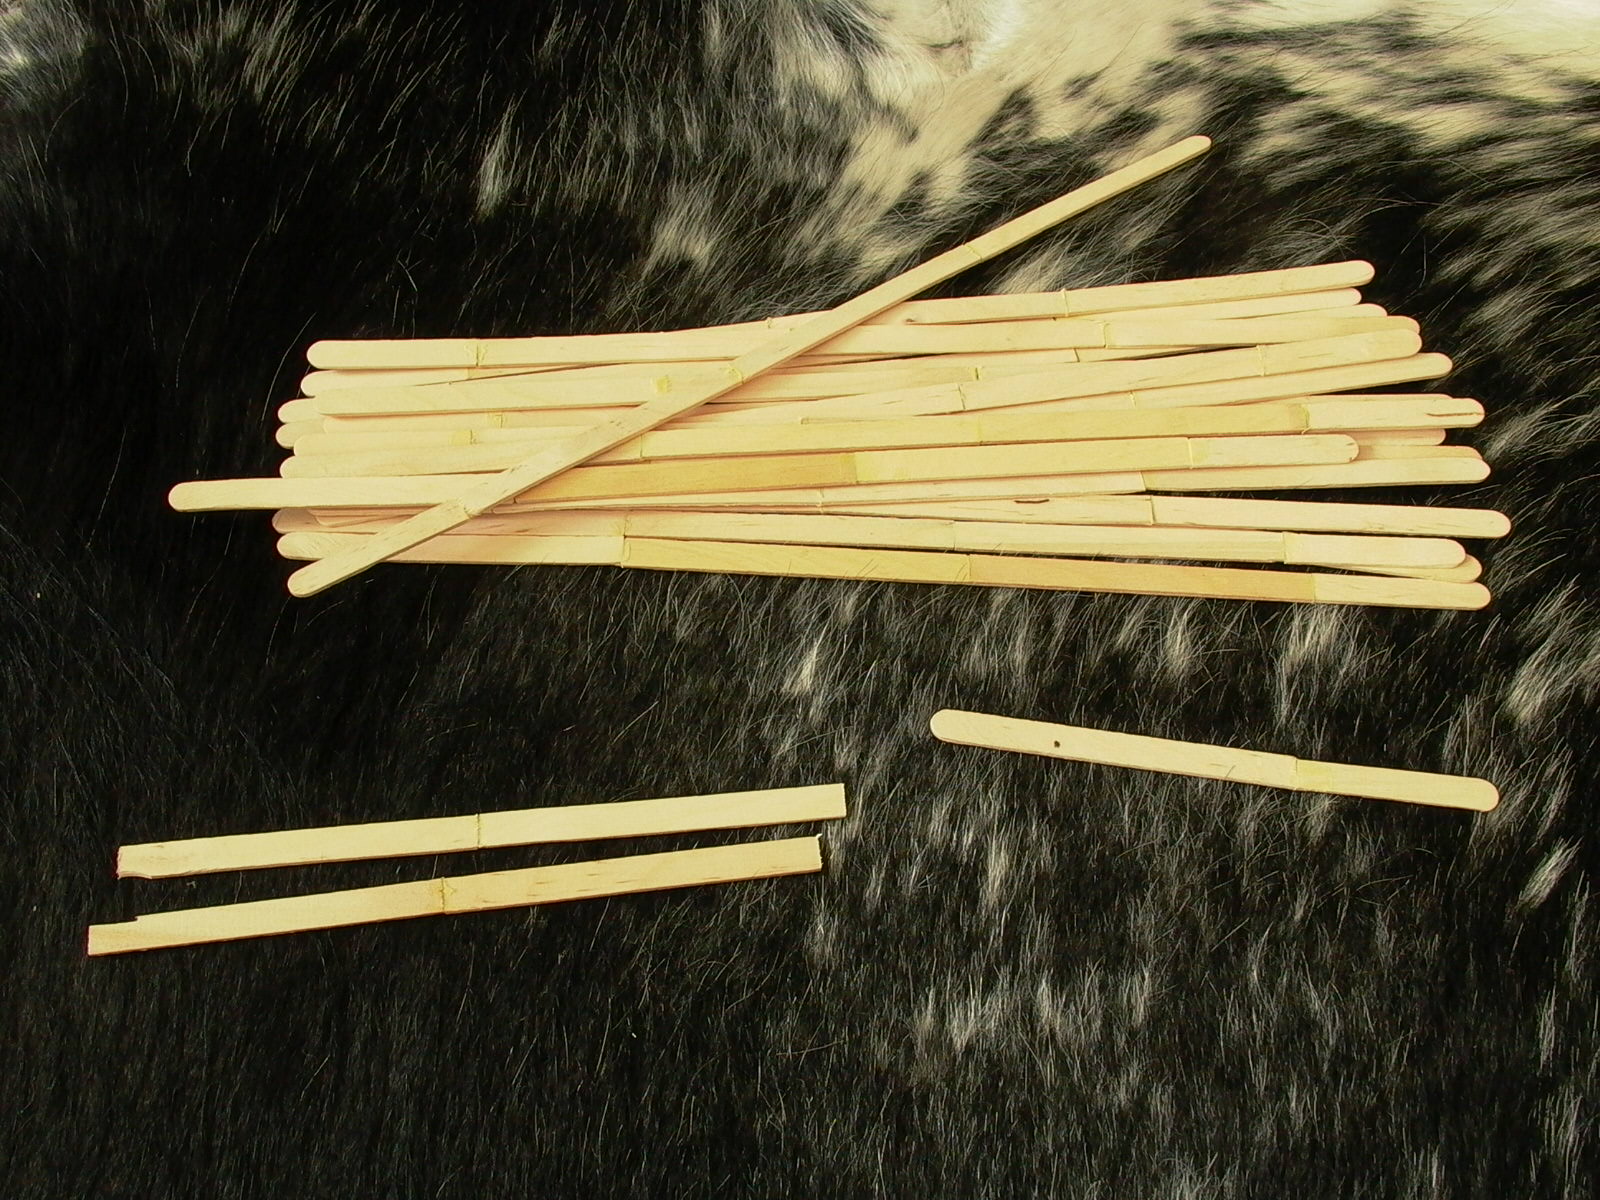
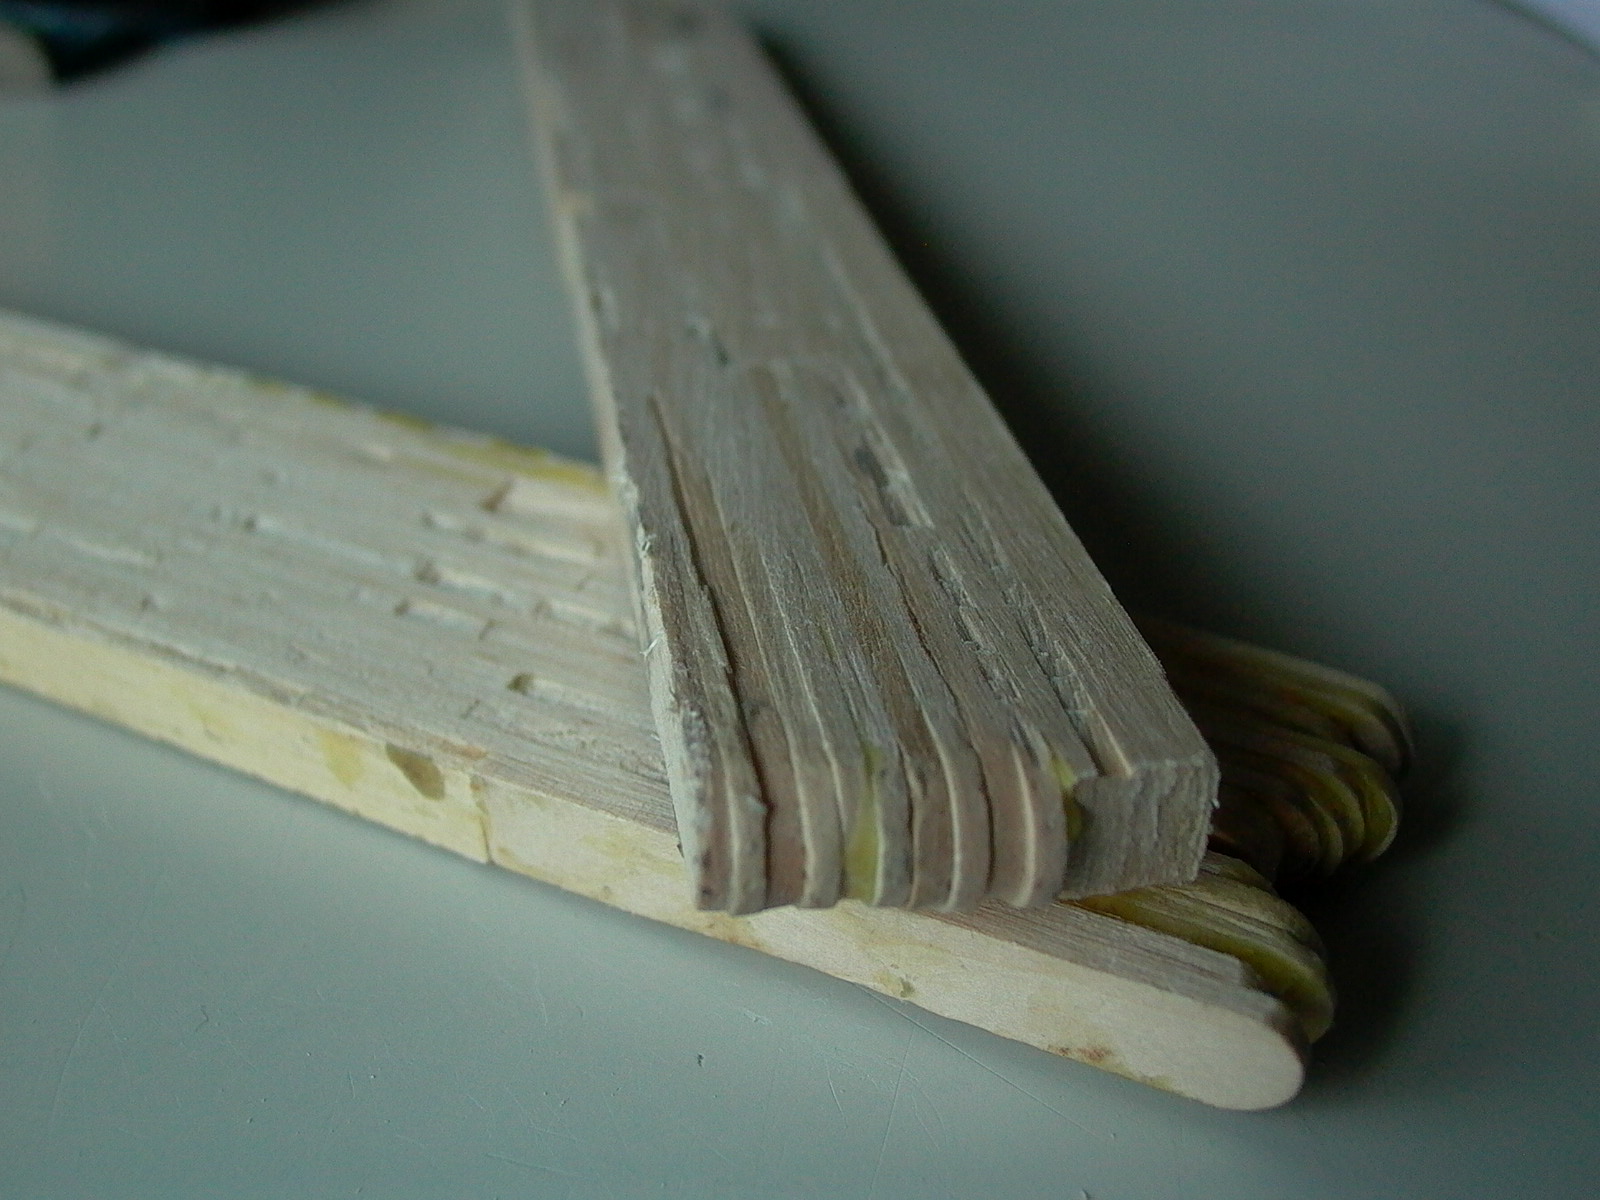
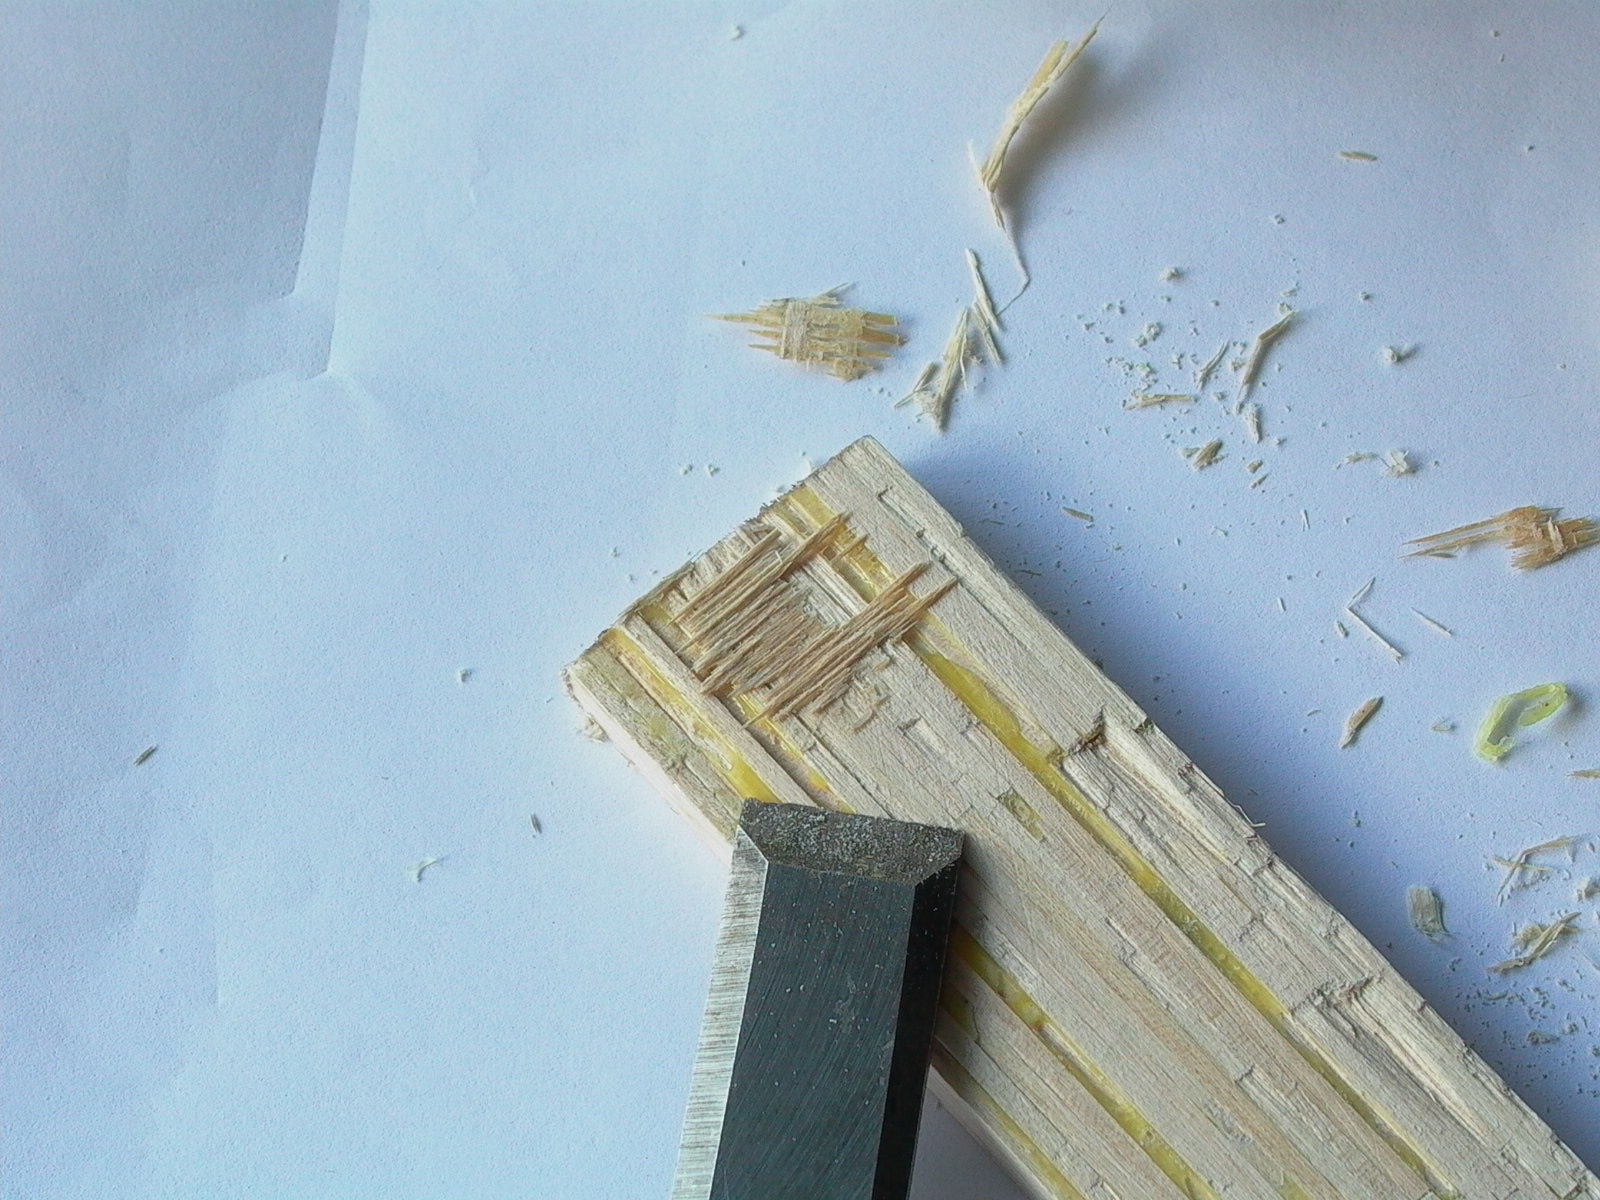
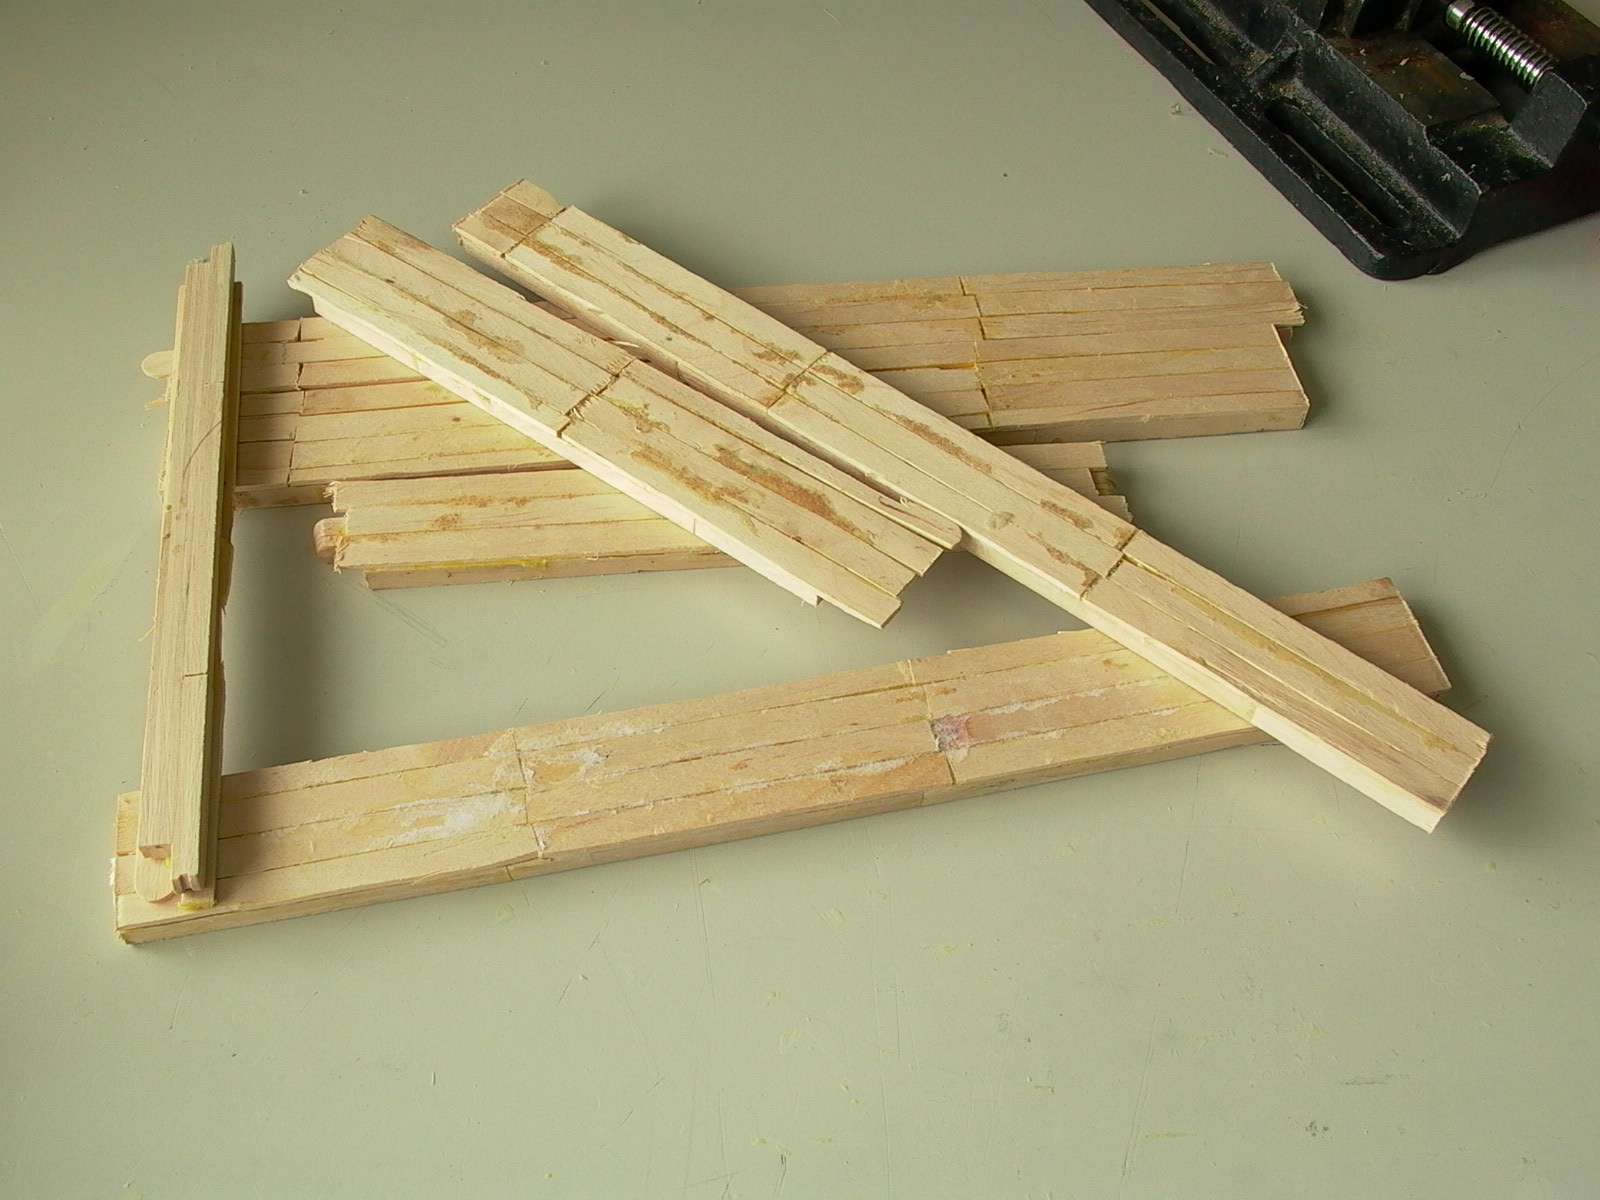
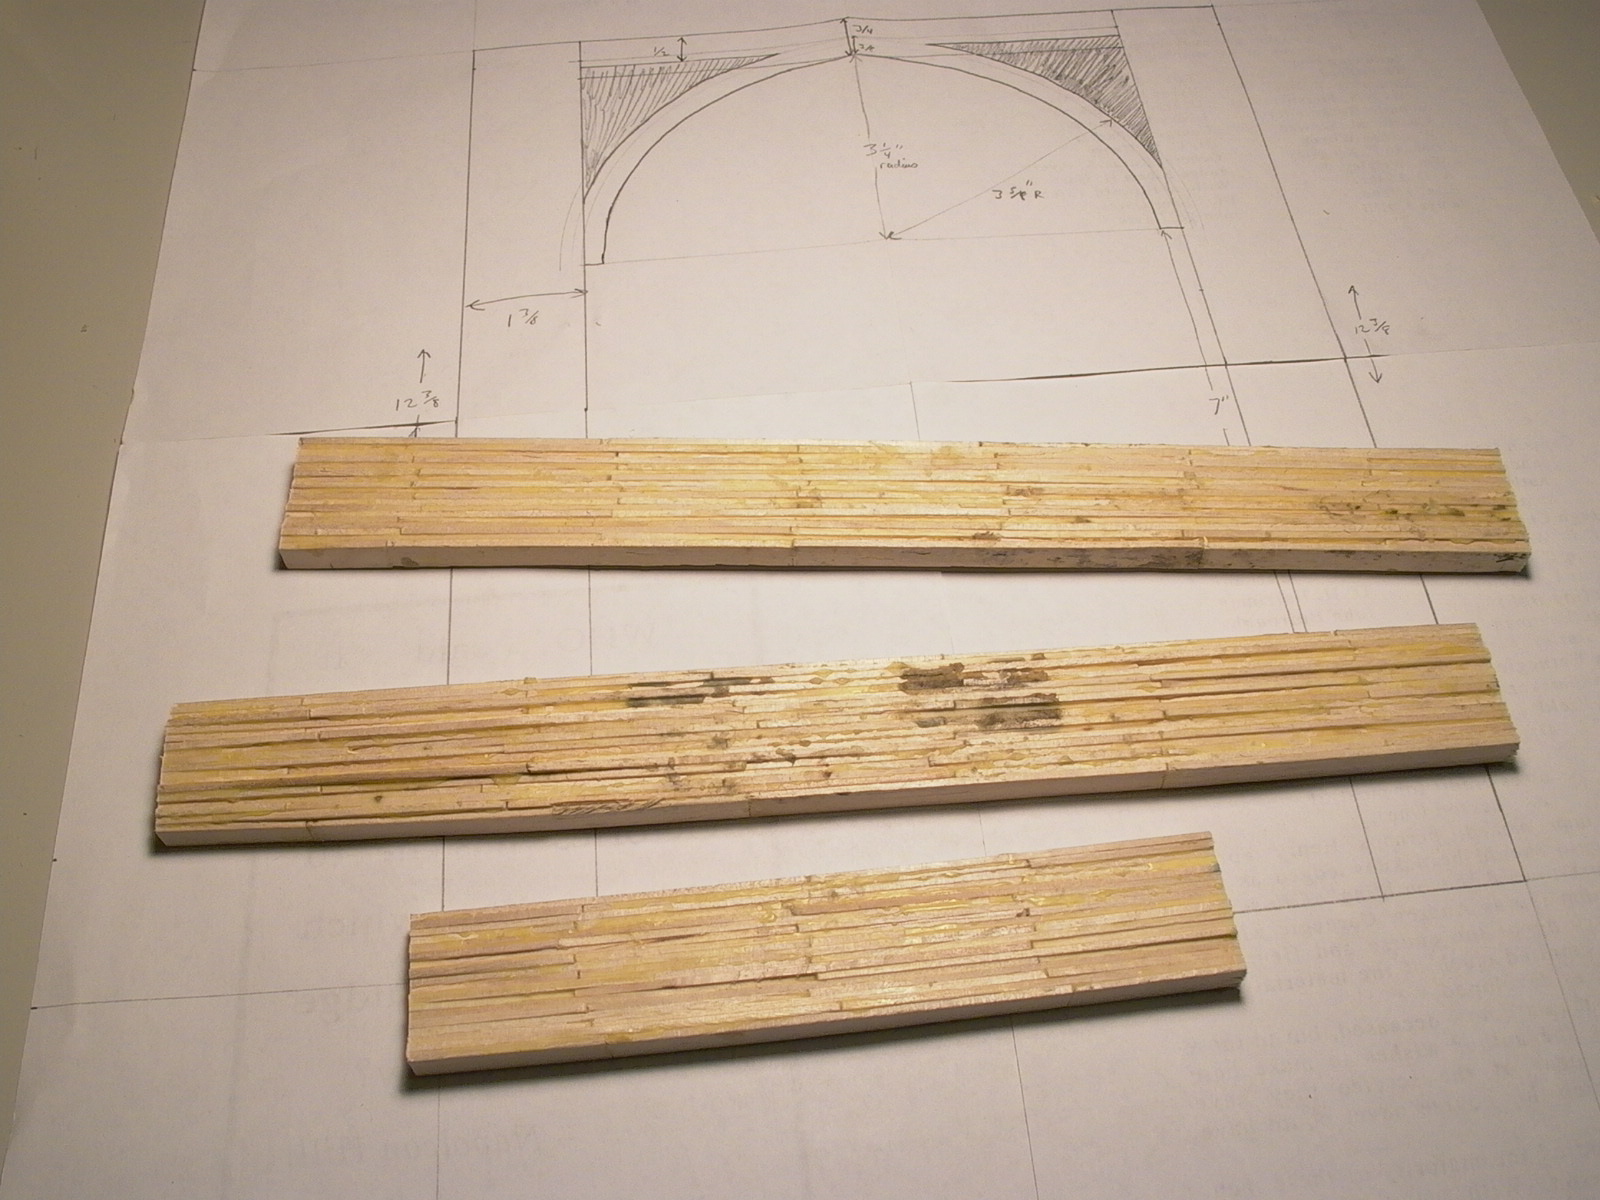
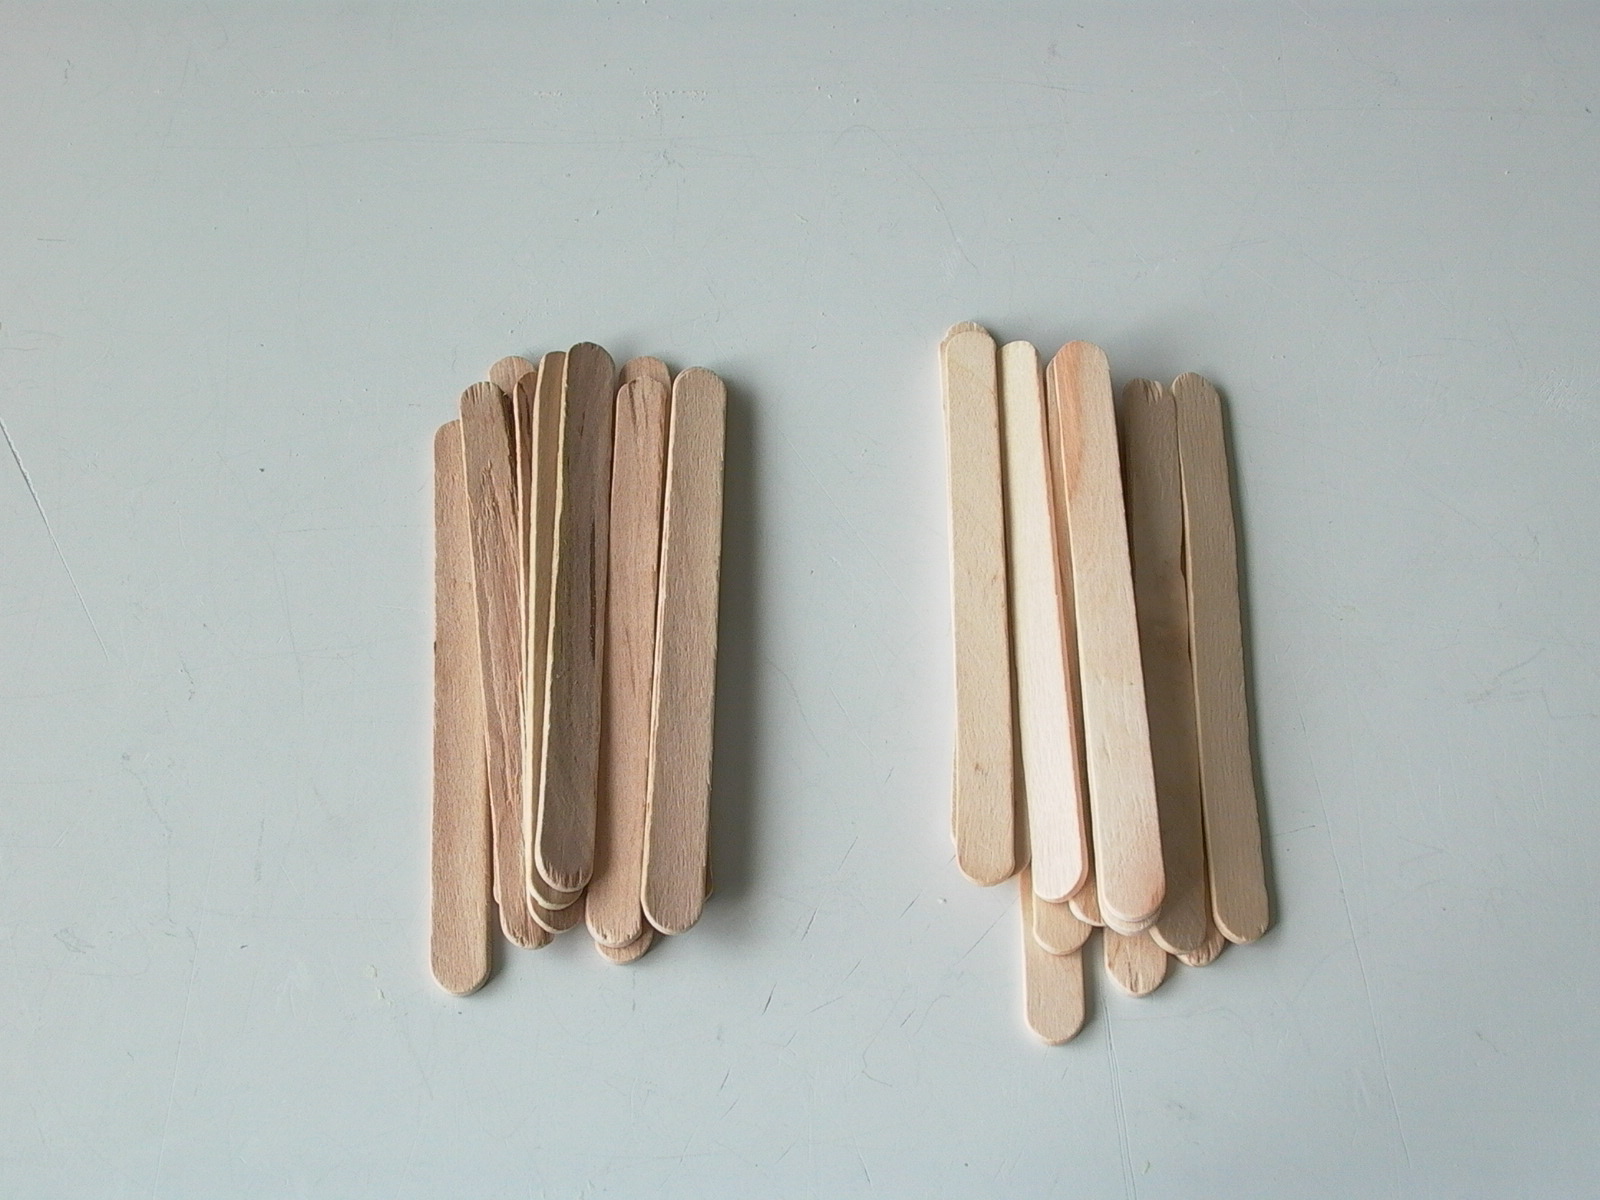
First, I made a full sized drawing of the front side of the door (fig. 19). Then, I started to build-up the pieces of front outer layer. Popsicle sticks were extended (fig. 20 – also refer to previous section) and glued into strips 18 stick-thickness wide (fig. 21 –photo shows strips after rough sanding). For the back, layers of 5 sticks were glued into “cigars” and rounded ends were cut off (fig. 22) which were then glued together into strips 15 sticks thick (fig. 23). In (fig. 24), pieces of the back layer are pictured in the first 3 rows and the last row (used for the top of the door, I eventually had to shave off a few layers of Popsicle sticks to make way for the arch) and the rest are for the front (side and bottom pieces only; top part made separately due to arch design). A larger piece was made for the top side of the front side to accommodate an arch (fig. 25).
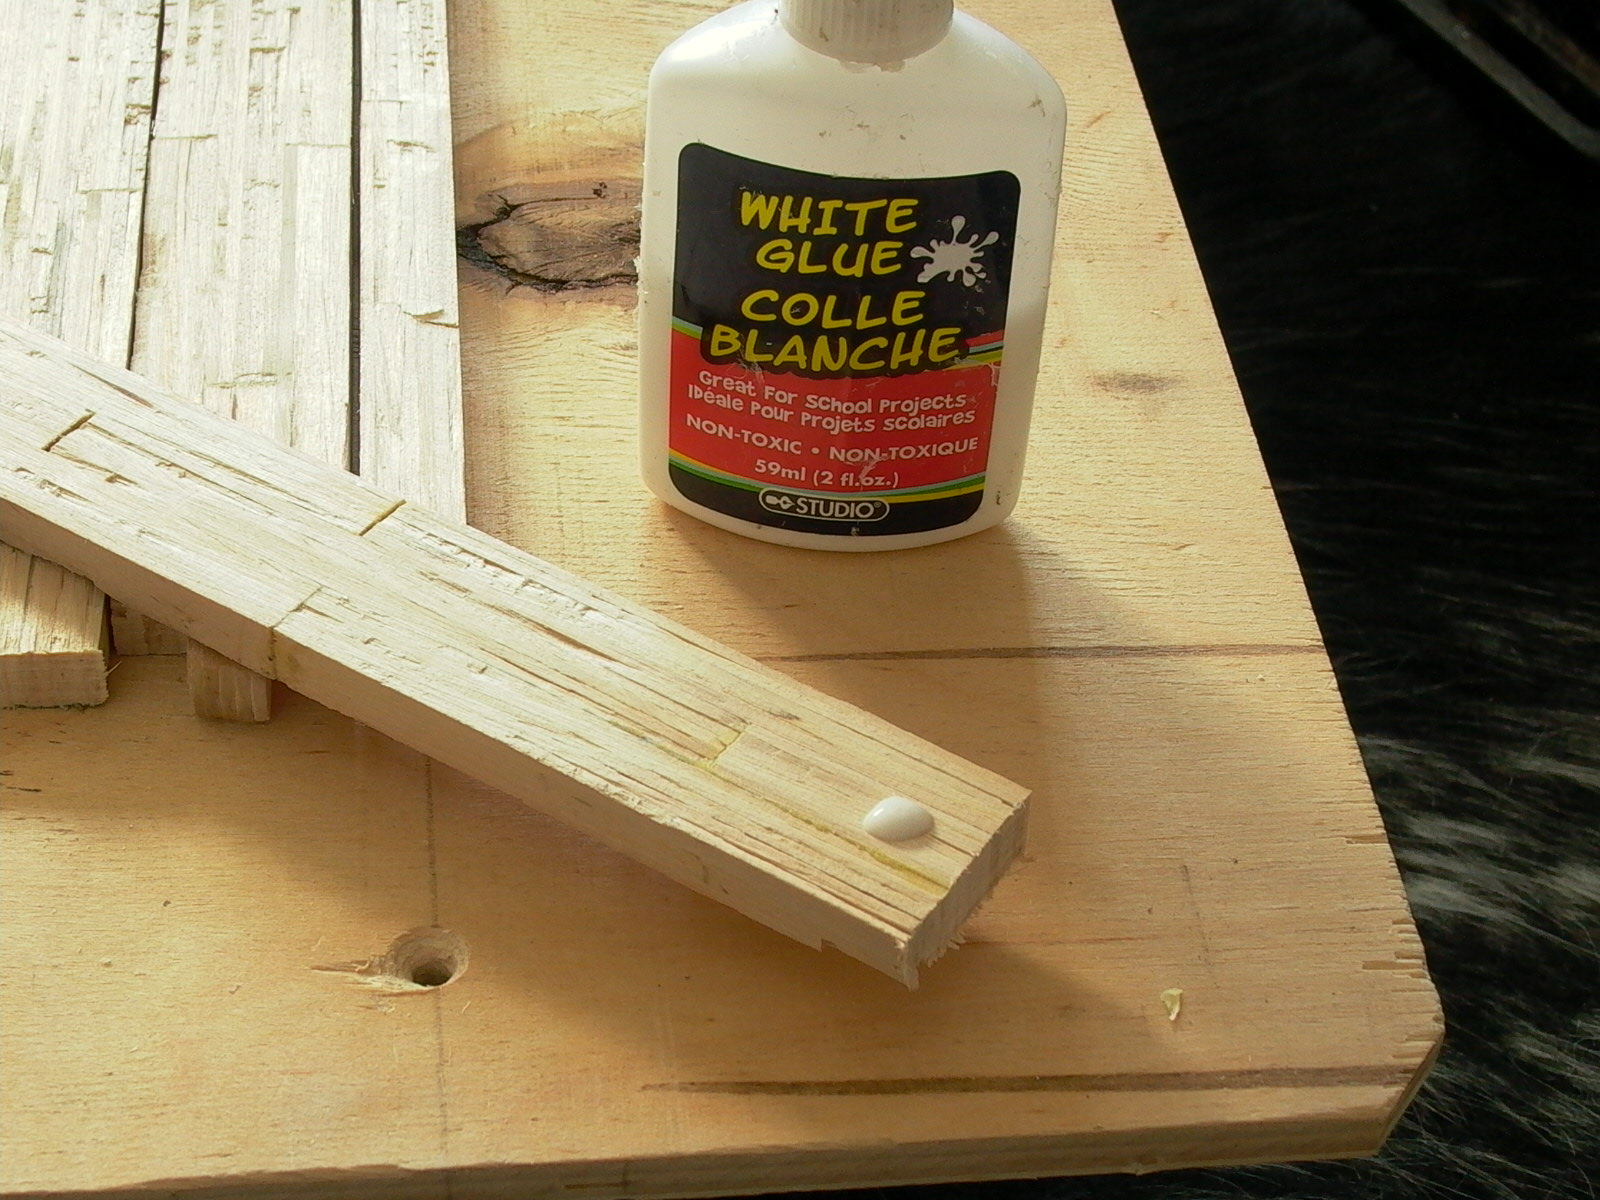
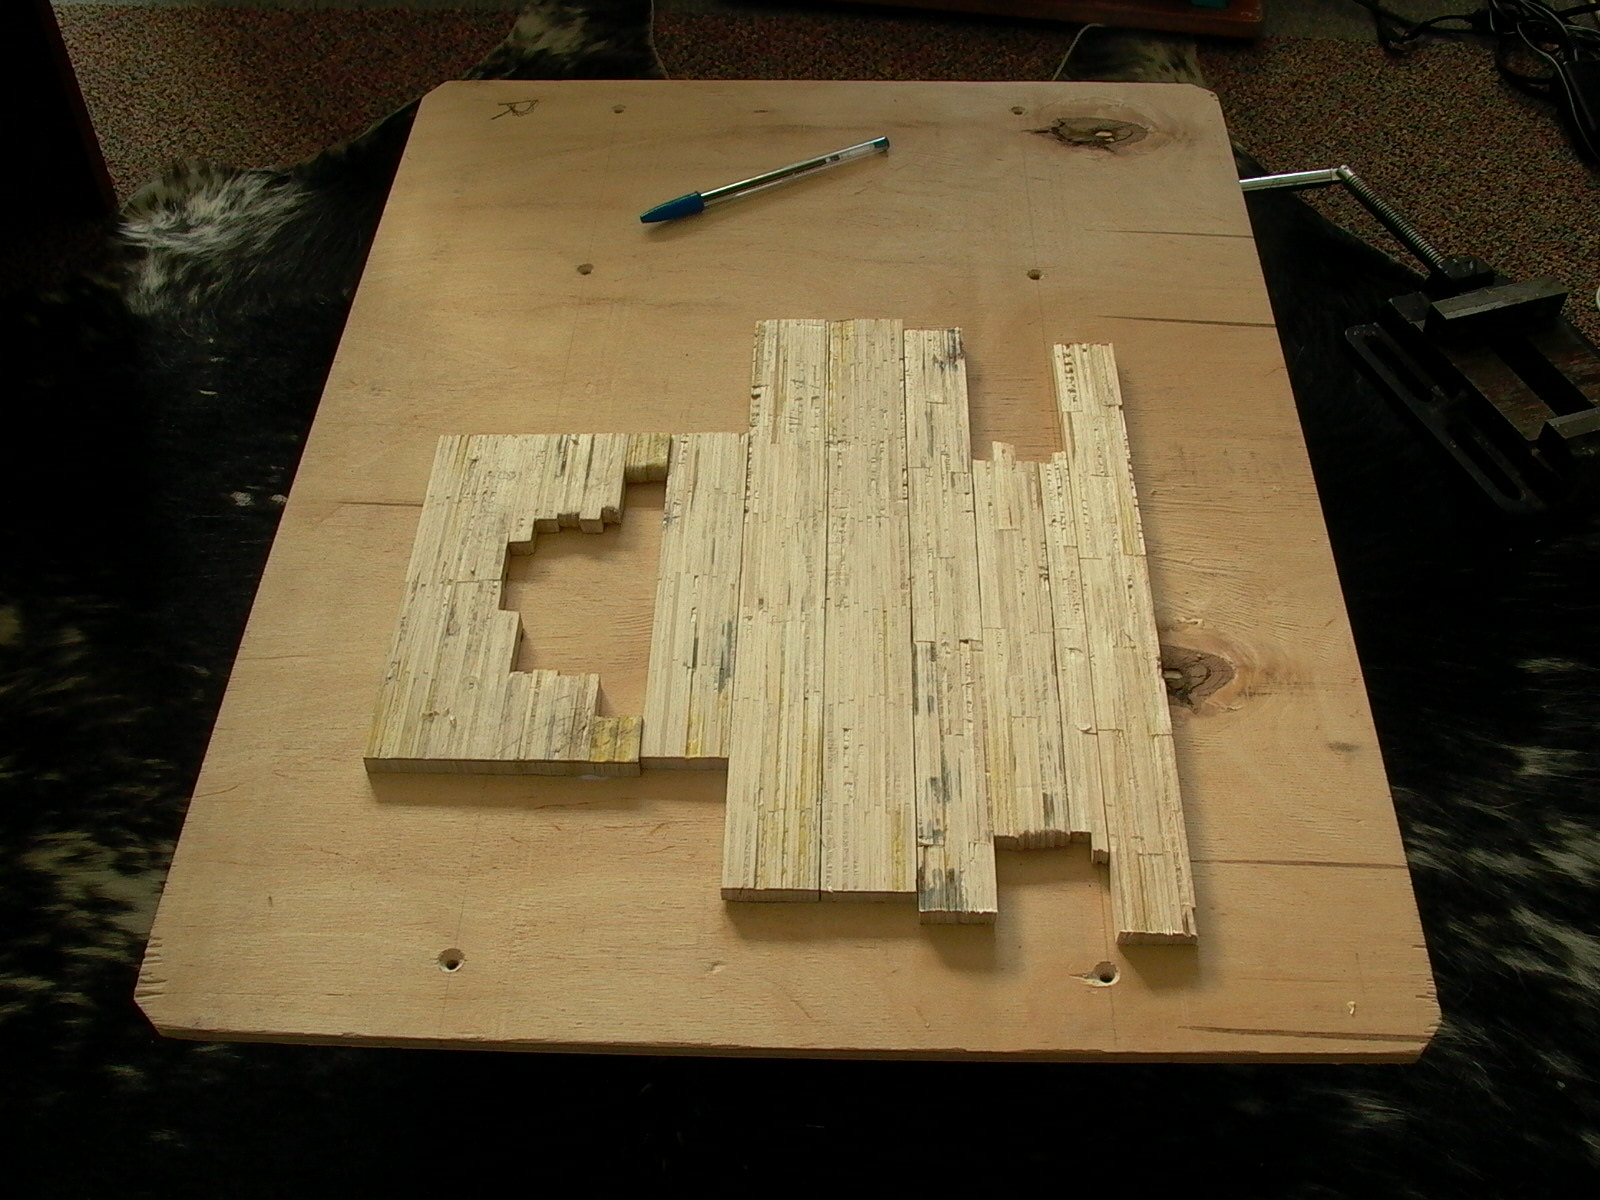
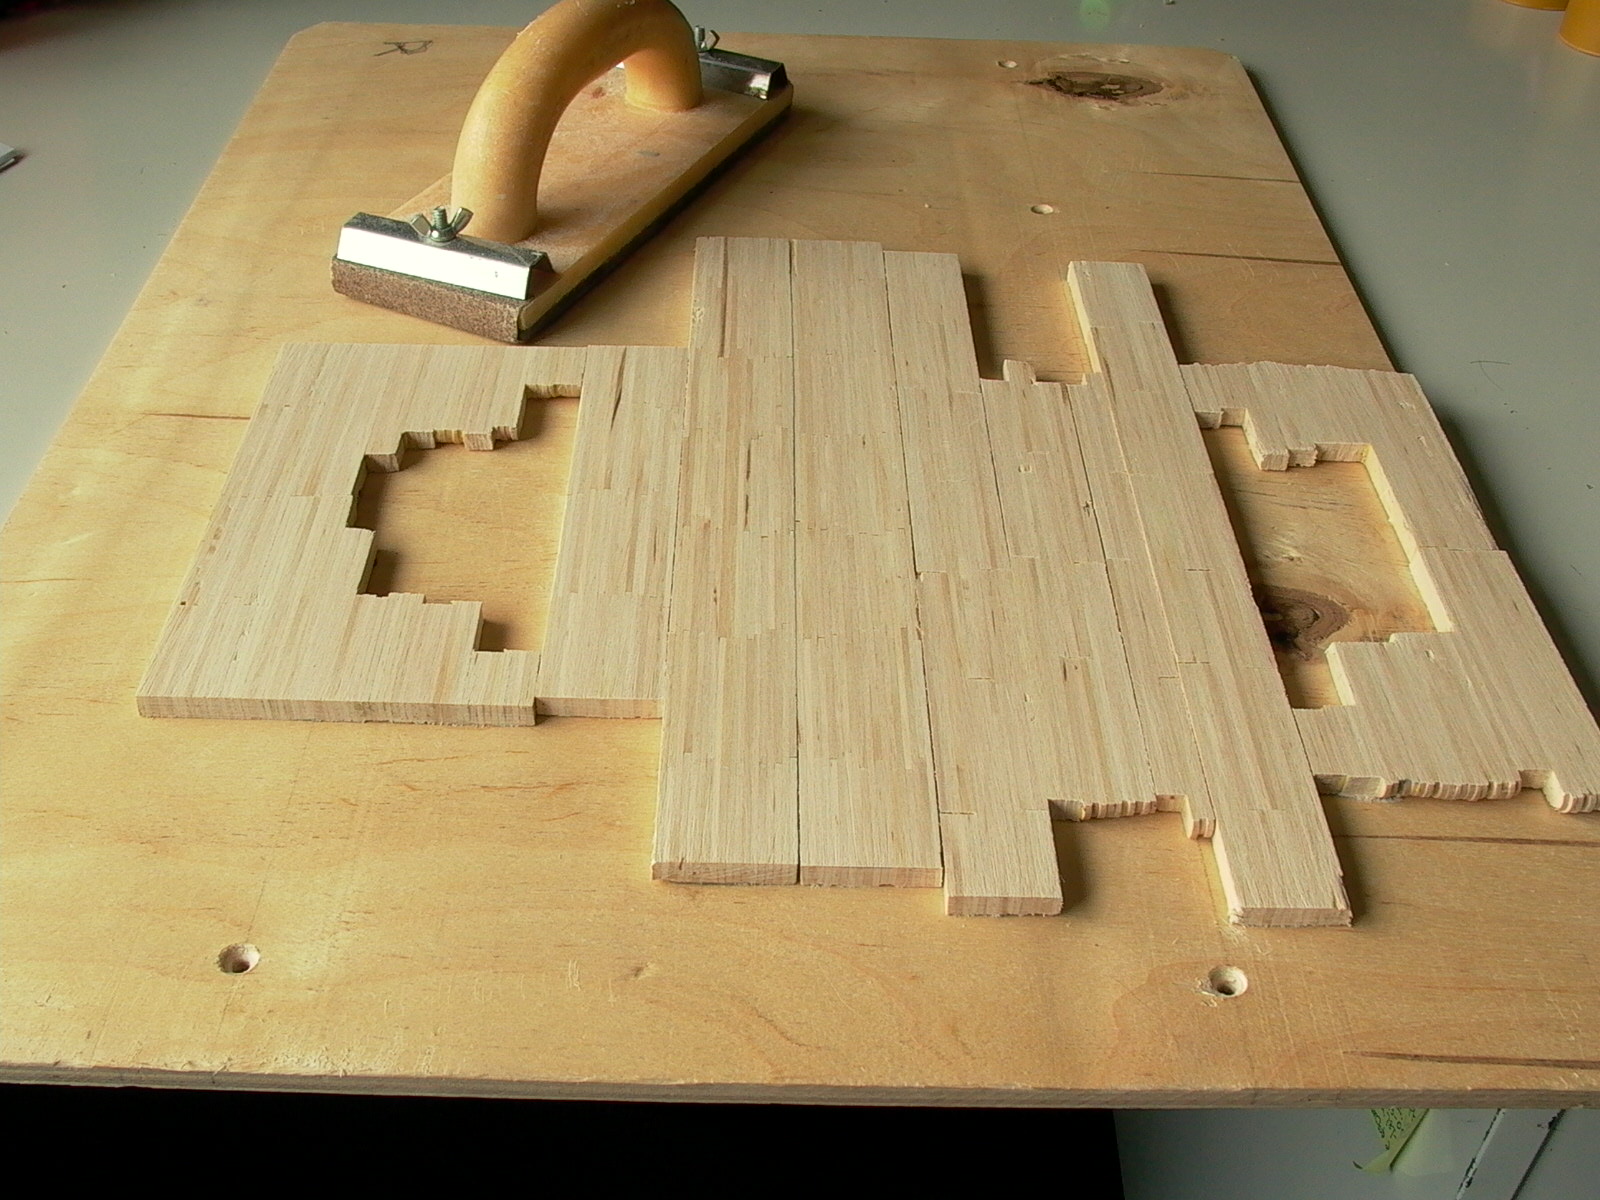
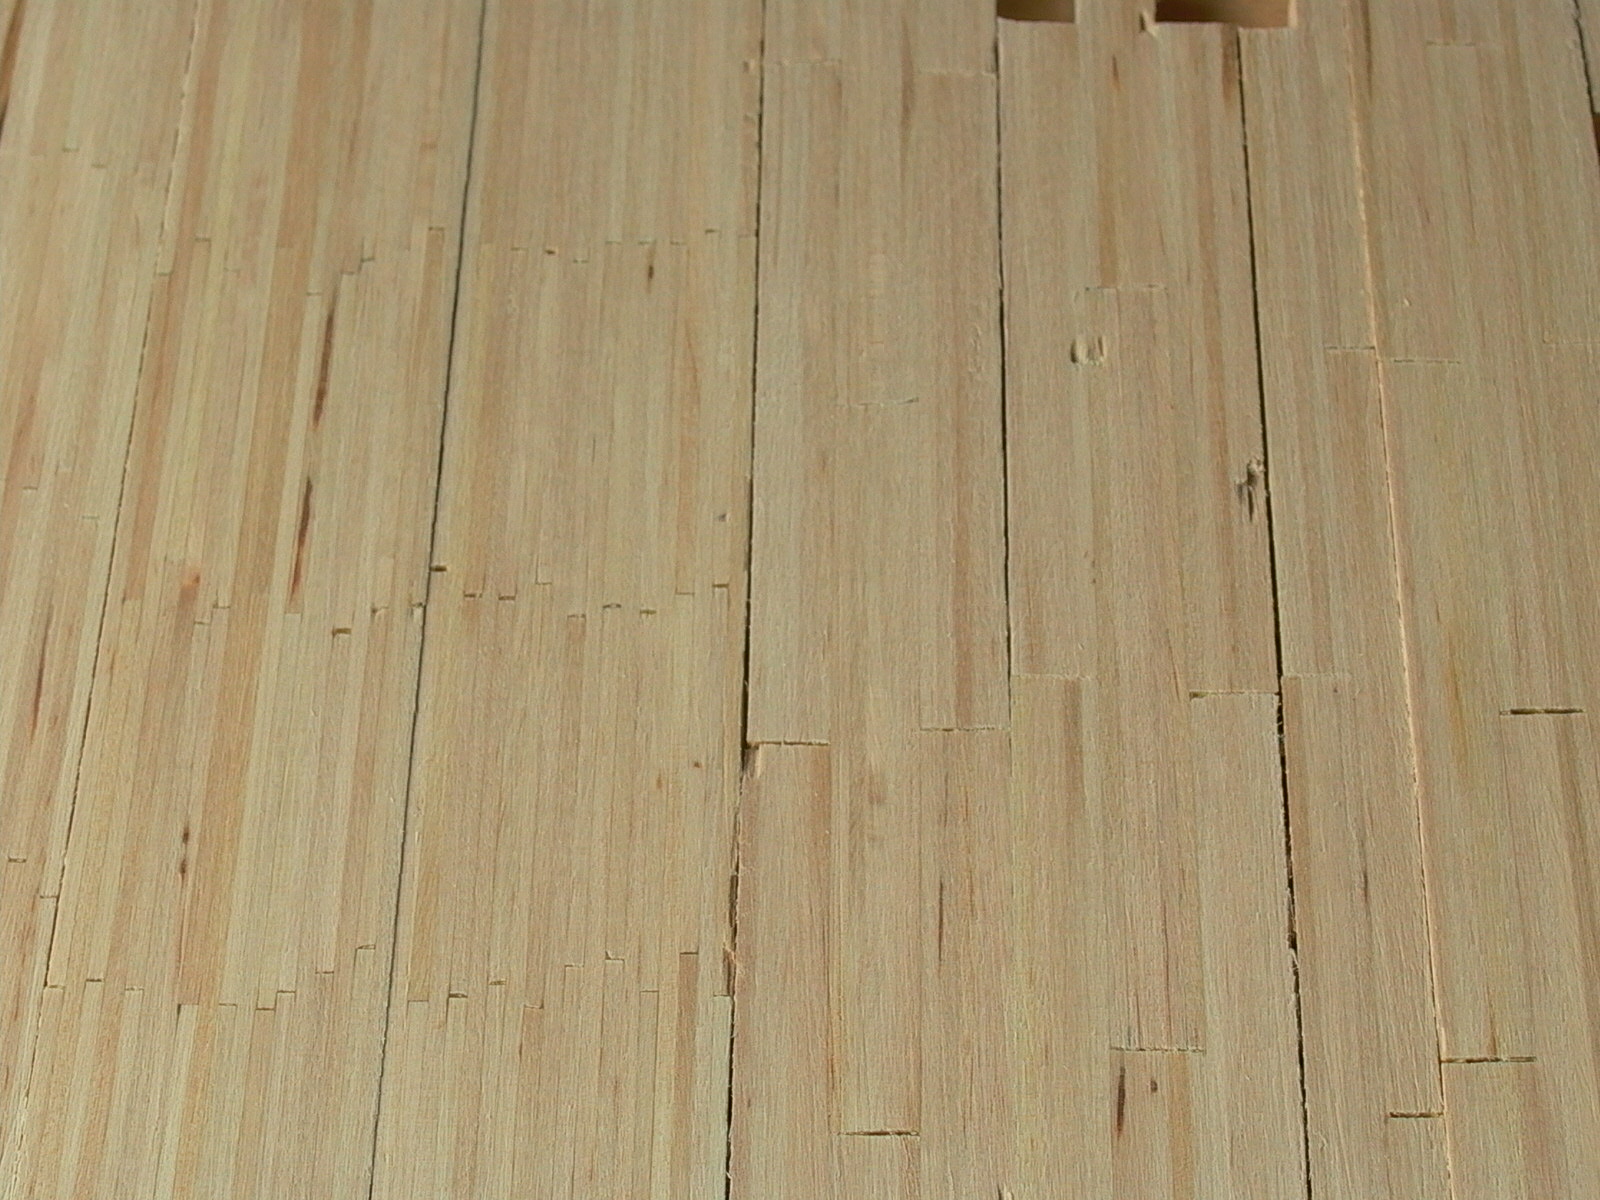
In preparation for sanding, all of the pieces were glued down onto a sheet of plywood using only ONE SMALL DROP of glue each (do not spread drop) with wood grains running parallel (fig. 26-29). Only one side was sanded to even thickness, then removed from the plywood (fig. 30).
If necessary, a middle layer may be added (fig. 31) as this case since the layers became thin after sanding.
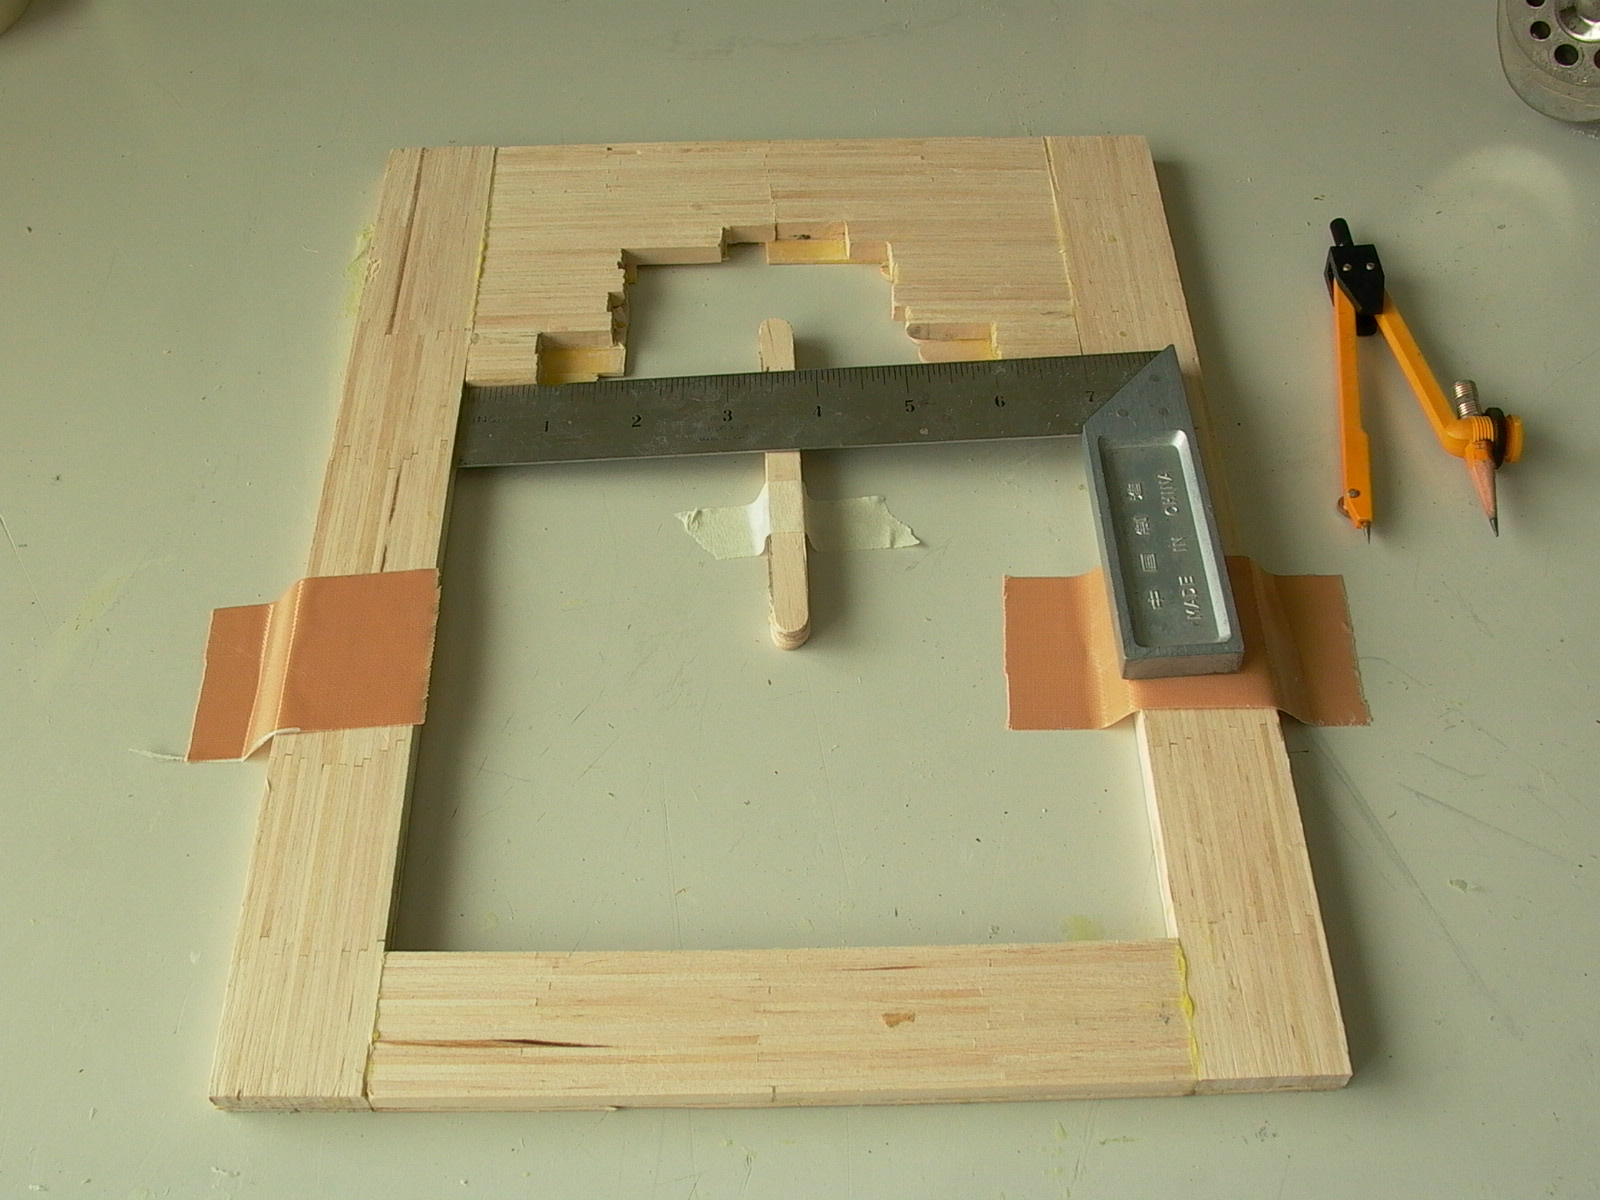
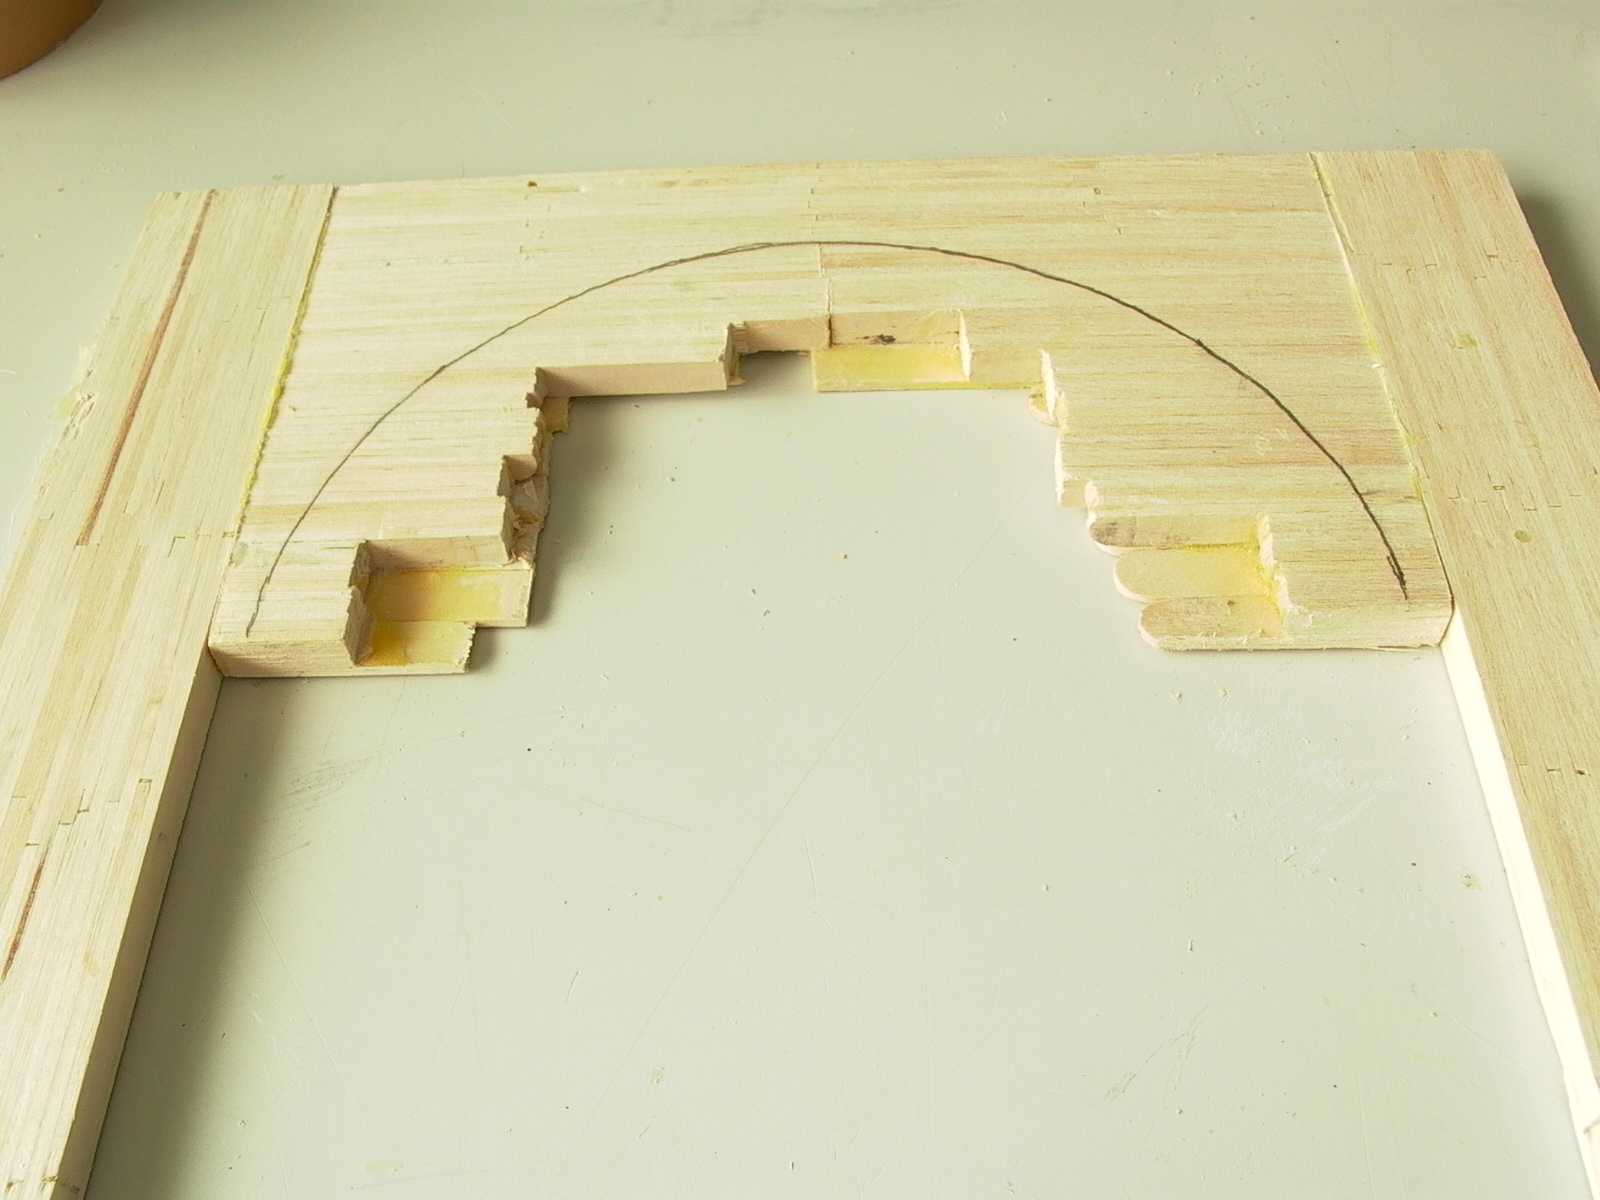
The front layer was then put together using the drawing as a guide. First, pieces were cut to size (fig. 32). By this time, I came up with the previously mentioned technique of thickness sanding and thus, pieces were sanded to even and equal thickness (not pictured) and then glued together using simple butt joints (fig. 33). When the glue had dried, the frame was taped down, center point of the arch and the arch itself was marked (fig. 34 and 35), which was then cut out with a jigsaw (at this time, glued joints are weak so BE VERY CAREFUL!!! Make sure pieces are secured using clamps and ask someone to help you if necessary).


To even out the curve, cut an arc or circle with a radius as close to that of the arch as possible (and the curve of this piece won’t be perfect either but don’t worry) from a piece of wood as least as thick as the arched door. Then glue a strip of sand paper to its edge and clamp down. Place down the door so that the circle (or arc) with the sandpaper is in the arch and sand with twisting motion until the curve of the arch is even (sorry, no pictures available).
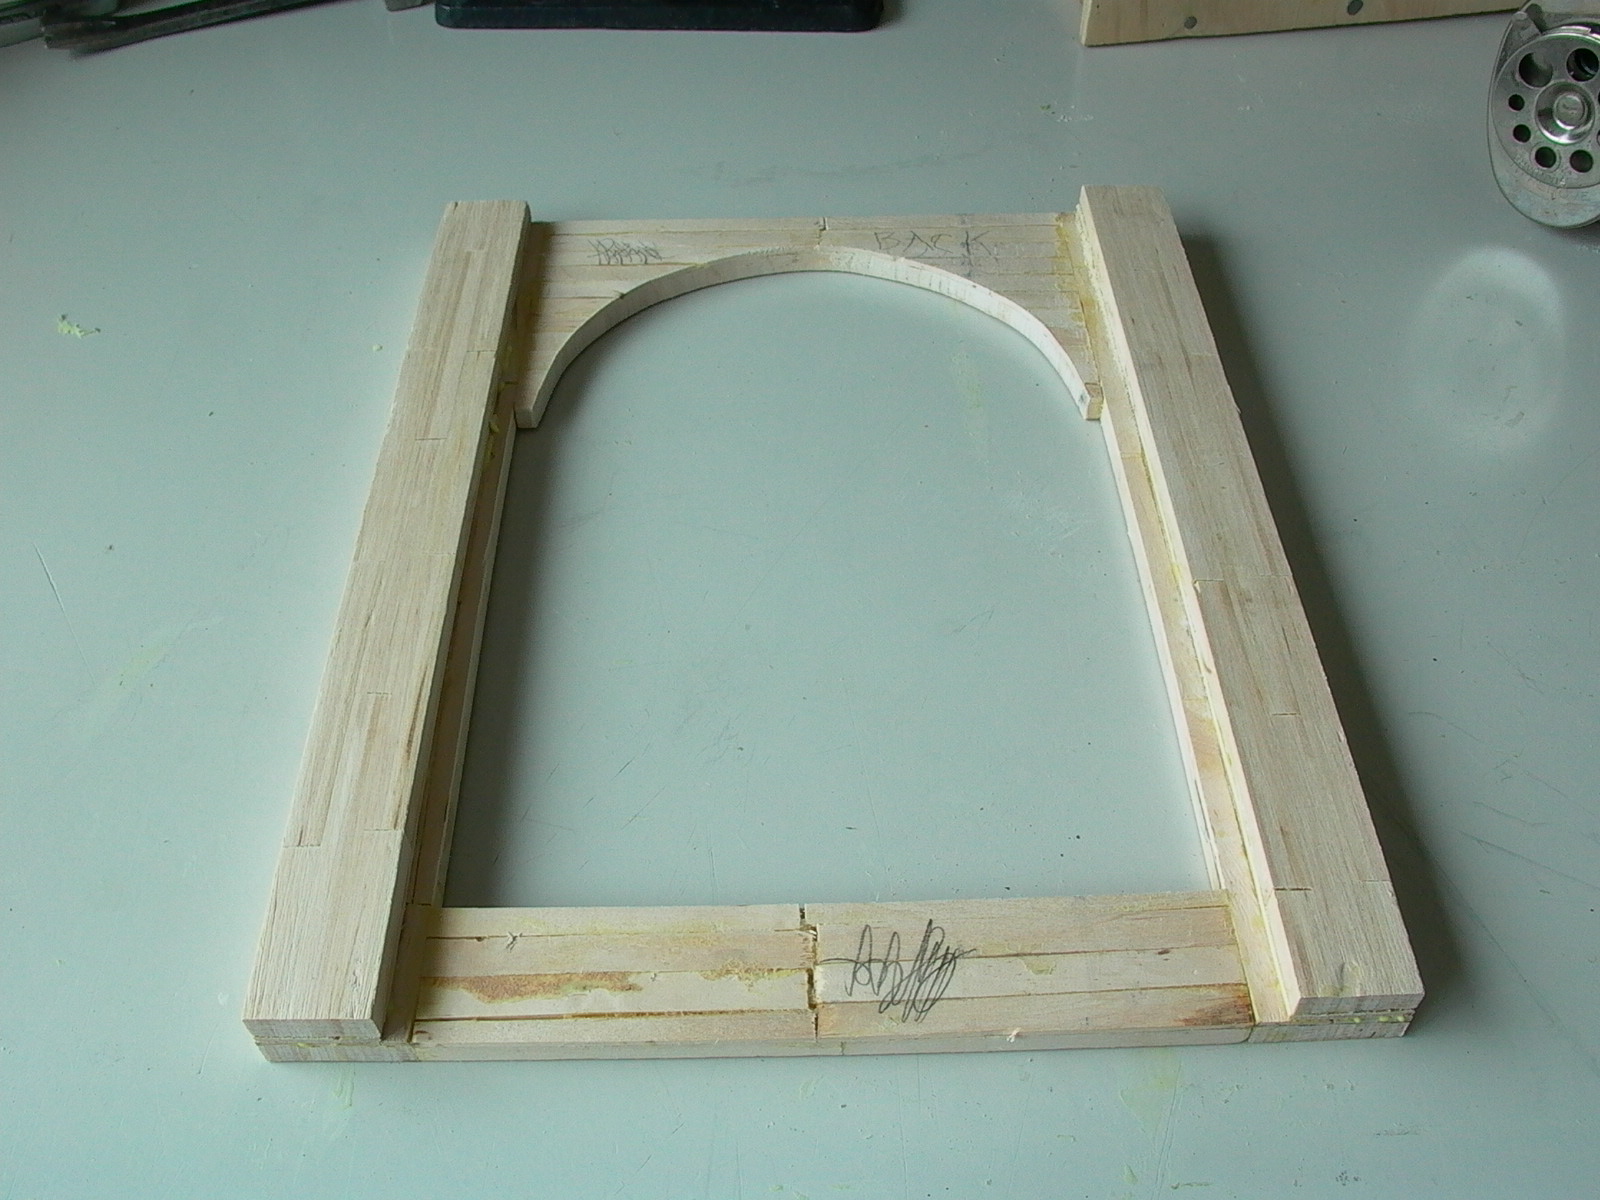
The back was then sanded for flatness and pieces of the back supporting layers were glued-on with the outer edges as flush as possible, forming an inner ledge about three stick-thickness wide, which will be used to hold a piece of glass later (fig. 36 and 37).
Constructing the Base
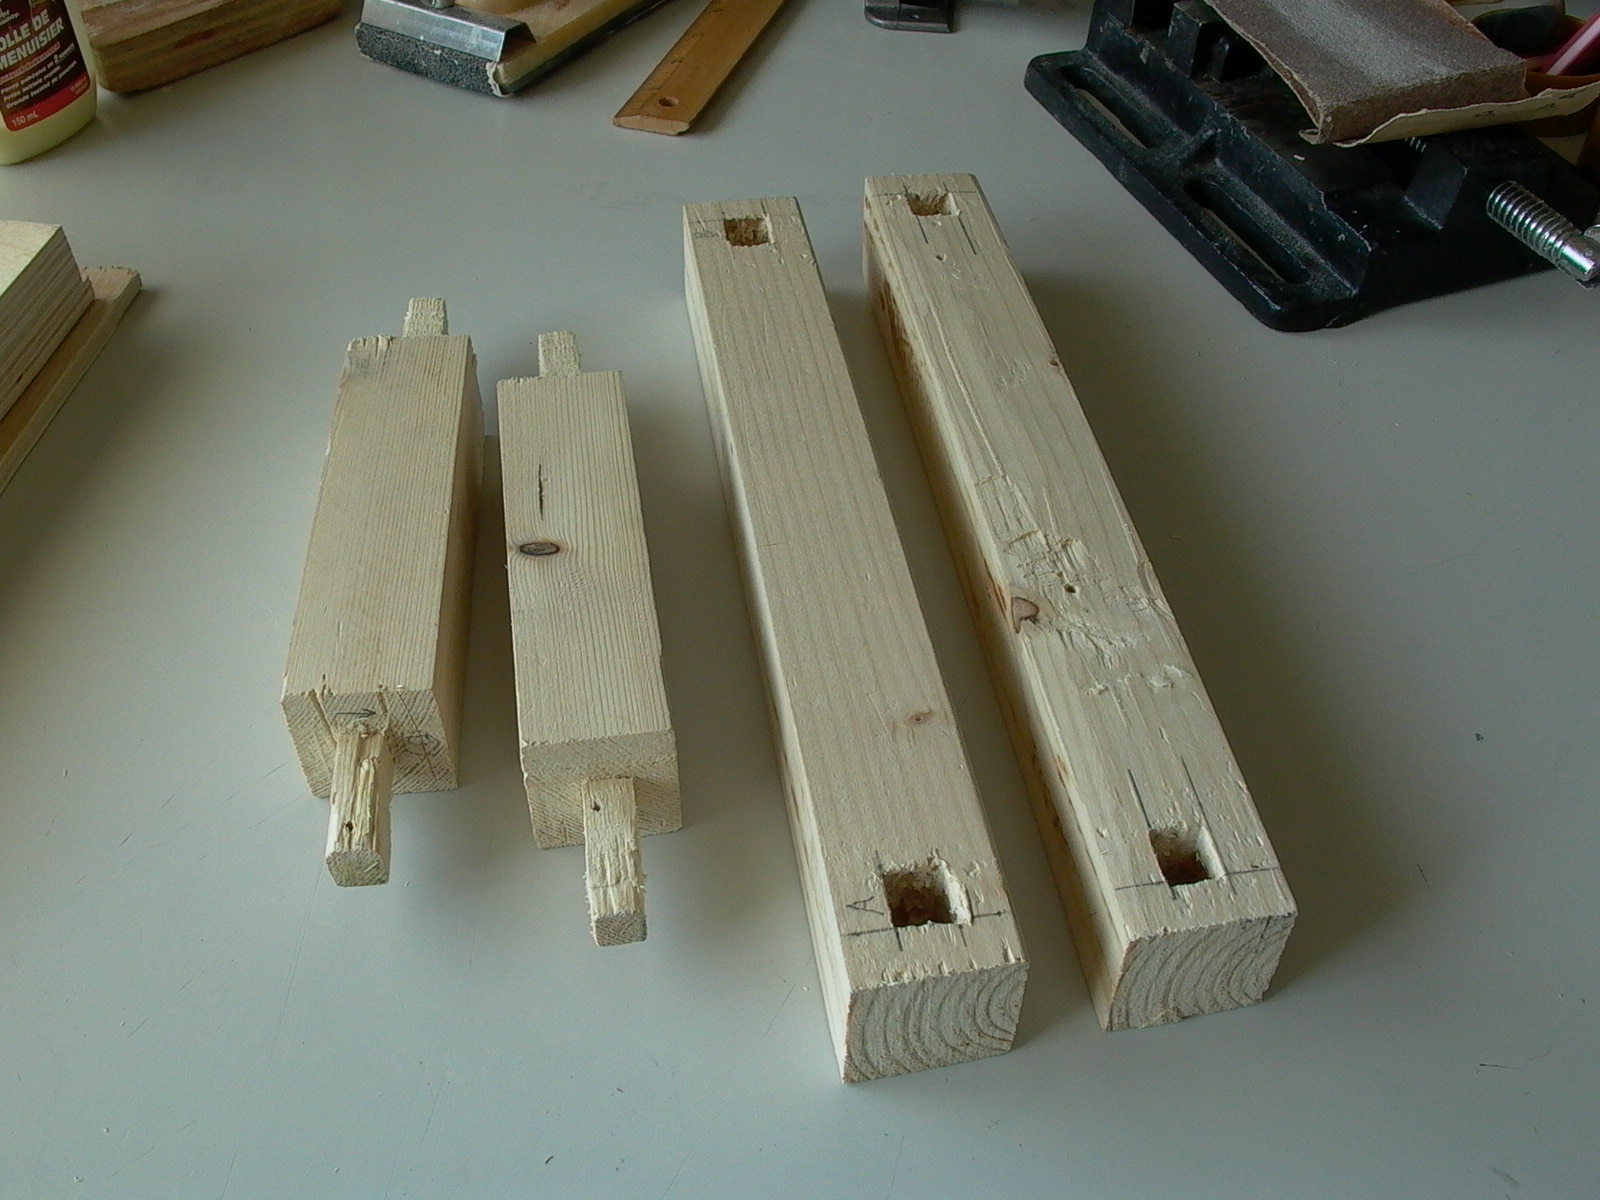
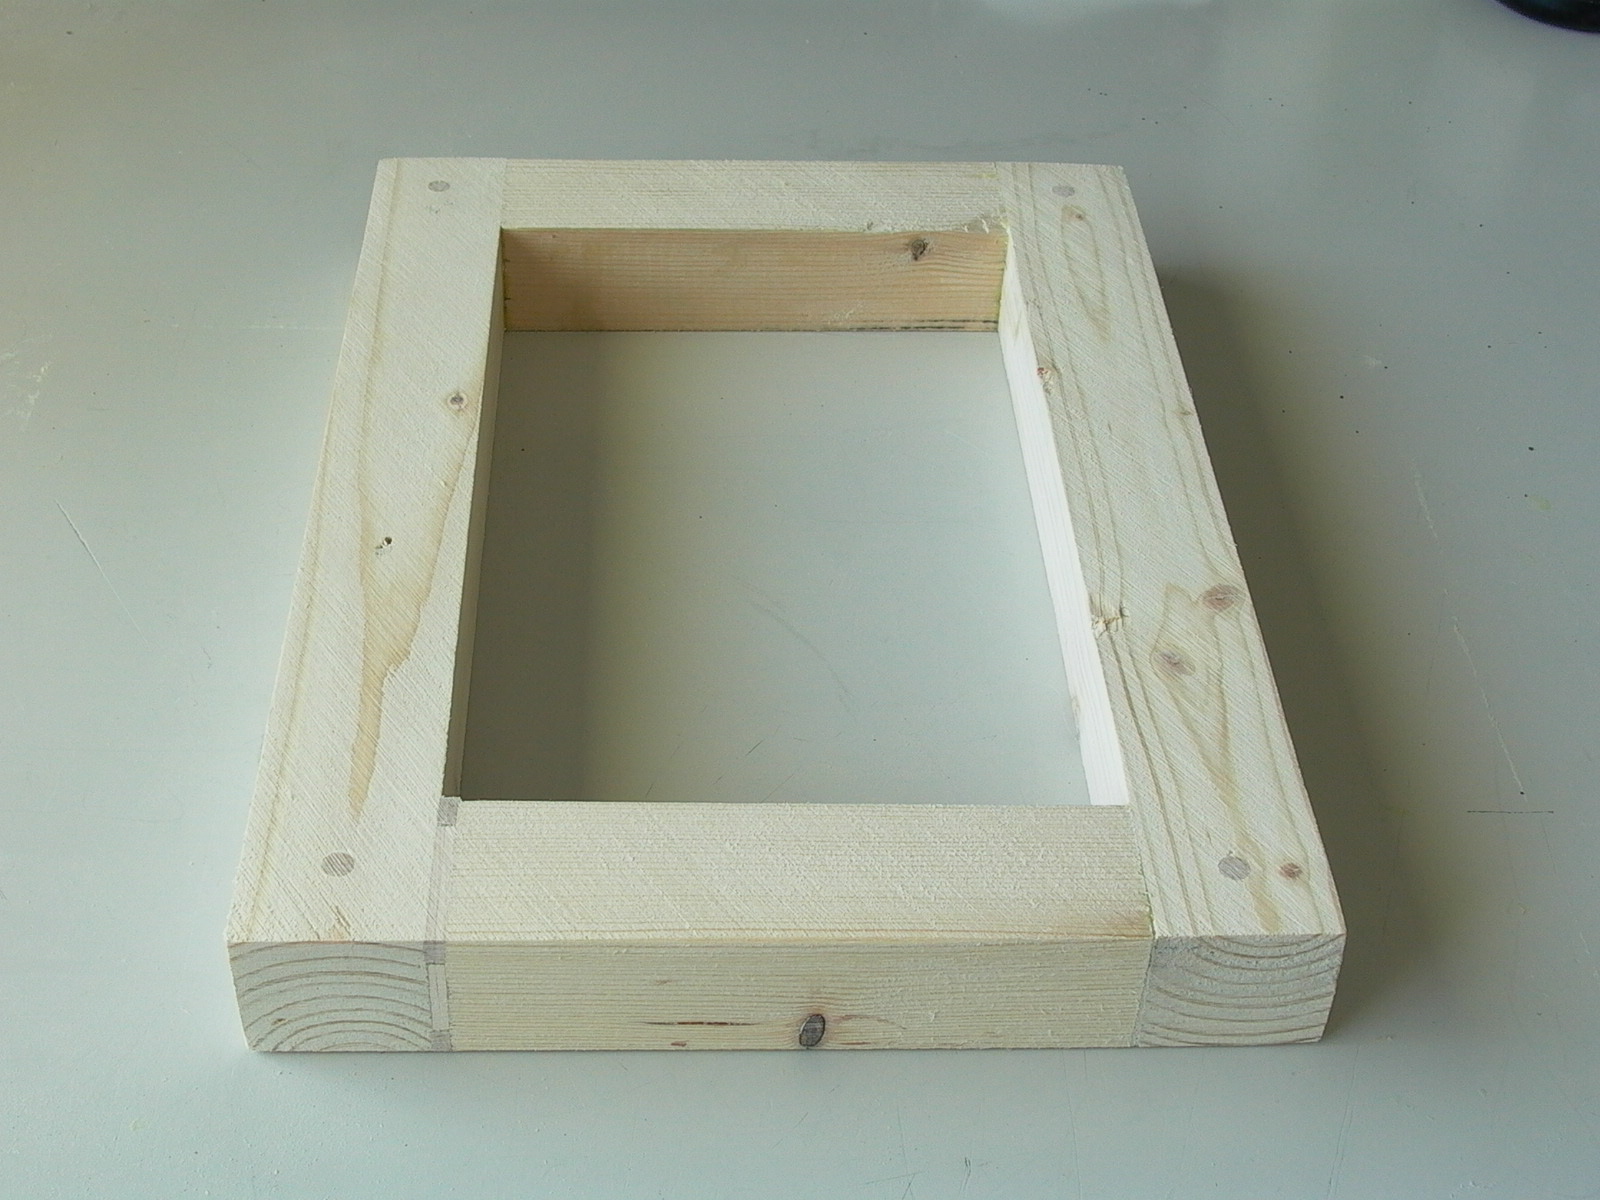
The base is the simplest part of the project. Depending on the clock movement being used, it could be as simple as just a sheet of wood with routed edges or glued-on molding along its sides, perhaps veneered with Popsicle sticks or an actual birch veneer (Popsicle sticks are made from birch). However in my case, the base must have clearance for the swinging pendulum but even so, it was just a matter of building a rectangular core and gluing molding and veneer of matching wood (wider crafts sticks from the dollar store were used). Scrap pine was used, and the four sides were held together with mortise and tendon joints and glue (fig. 38 and 39), forming a rectangle (fig. 40). You can used any method of joining you wish.
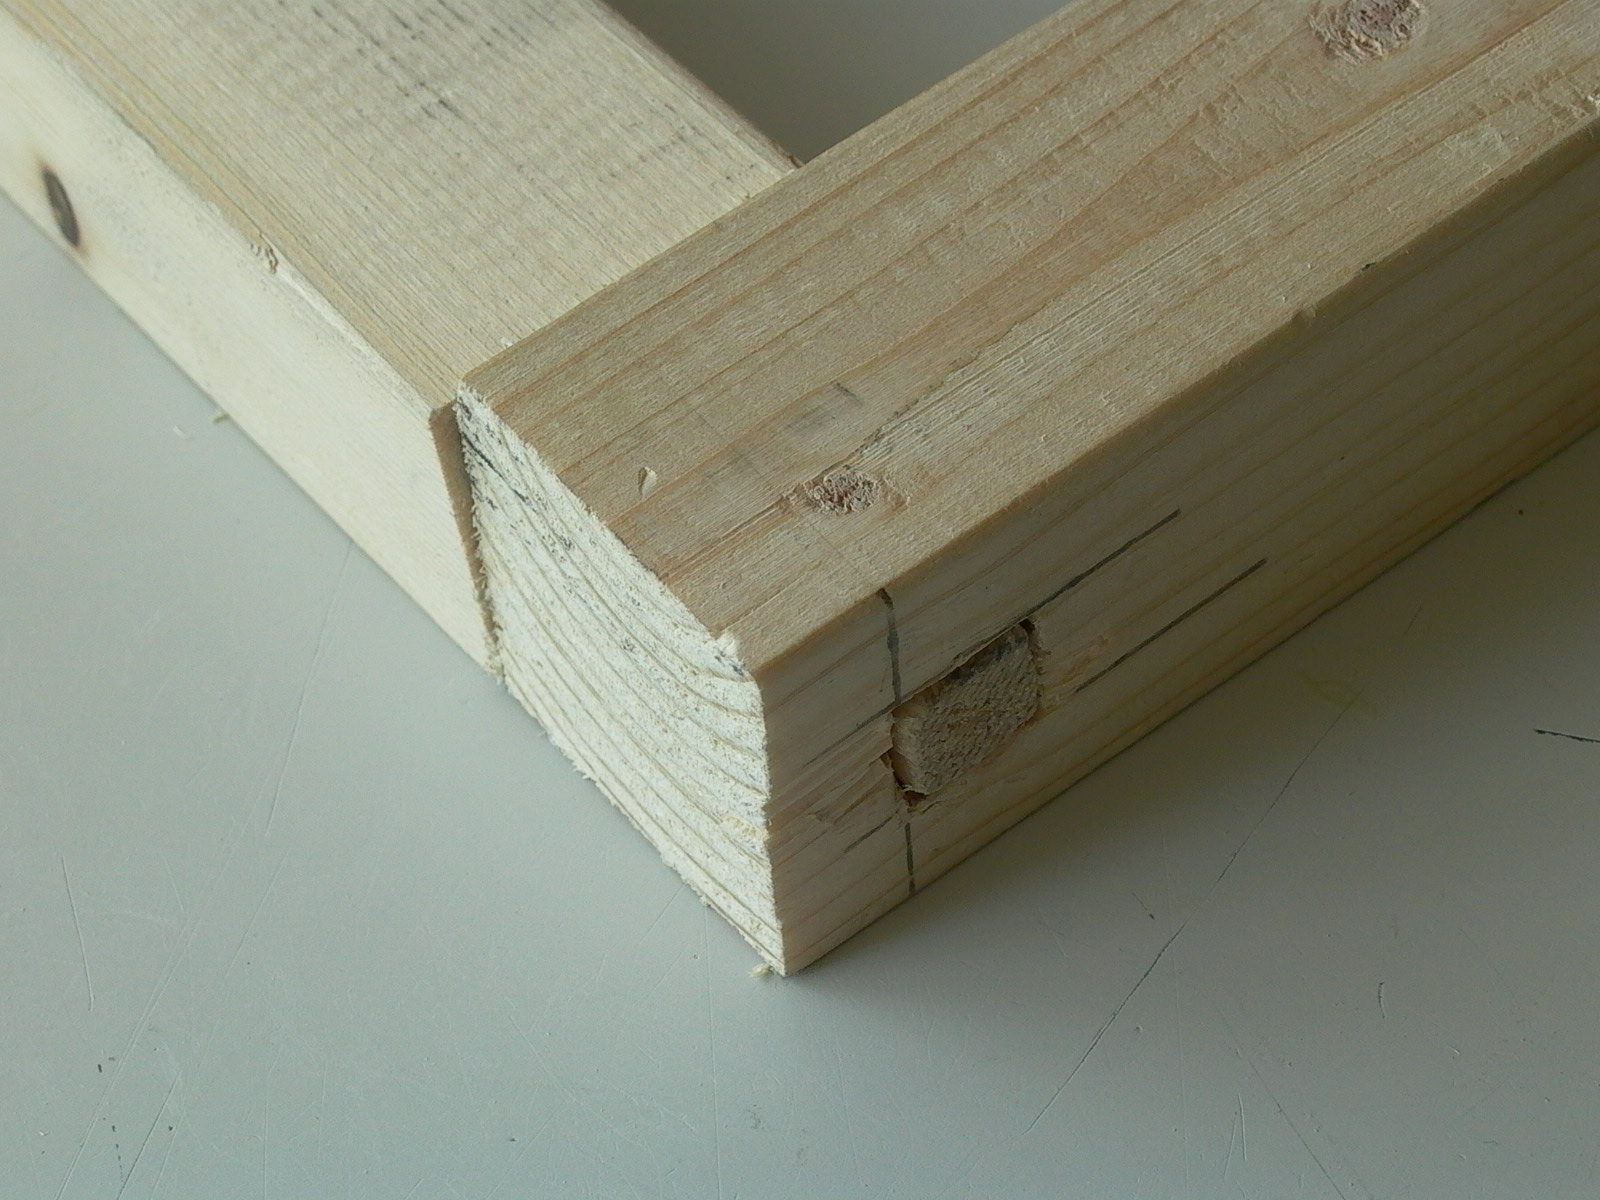
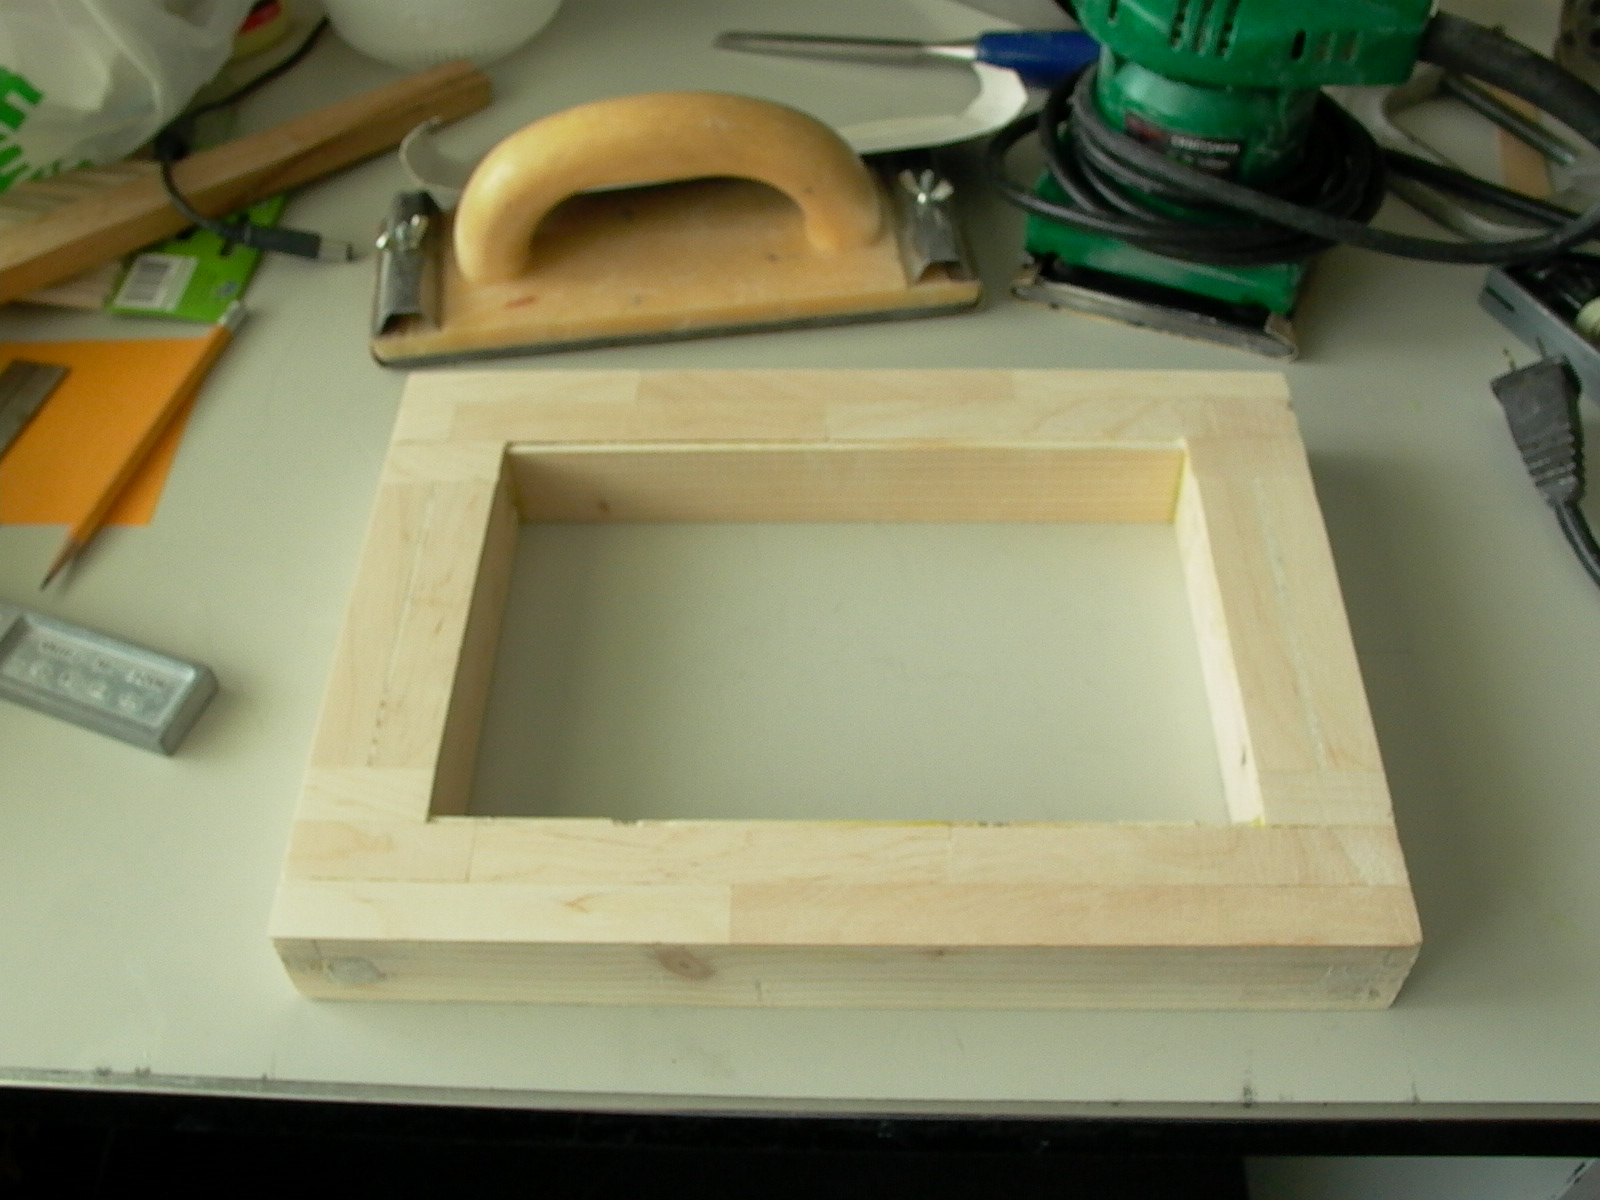
The frame was then sanded for even thickness and square edges (fig. 41) and the top was veneered with a wider and thinner craft sticks (same as tongue depressors but available at dollar stores). Molding was glued along the upper edge (fig. 42) and the top was power sanded for smoothness. A decorative checkered pattern was created with popsicle sticks by alternating between square of dark and light sticks and with grain direction perpendicular to adjacent square (figures 43 to 46). I’ll shall leave it to the reader to come up with his/her own pattern so I will not go into details here.
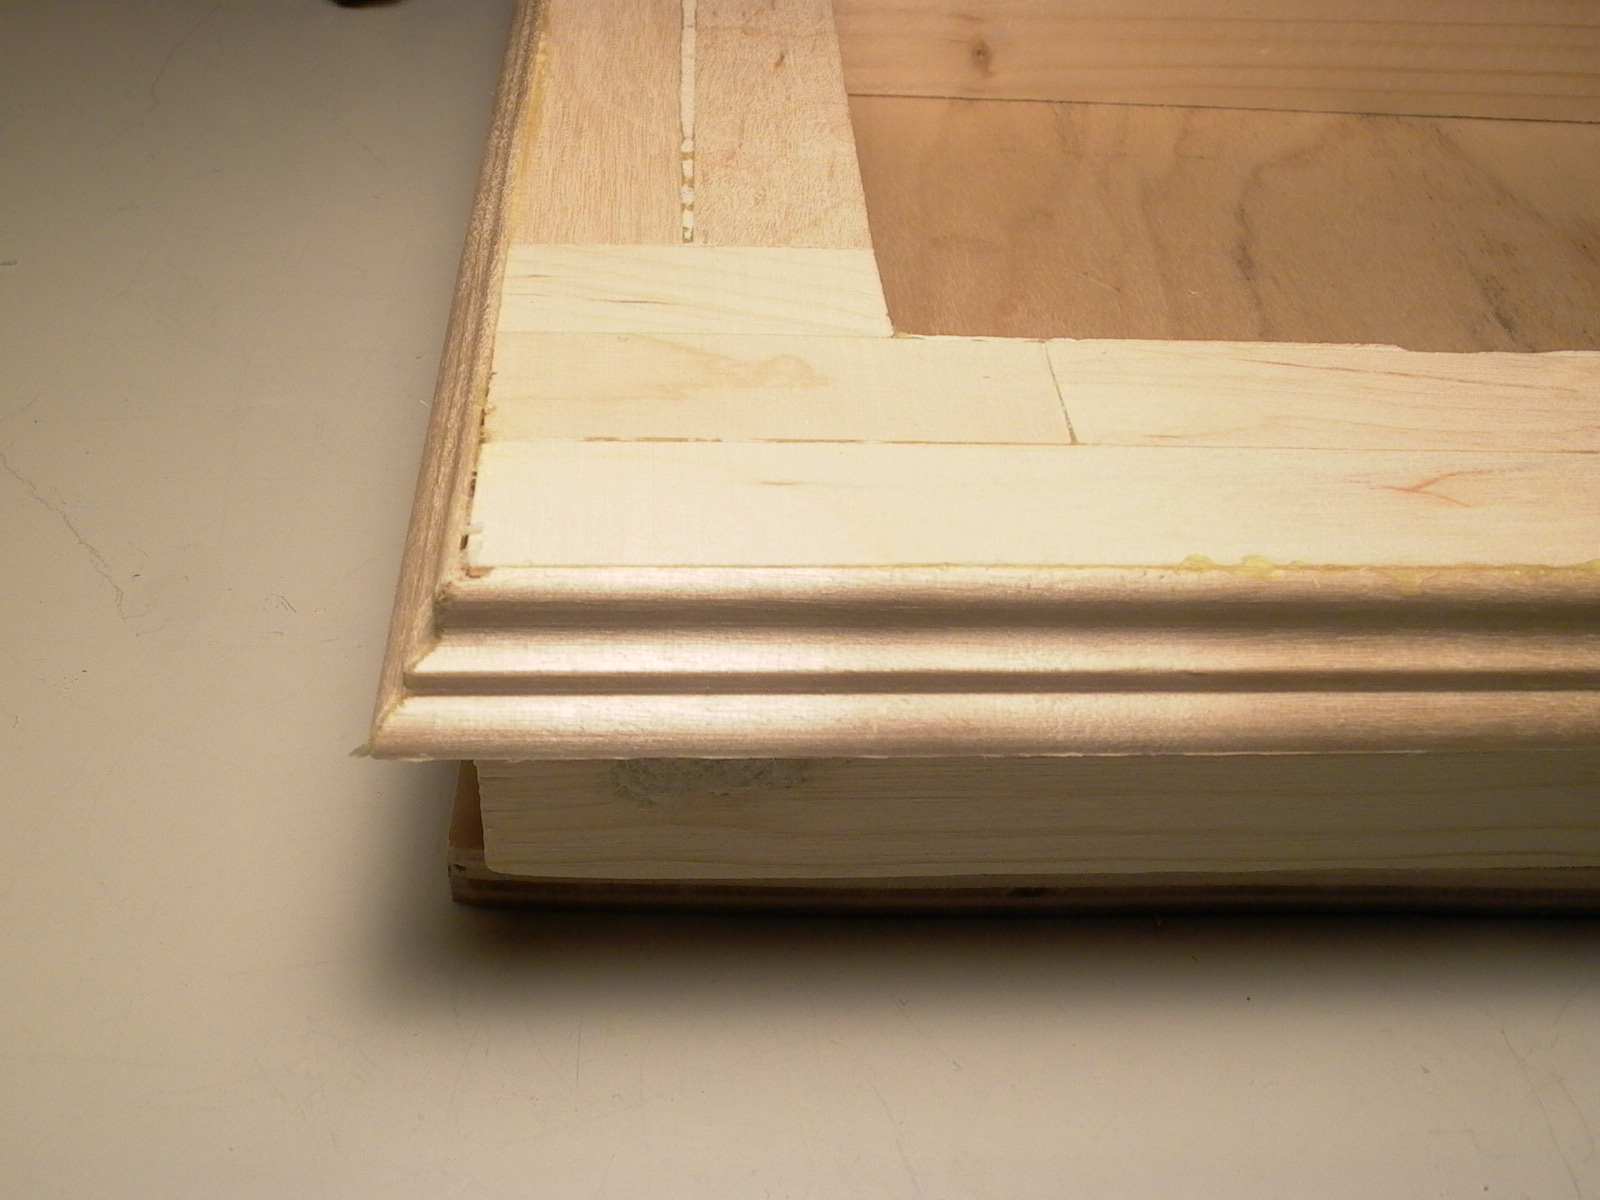

The strips were then sanded for even thickness (should be flush with the edge of the molding) and the width should be about a quarter of an inch or so (depending on the thickness of your bottom cover) wider than the distance from the molding to the bottom edges. This will form a barrier around the bottom, holder a bottom cover (later) in place. One side of the strips (after choosing a good side) were then sanded for “pre-smoothness”.
After sanding, strips went cut to length being a little longer than the side of the frame to allow for a 45 degree beveled edge at the ends to help connect them smoothly at right angles. Unfortunately, photos of this step have been lost but I don’t even think they are necessary as I encourage the reader to use his/her own imagination and come up with a different design. But if necessary, feel free look ahead at later photos to see how it’s put together.